Doll Bunk Bed
I am always building a gift for the kids at Christmas. It started several years ago when I wanted to do something special for them. The first thing that I ever built are small wooden trains. This will be covered in an upcoming post. Christmas was quickly approaching and I was looking for something that I can build for my daughter. She loved Newberry Dolls (the Canadian equivalent of American Girl). The price for an American Girl doll bunk bed was a little more than expected. My daughter picked a bunk bed she liked out of the catalog. This made my hunt slightly easier when looking for a design. I found a Design I liked by Ana White. She has detailed plans and cut lists on her website.
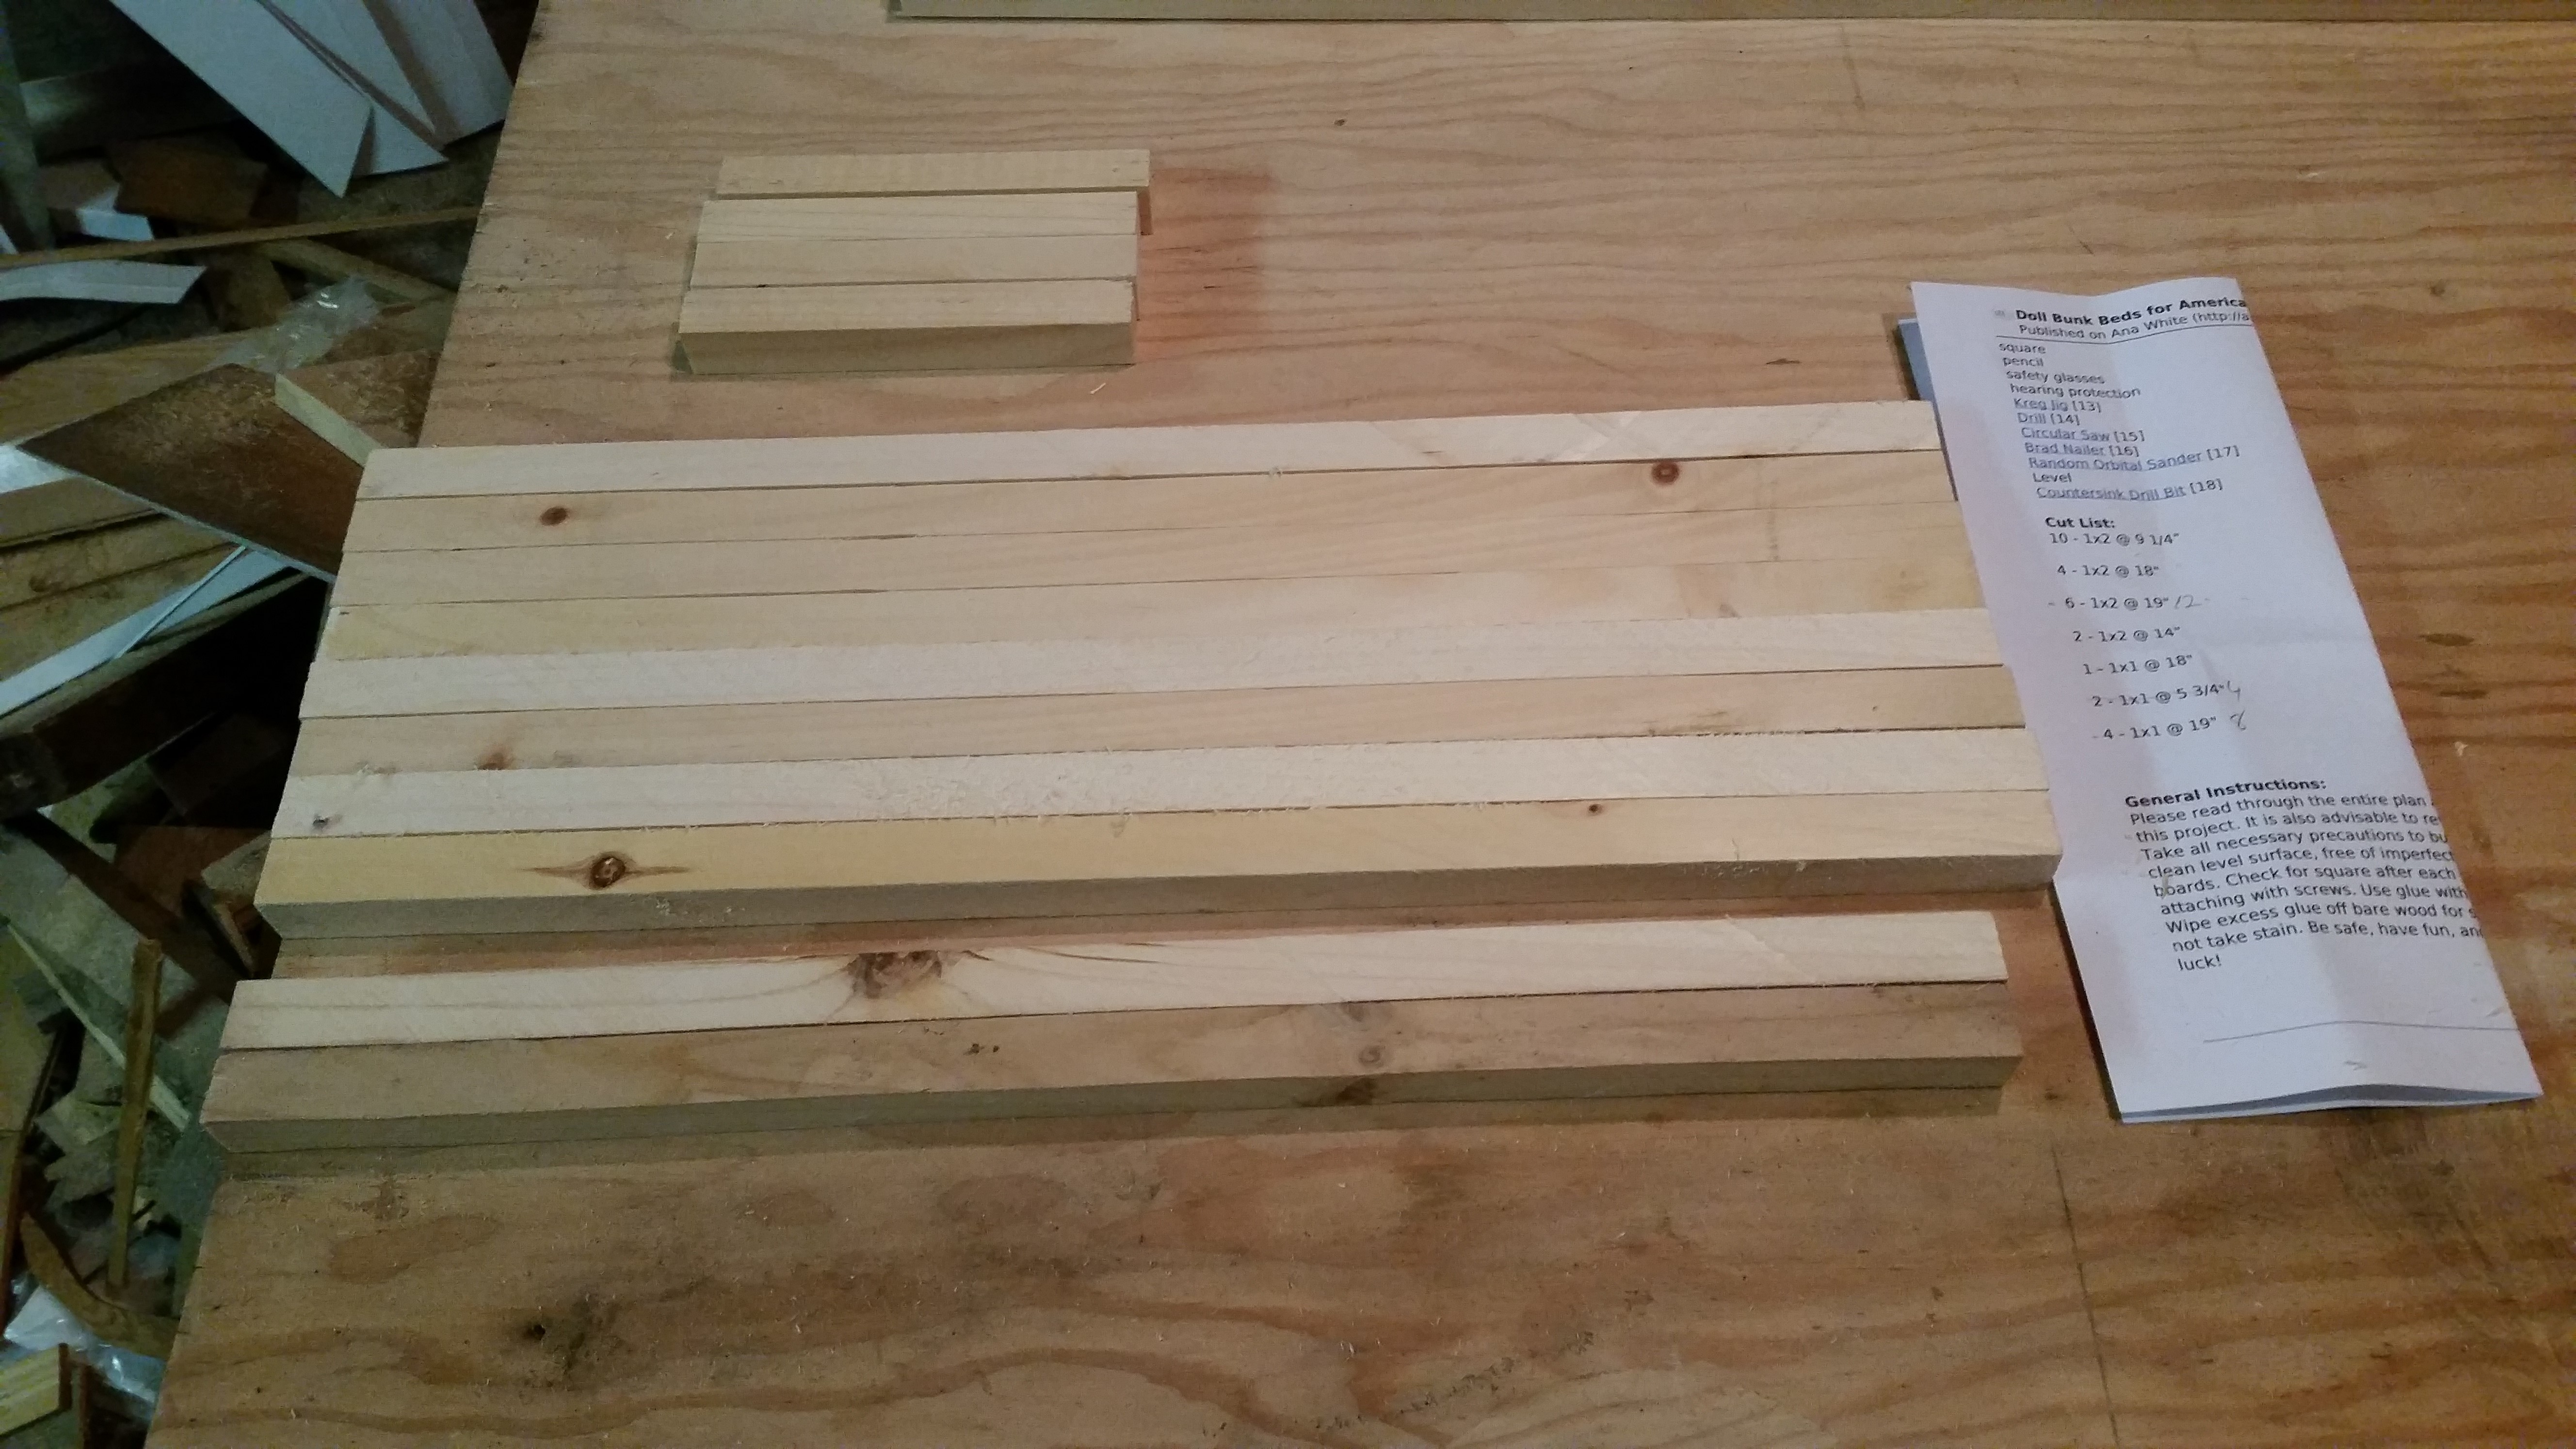
Here is what you will need.
4 – 1×2 @ 8 feet long
1 – 1×1 @ 8 feet long
(look for a square trim board that measures 3/4″ x 3/4″ or if you have a tablesaw, rip a 1×2 in half)
Scrap hardboard, 1/4″ plywood or other sheet goods Use either the pocket holes or regular screws:

10 – 1×2 @ 9 1/4″
4 – 1×2 @ 18″
6 – 1×2 @ 19″
2 – 1×2 @ 14″
1 – 1×1 @ 18″
2 – 1×1 @ 5 3/4″
4 – 1×1 @ 19″
Some tools I found handy for the project are table saw, miter saw, brad nailer, Kreg jig, square, drill, sander, tape measure and safety glasses.
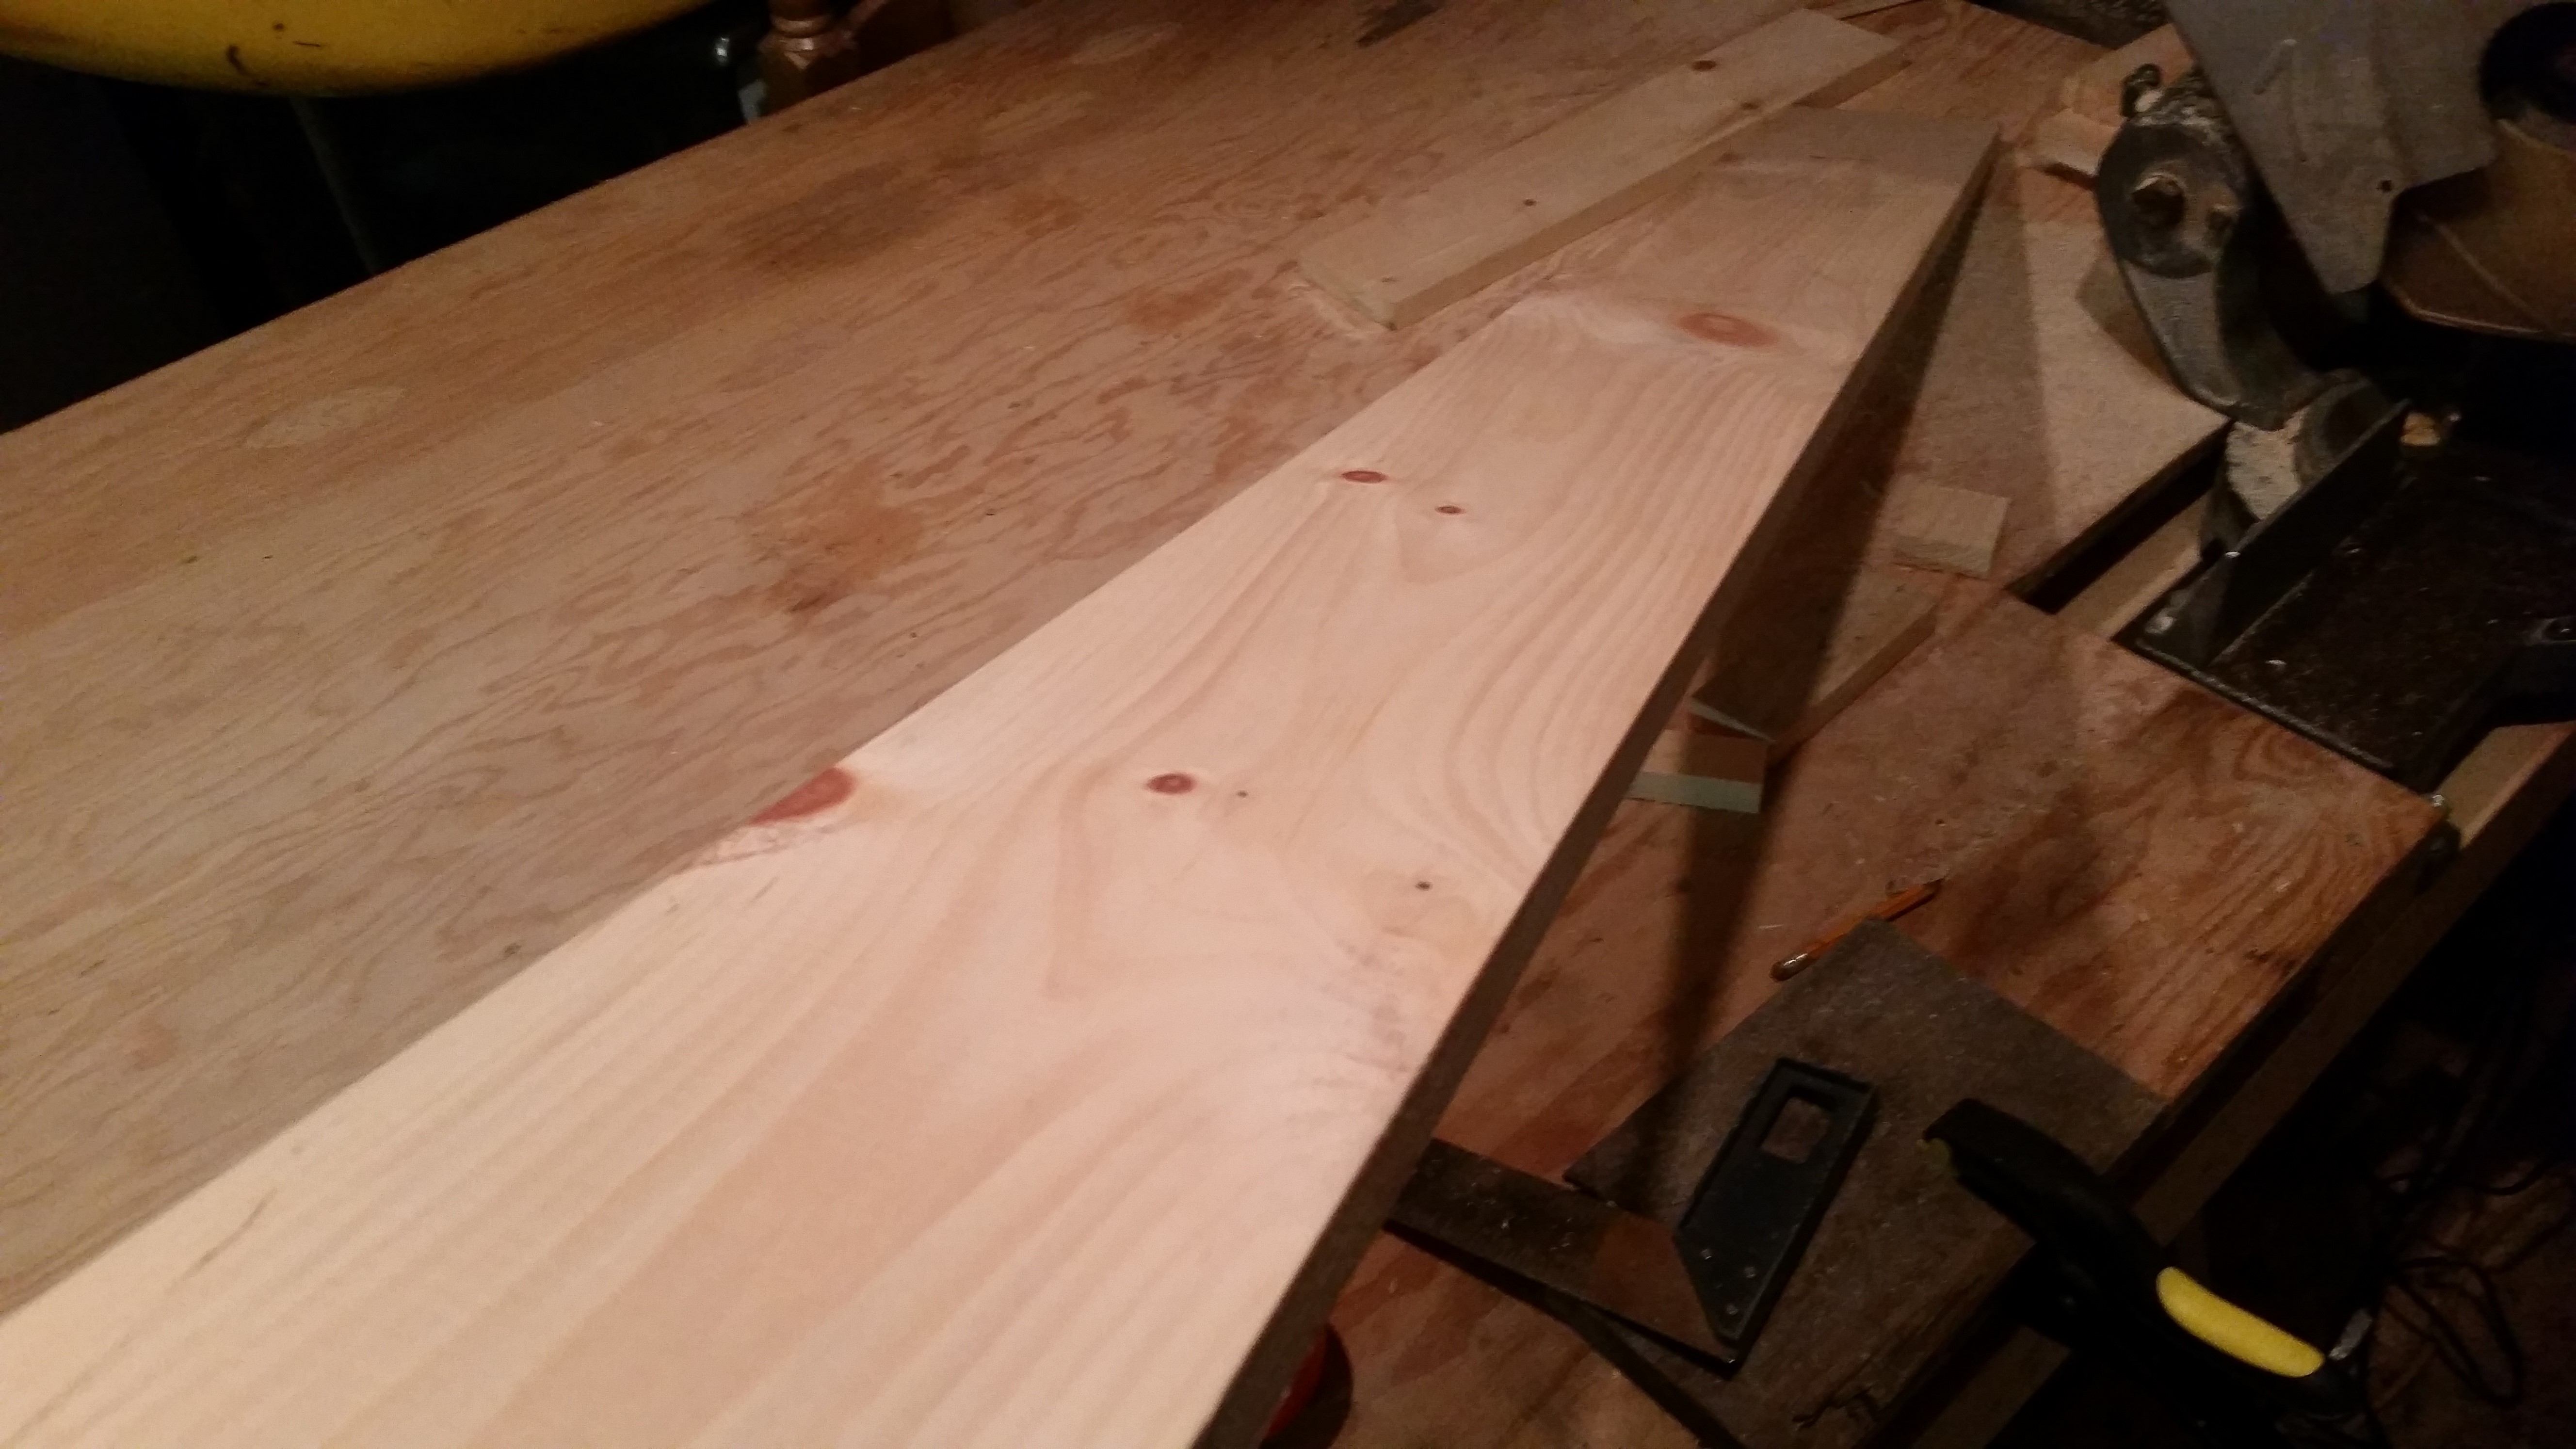
Using 1x 6 left over from another project I ripped the boards down on my table saw. You can save time by buying the boards the correct size. There was also considerable time spent sanding. Don’t want little fingers to get a splinter.
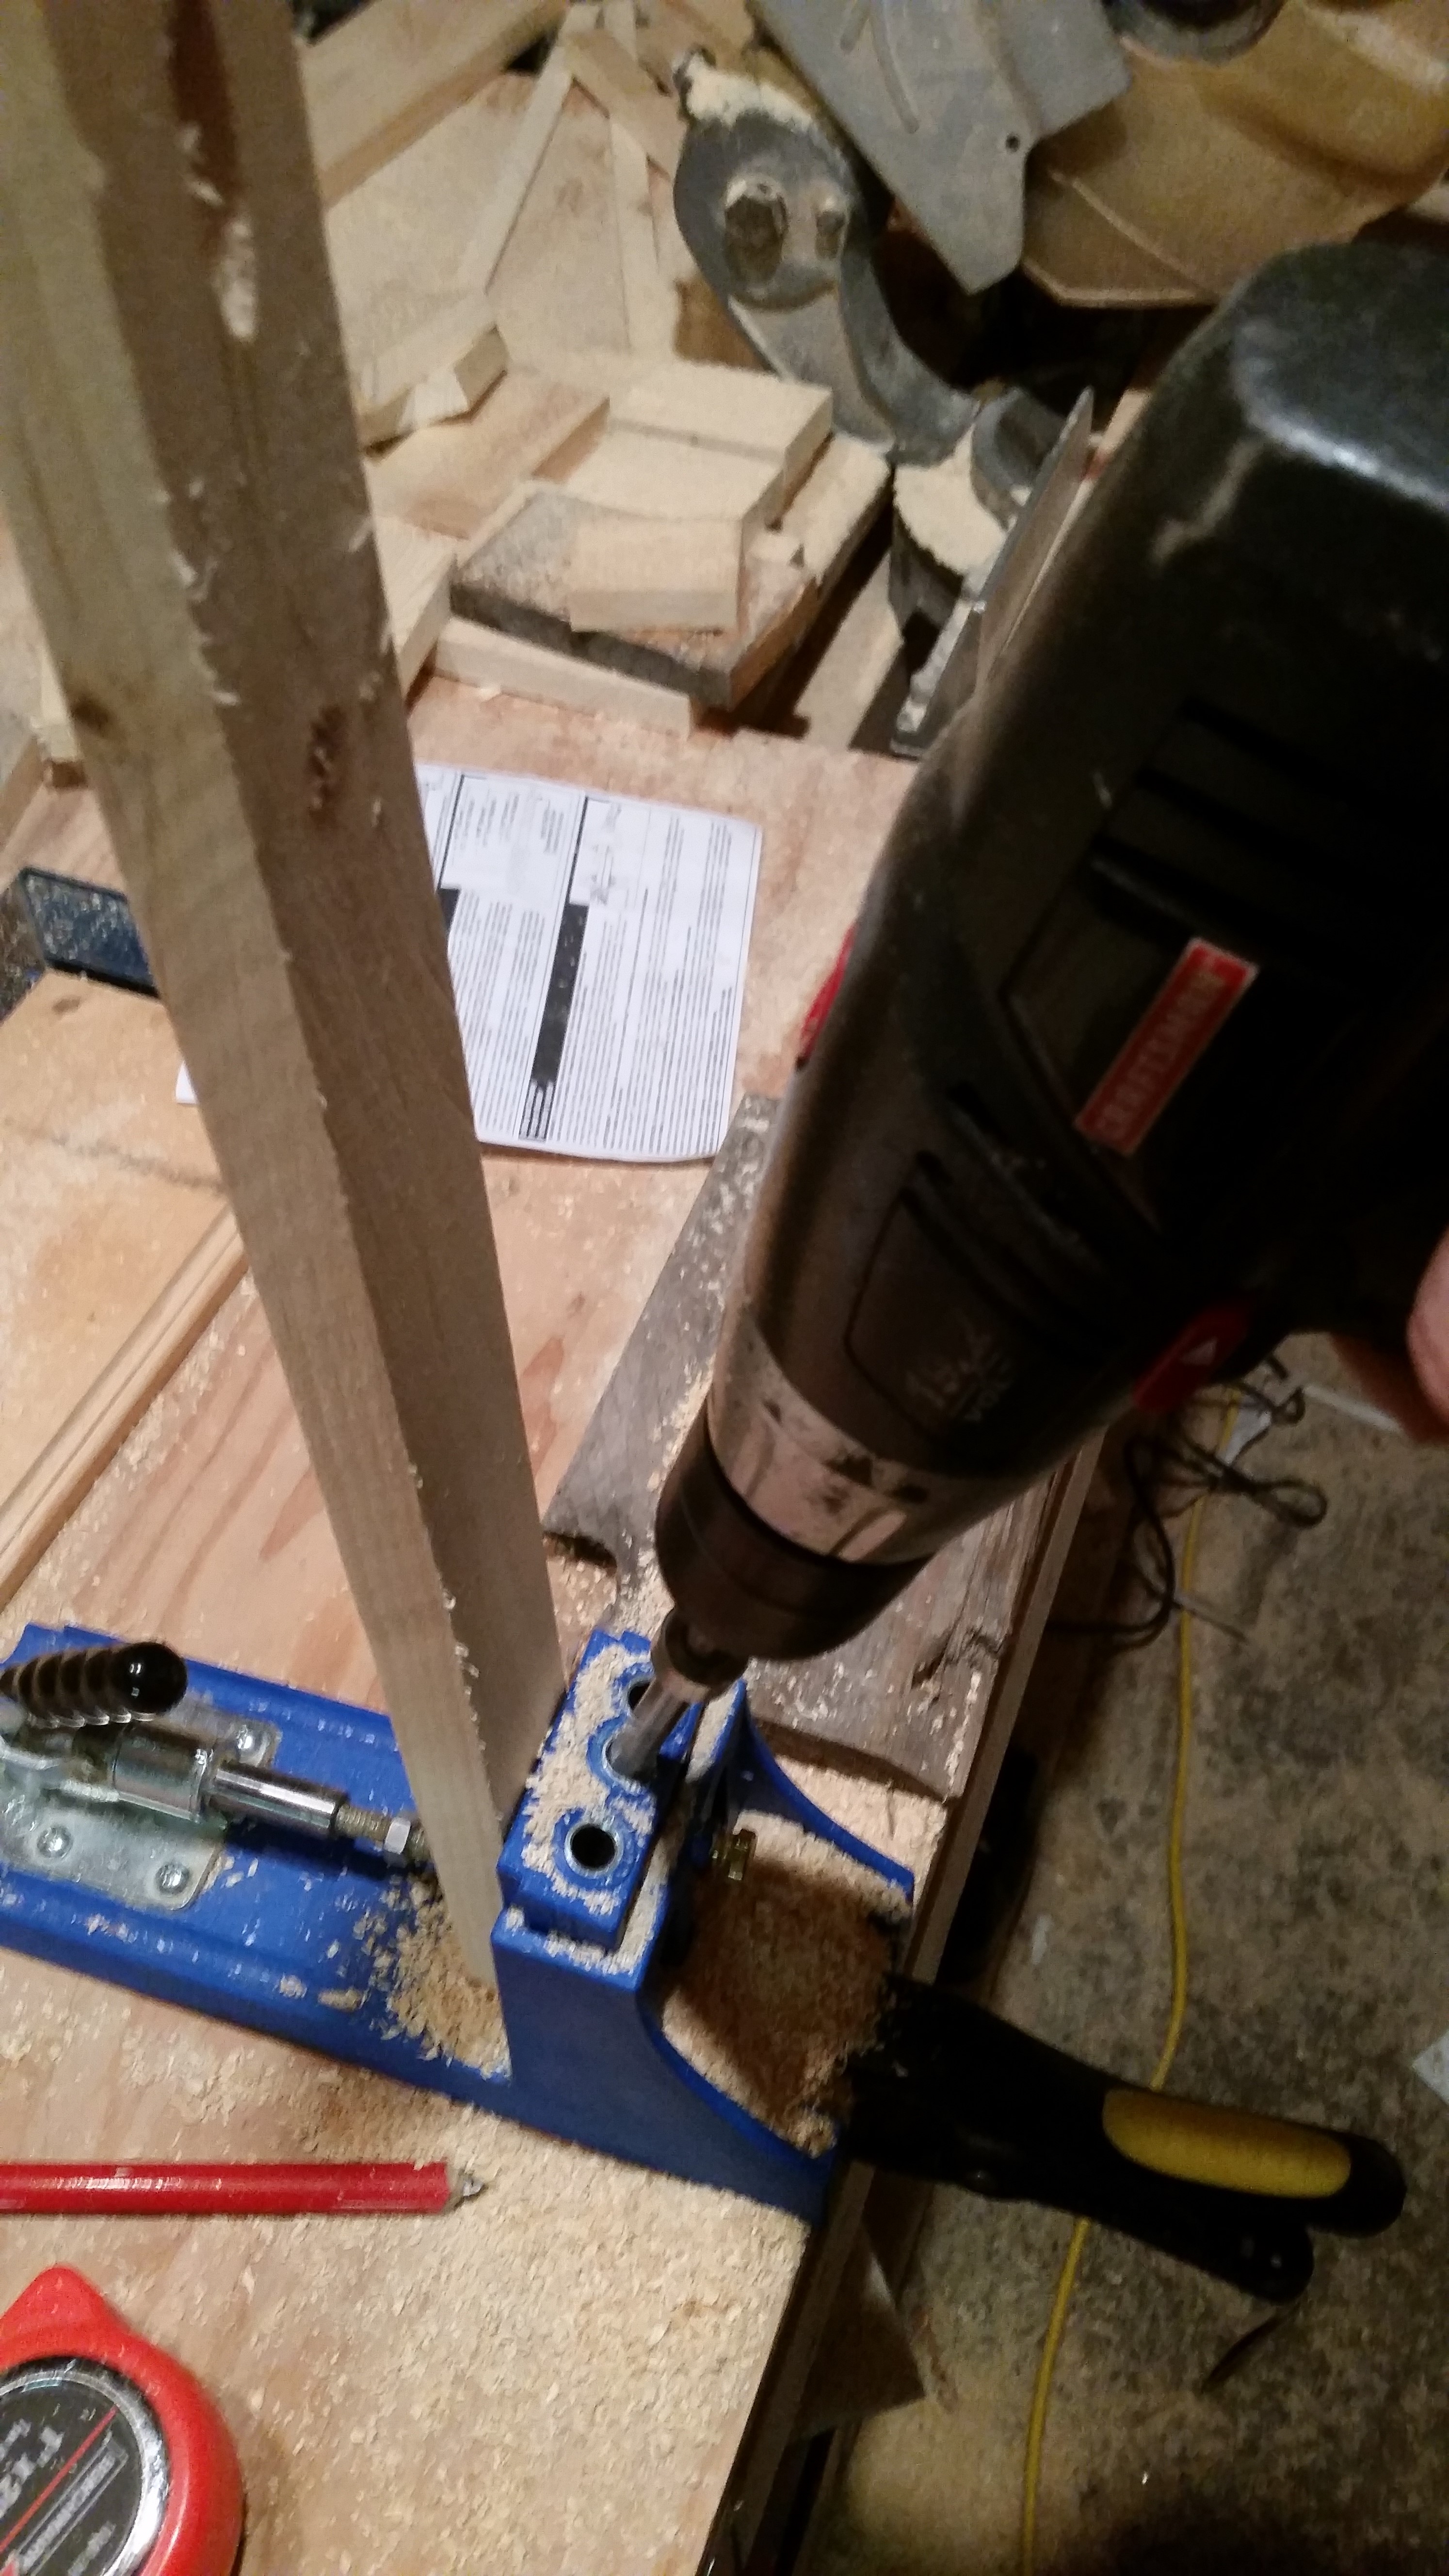
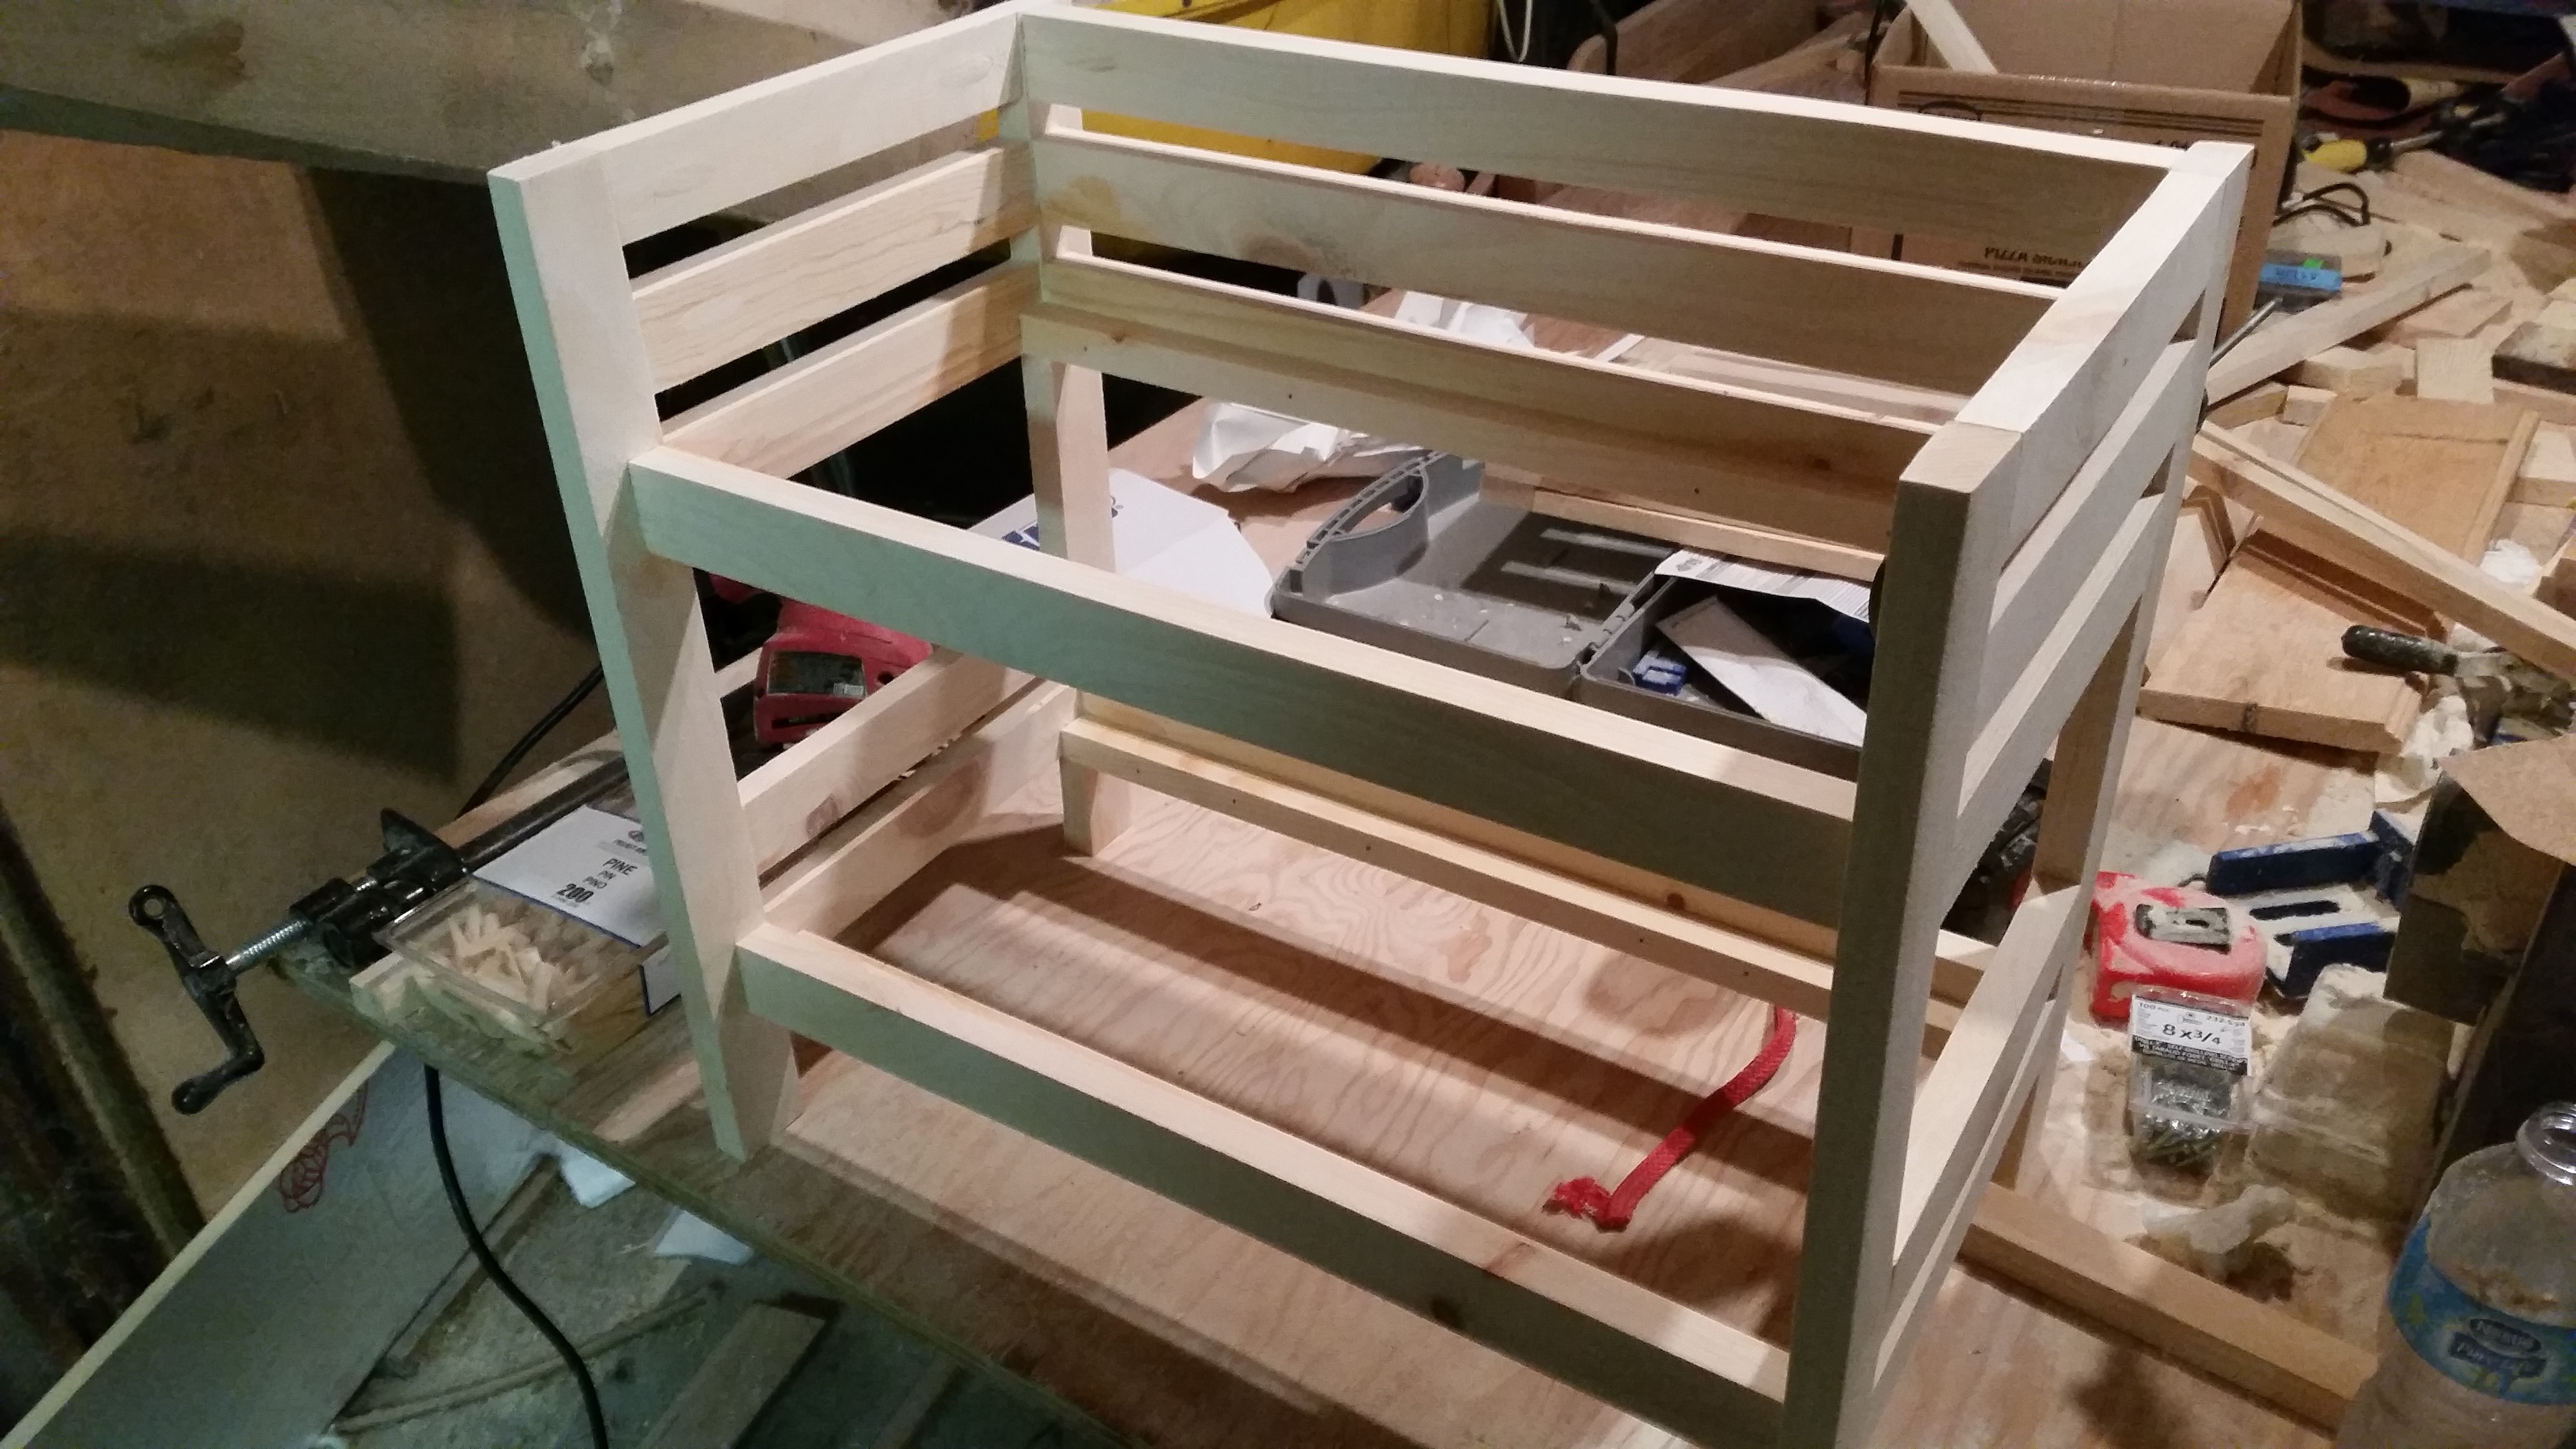
I used the Kreg jig and drill to make counter sunk holes for the screws. After wooden plugs were used to fill the holes. They were blended in by sanding.
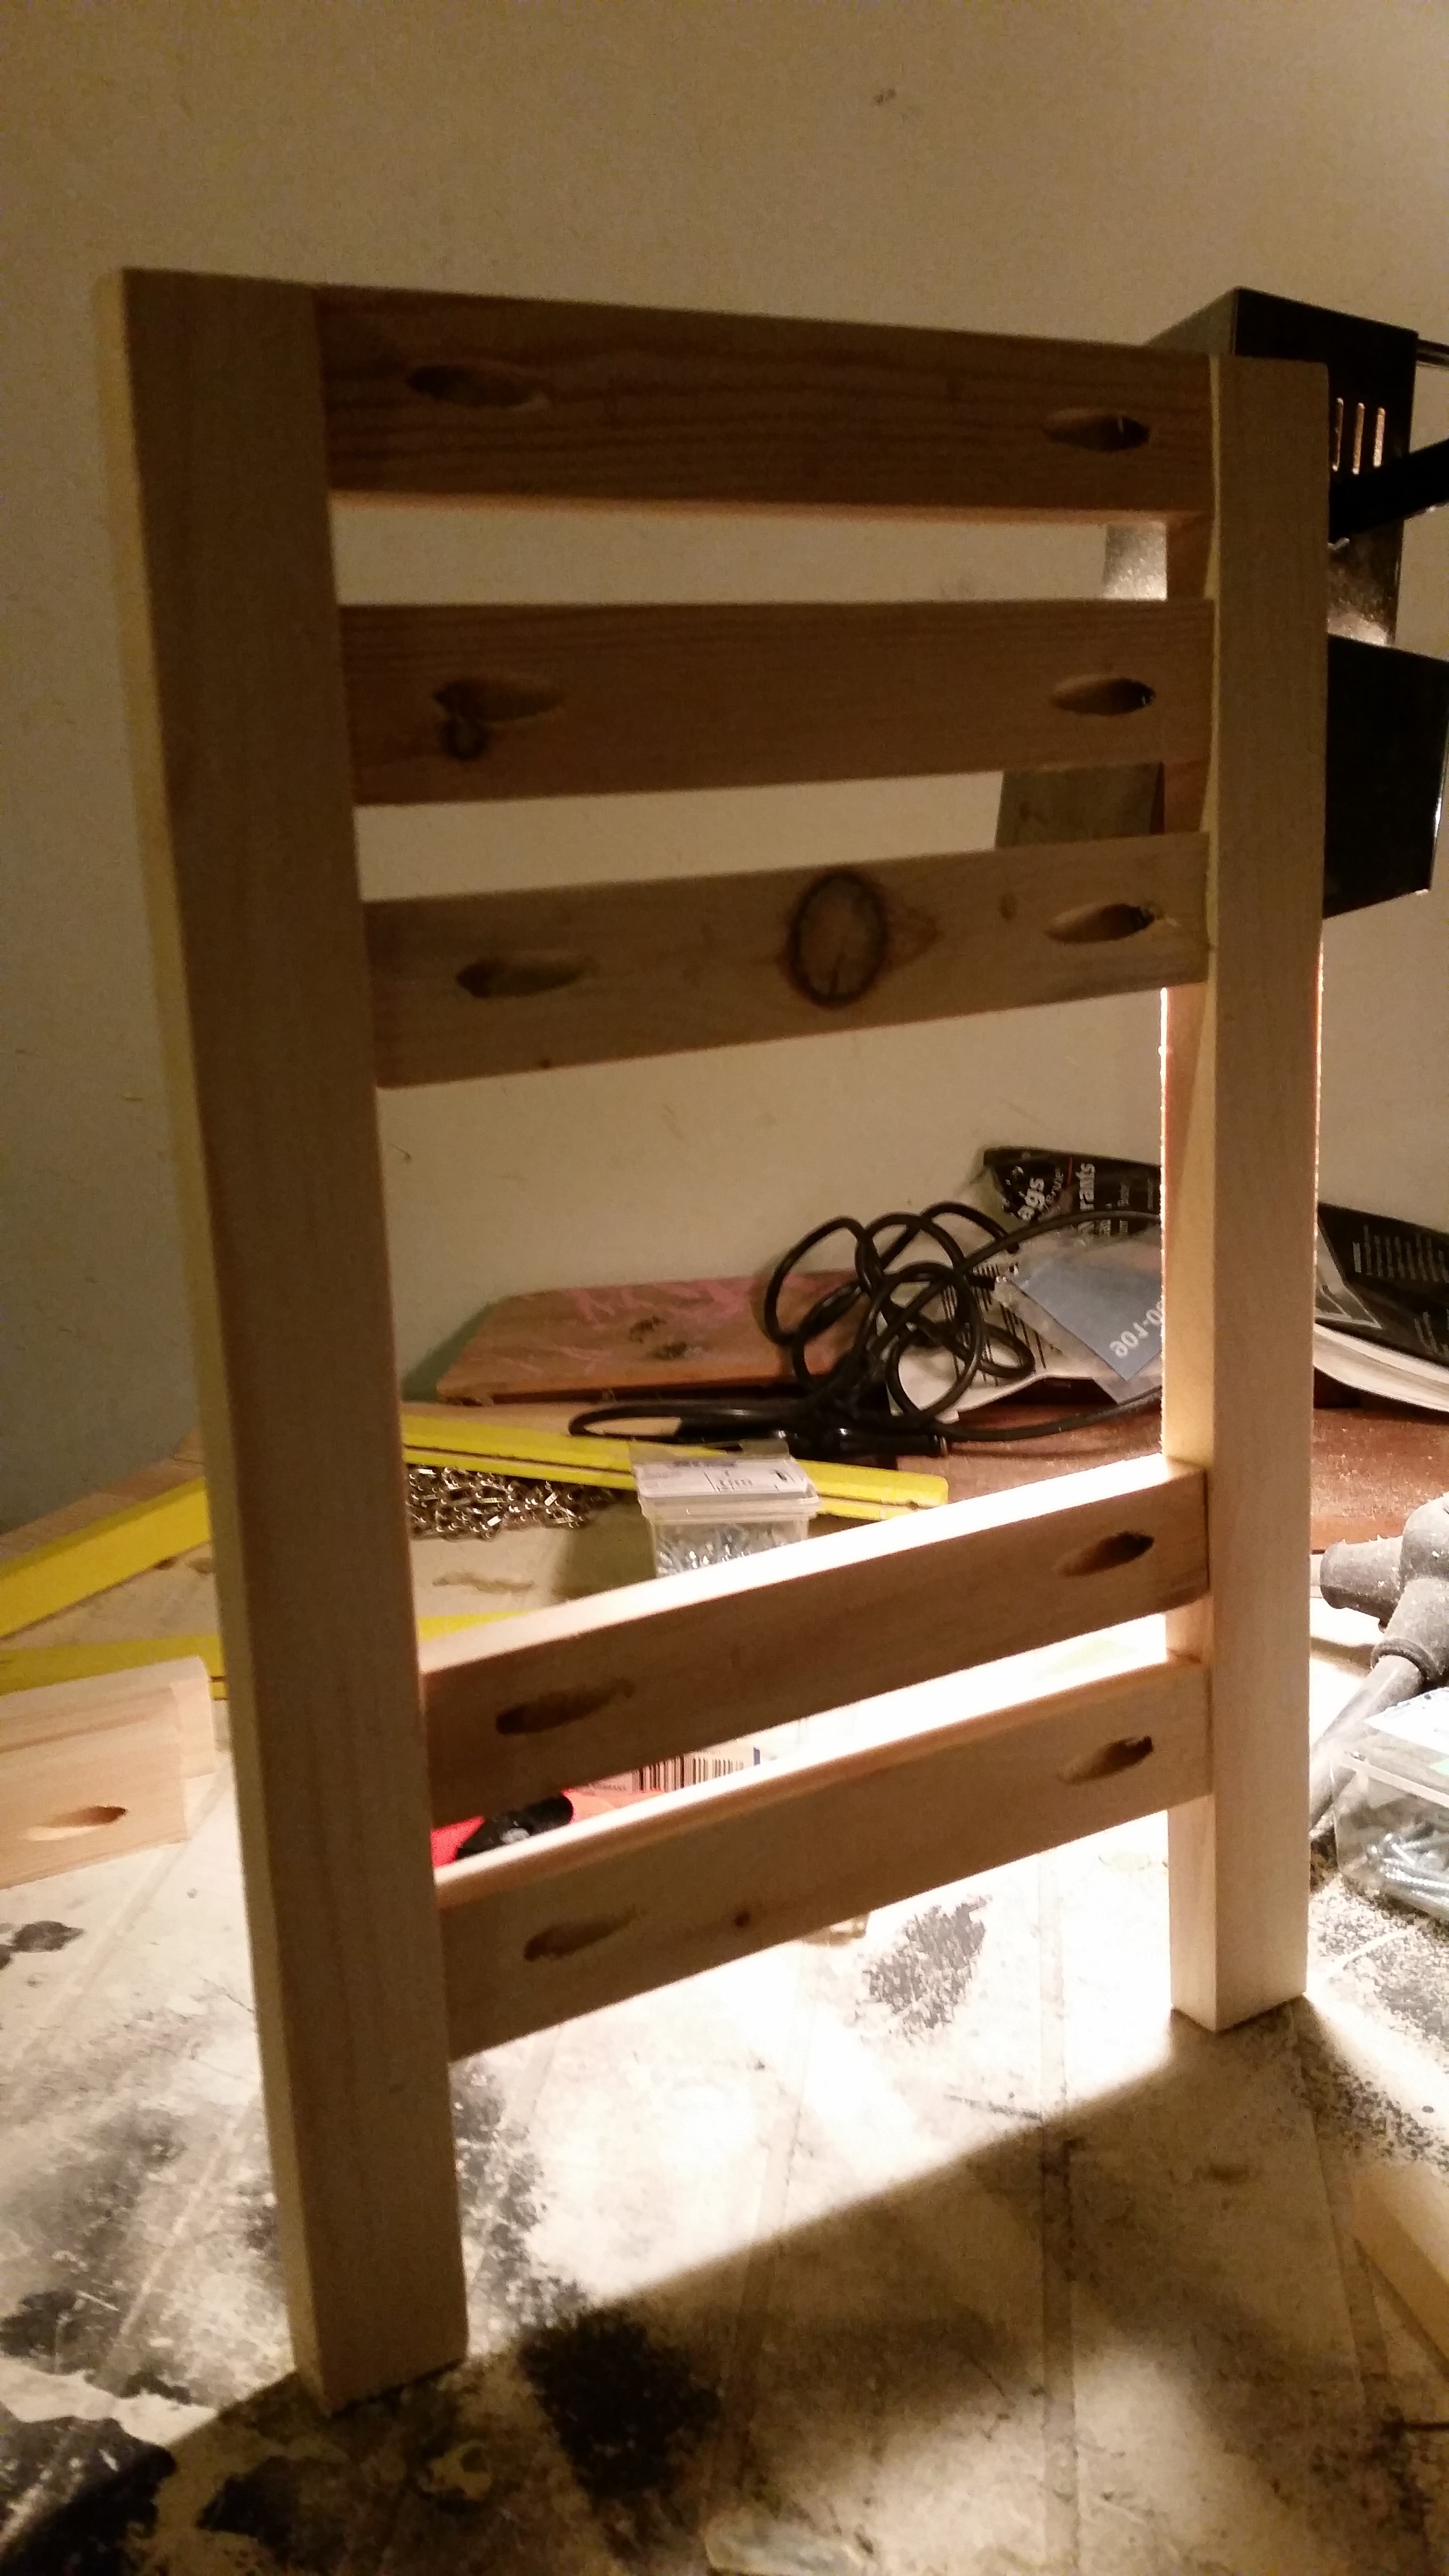
Here is the assembled end of the bunk bed. The screws are in the holes made by the Kreg jig. Remember to glue to add extra strength.
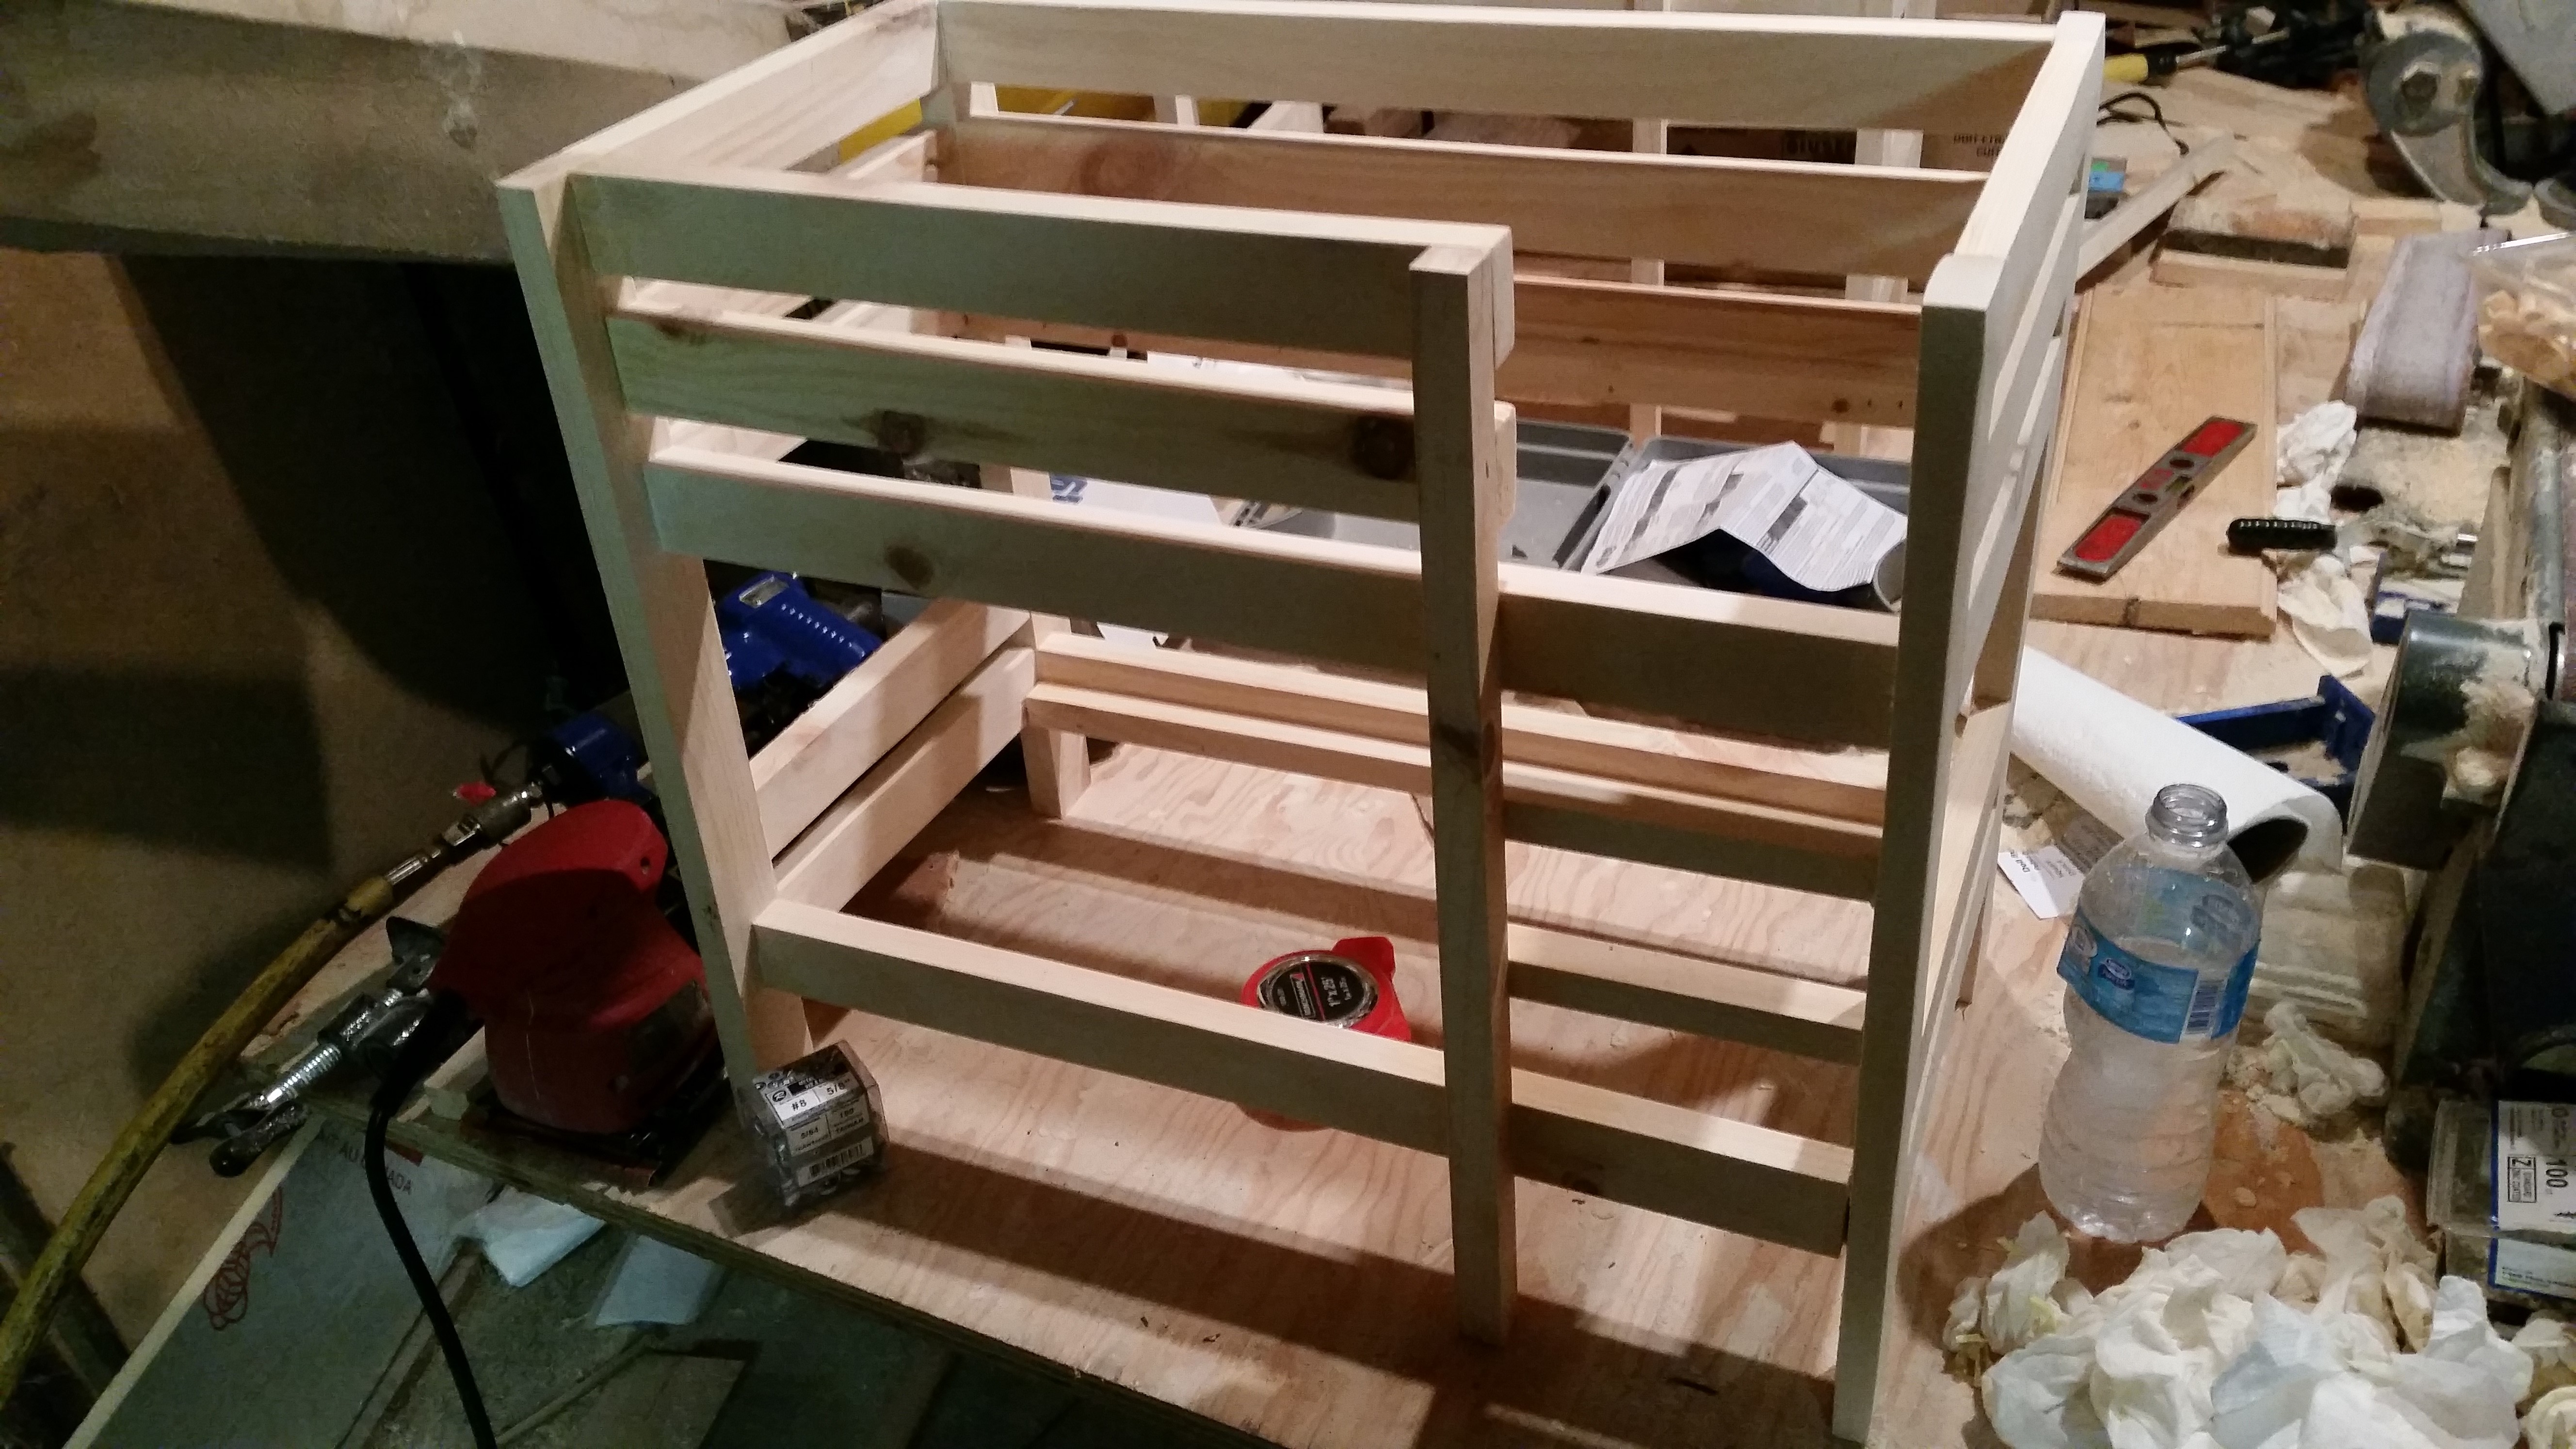
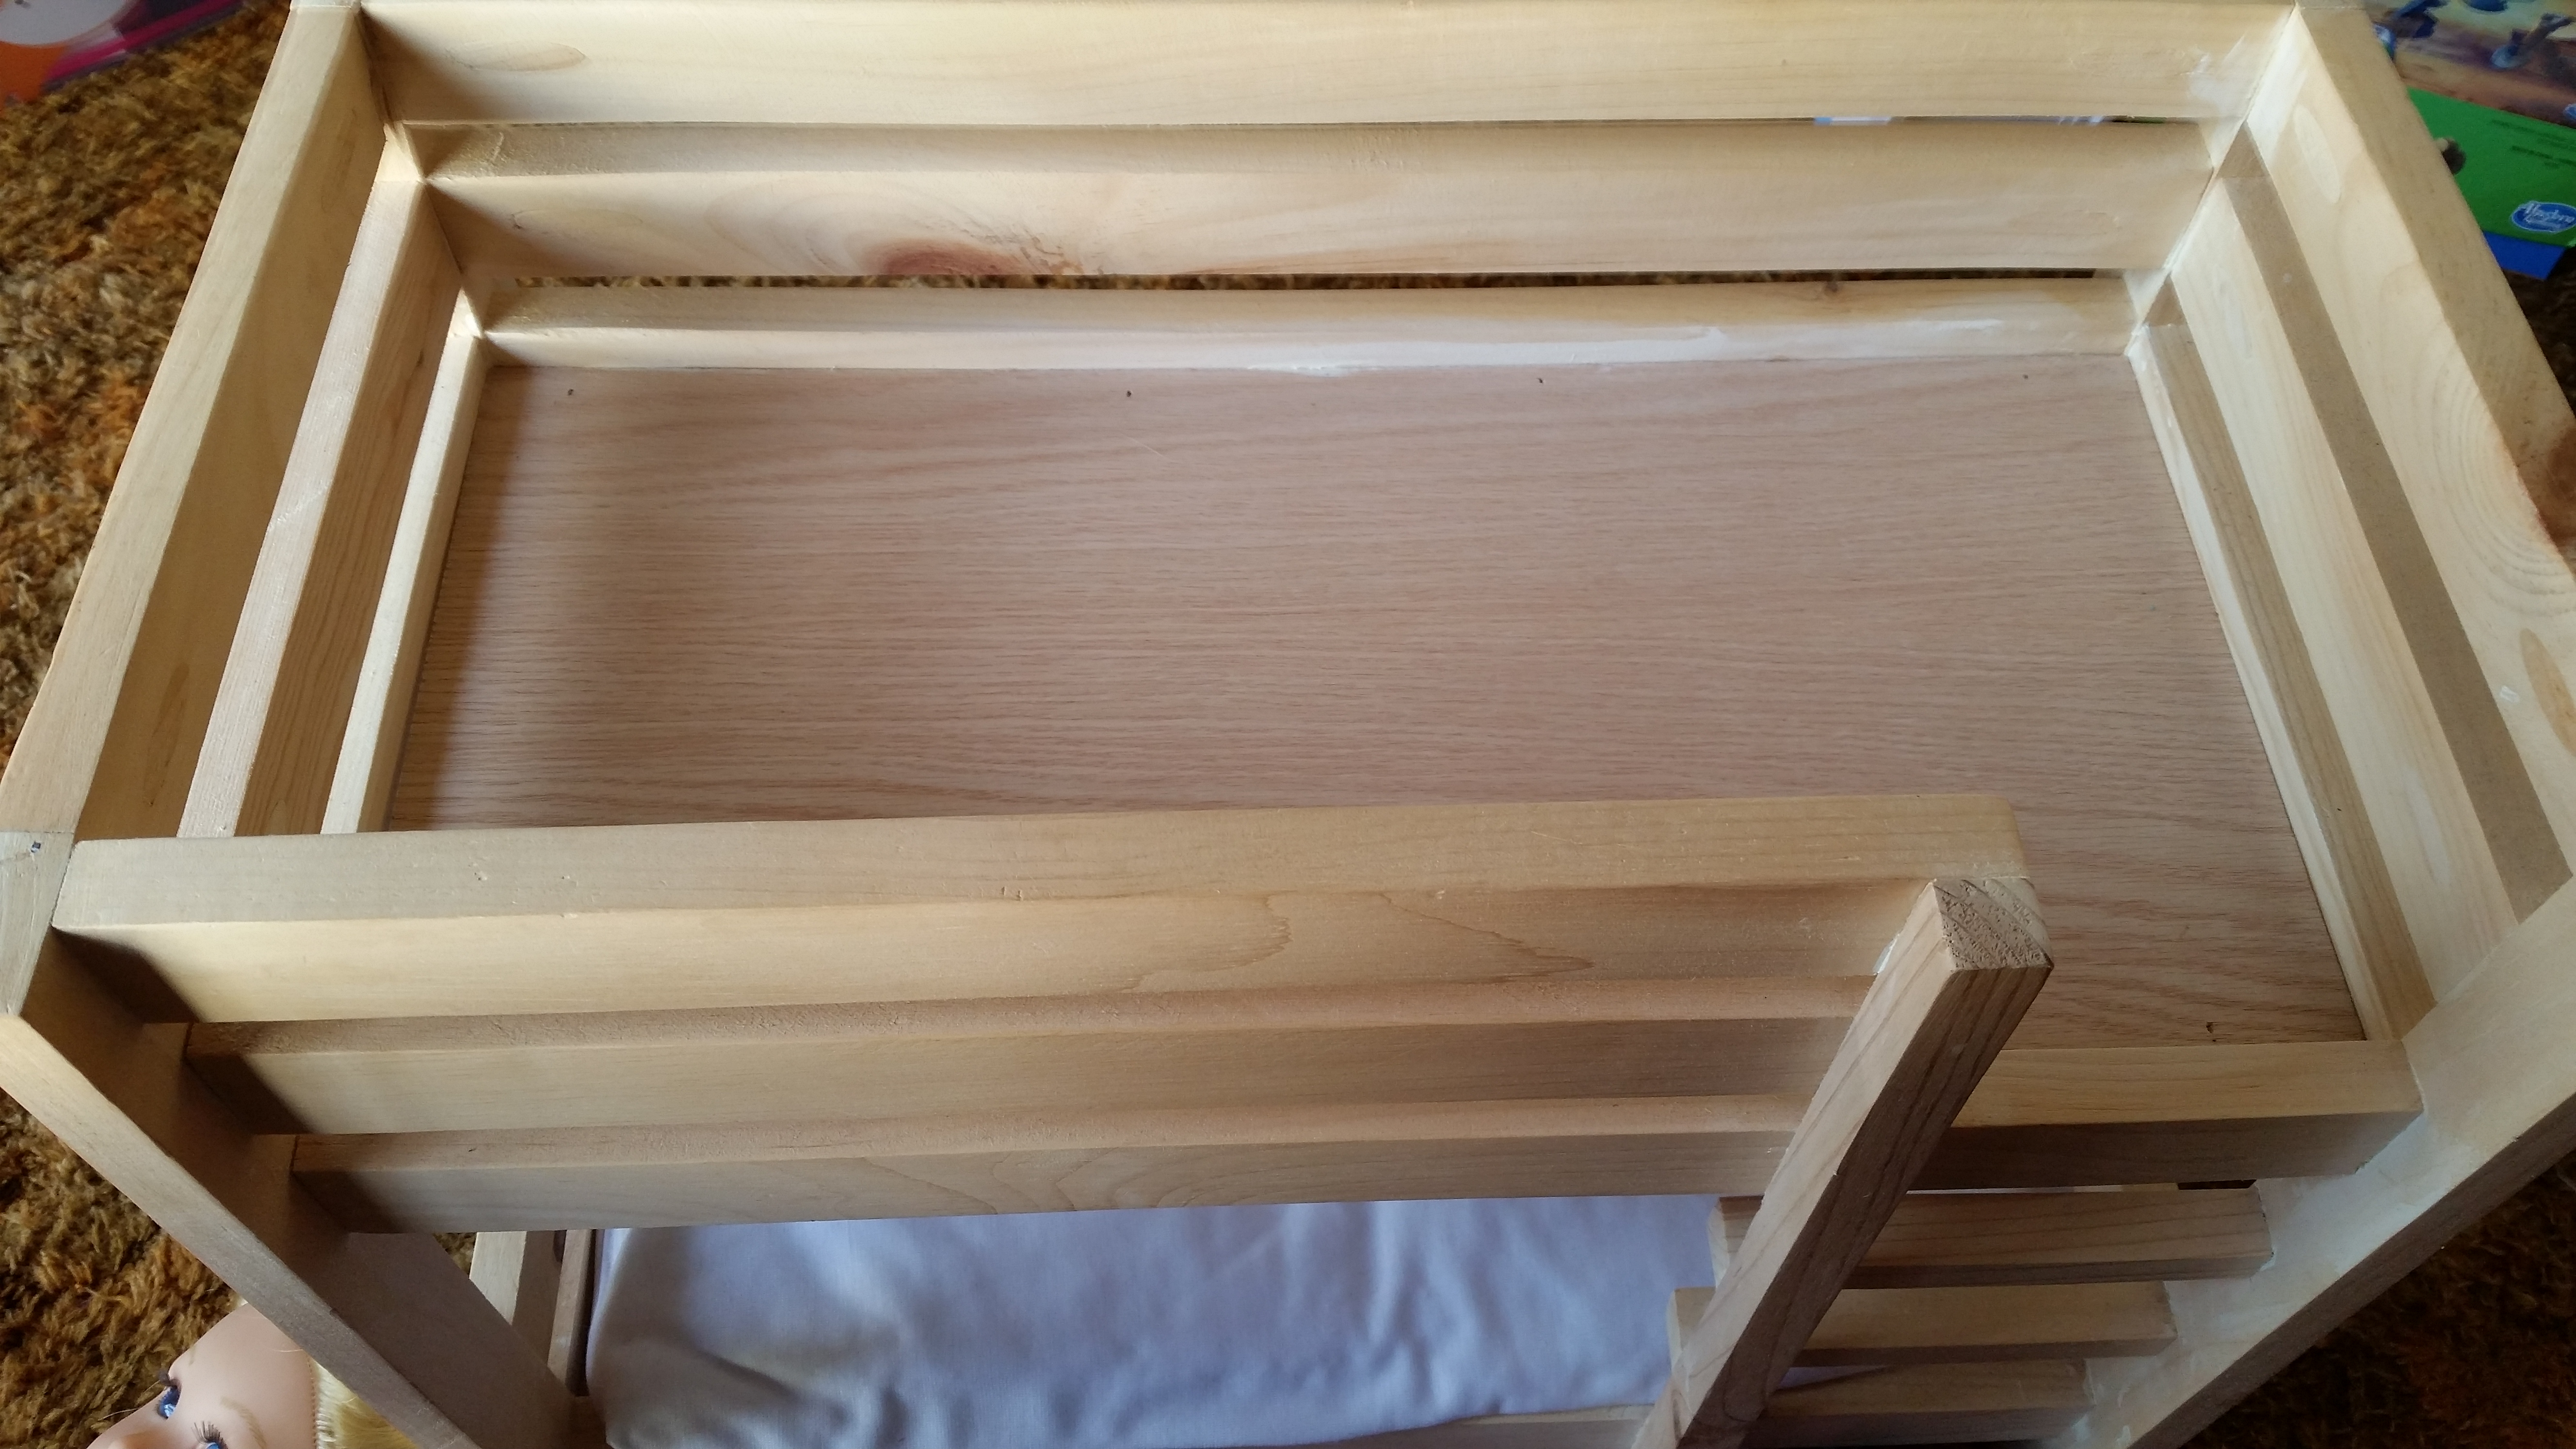
The next pictures show assembly of the side pieces.
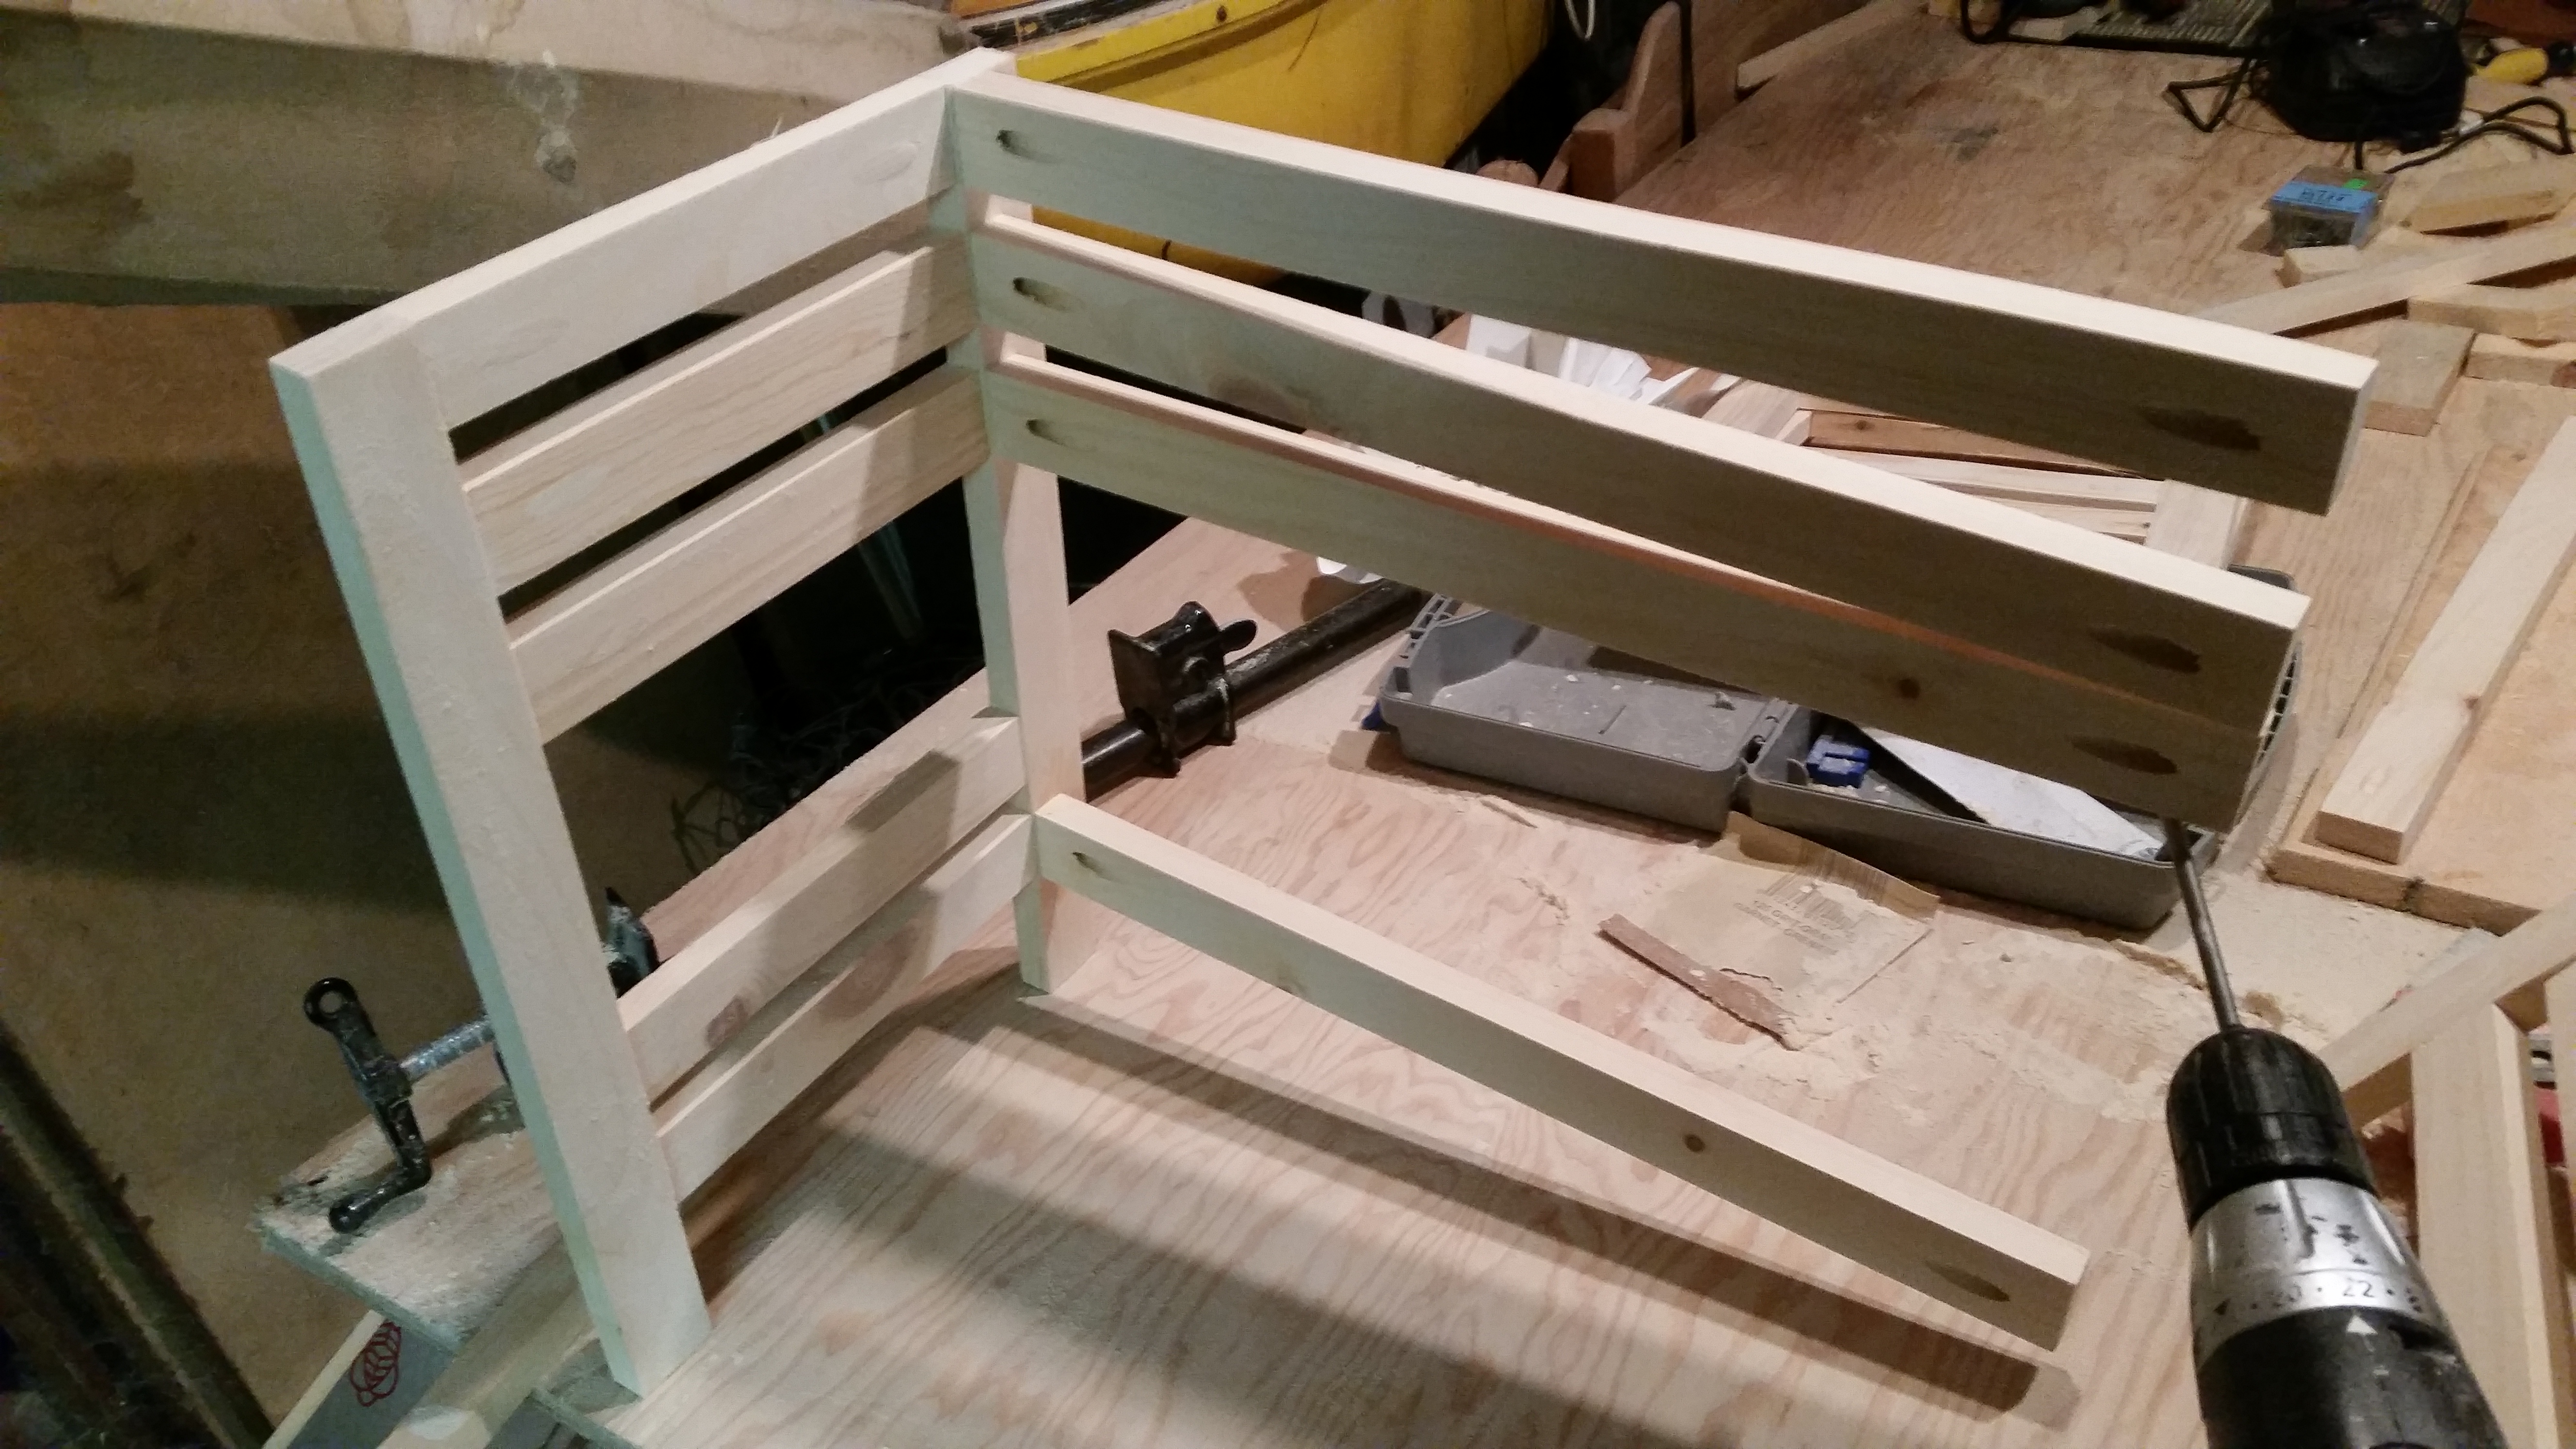

The post for the ladder/steps is held in place by brad nails and glue.
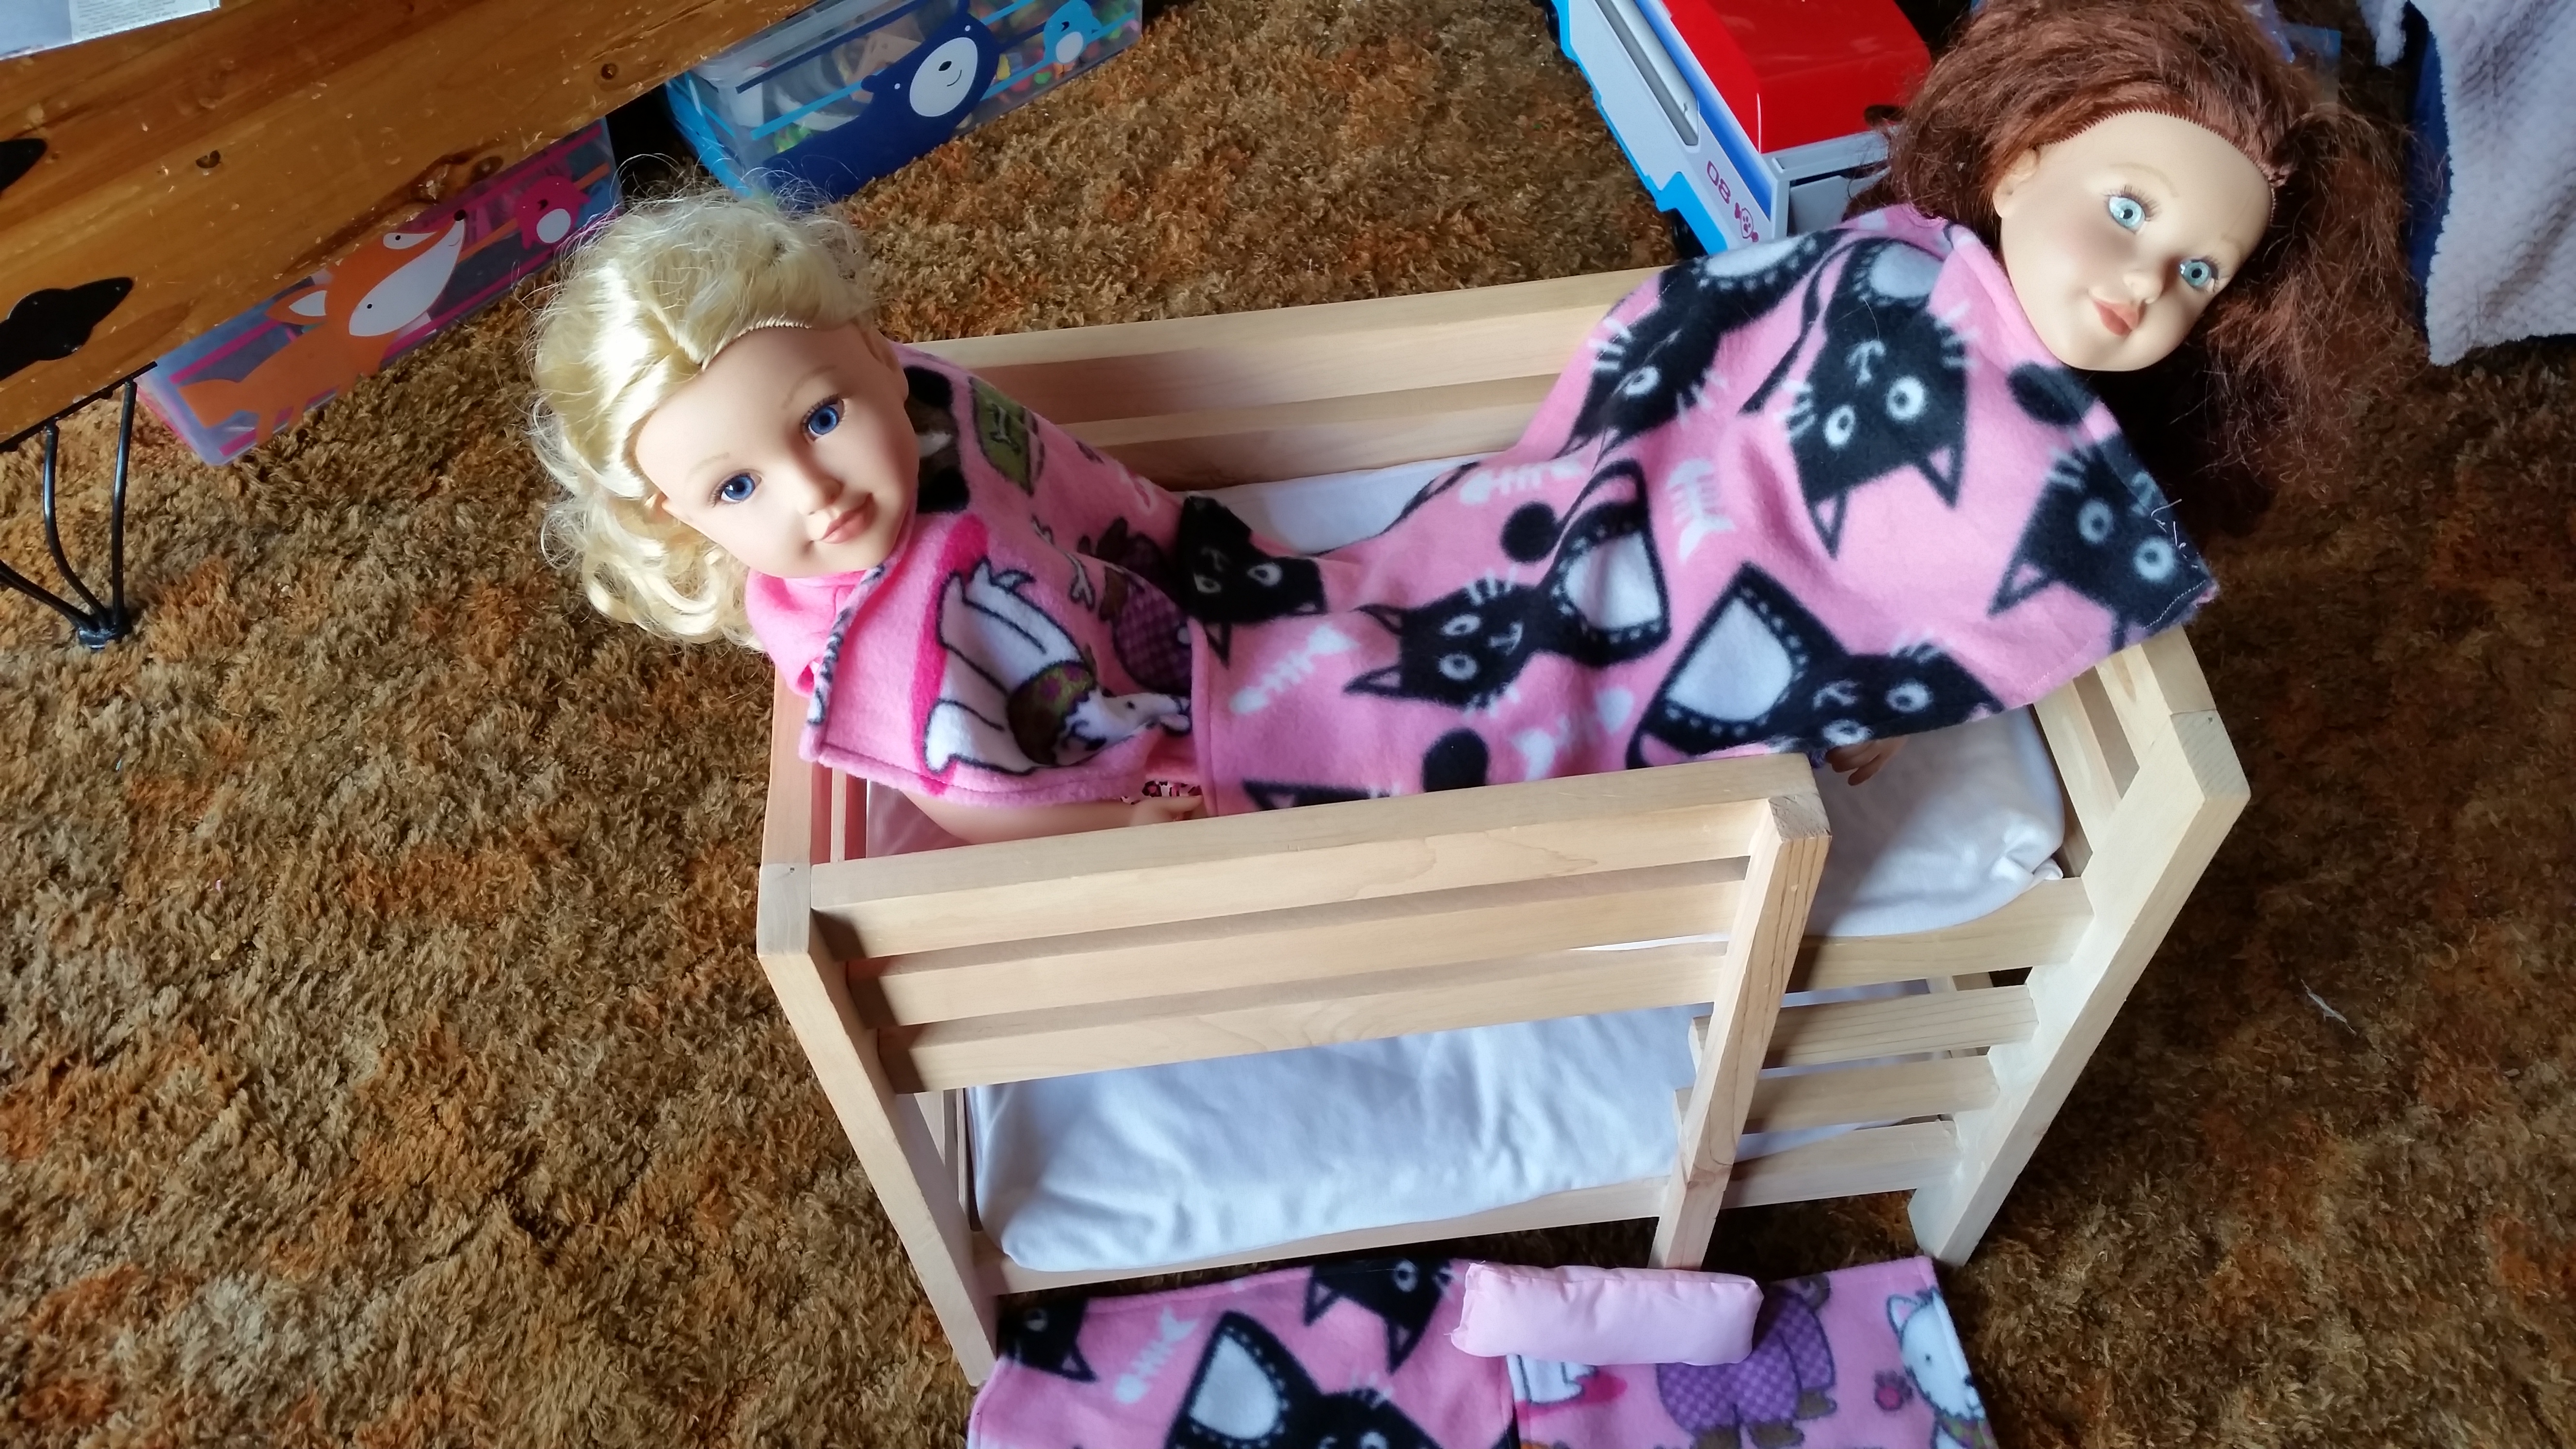
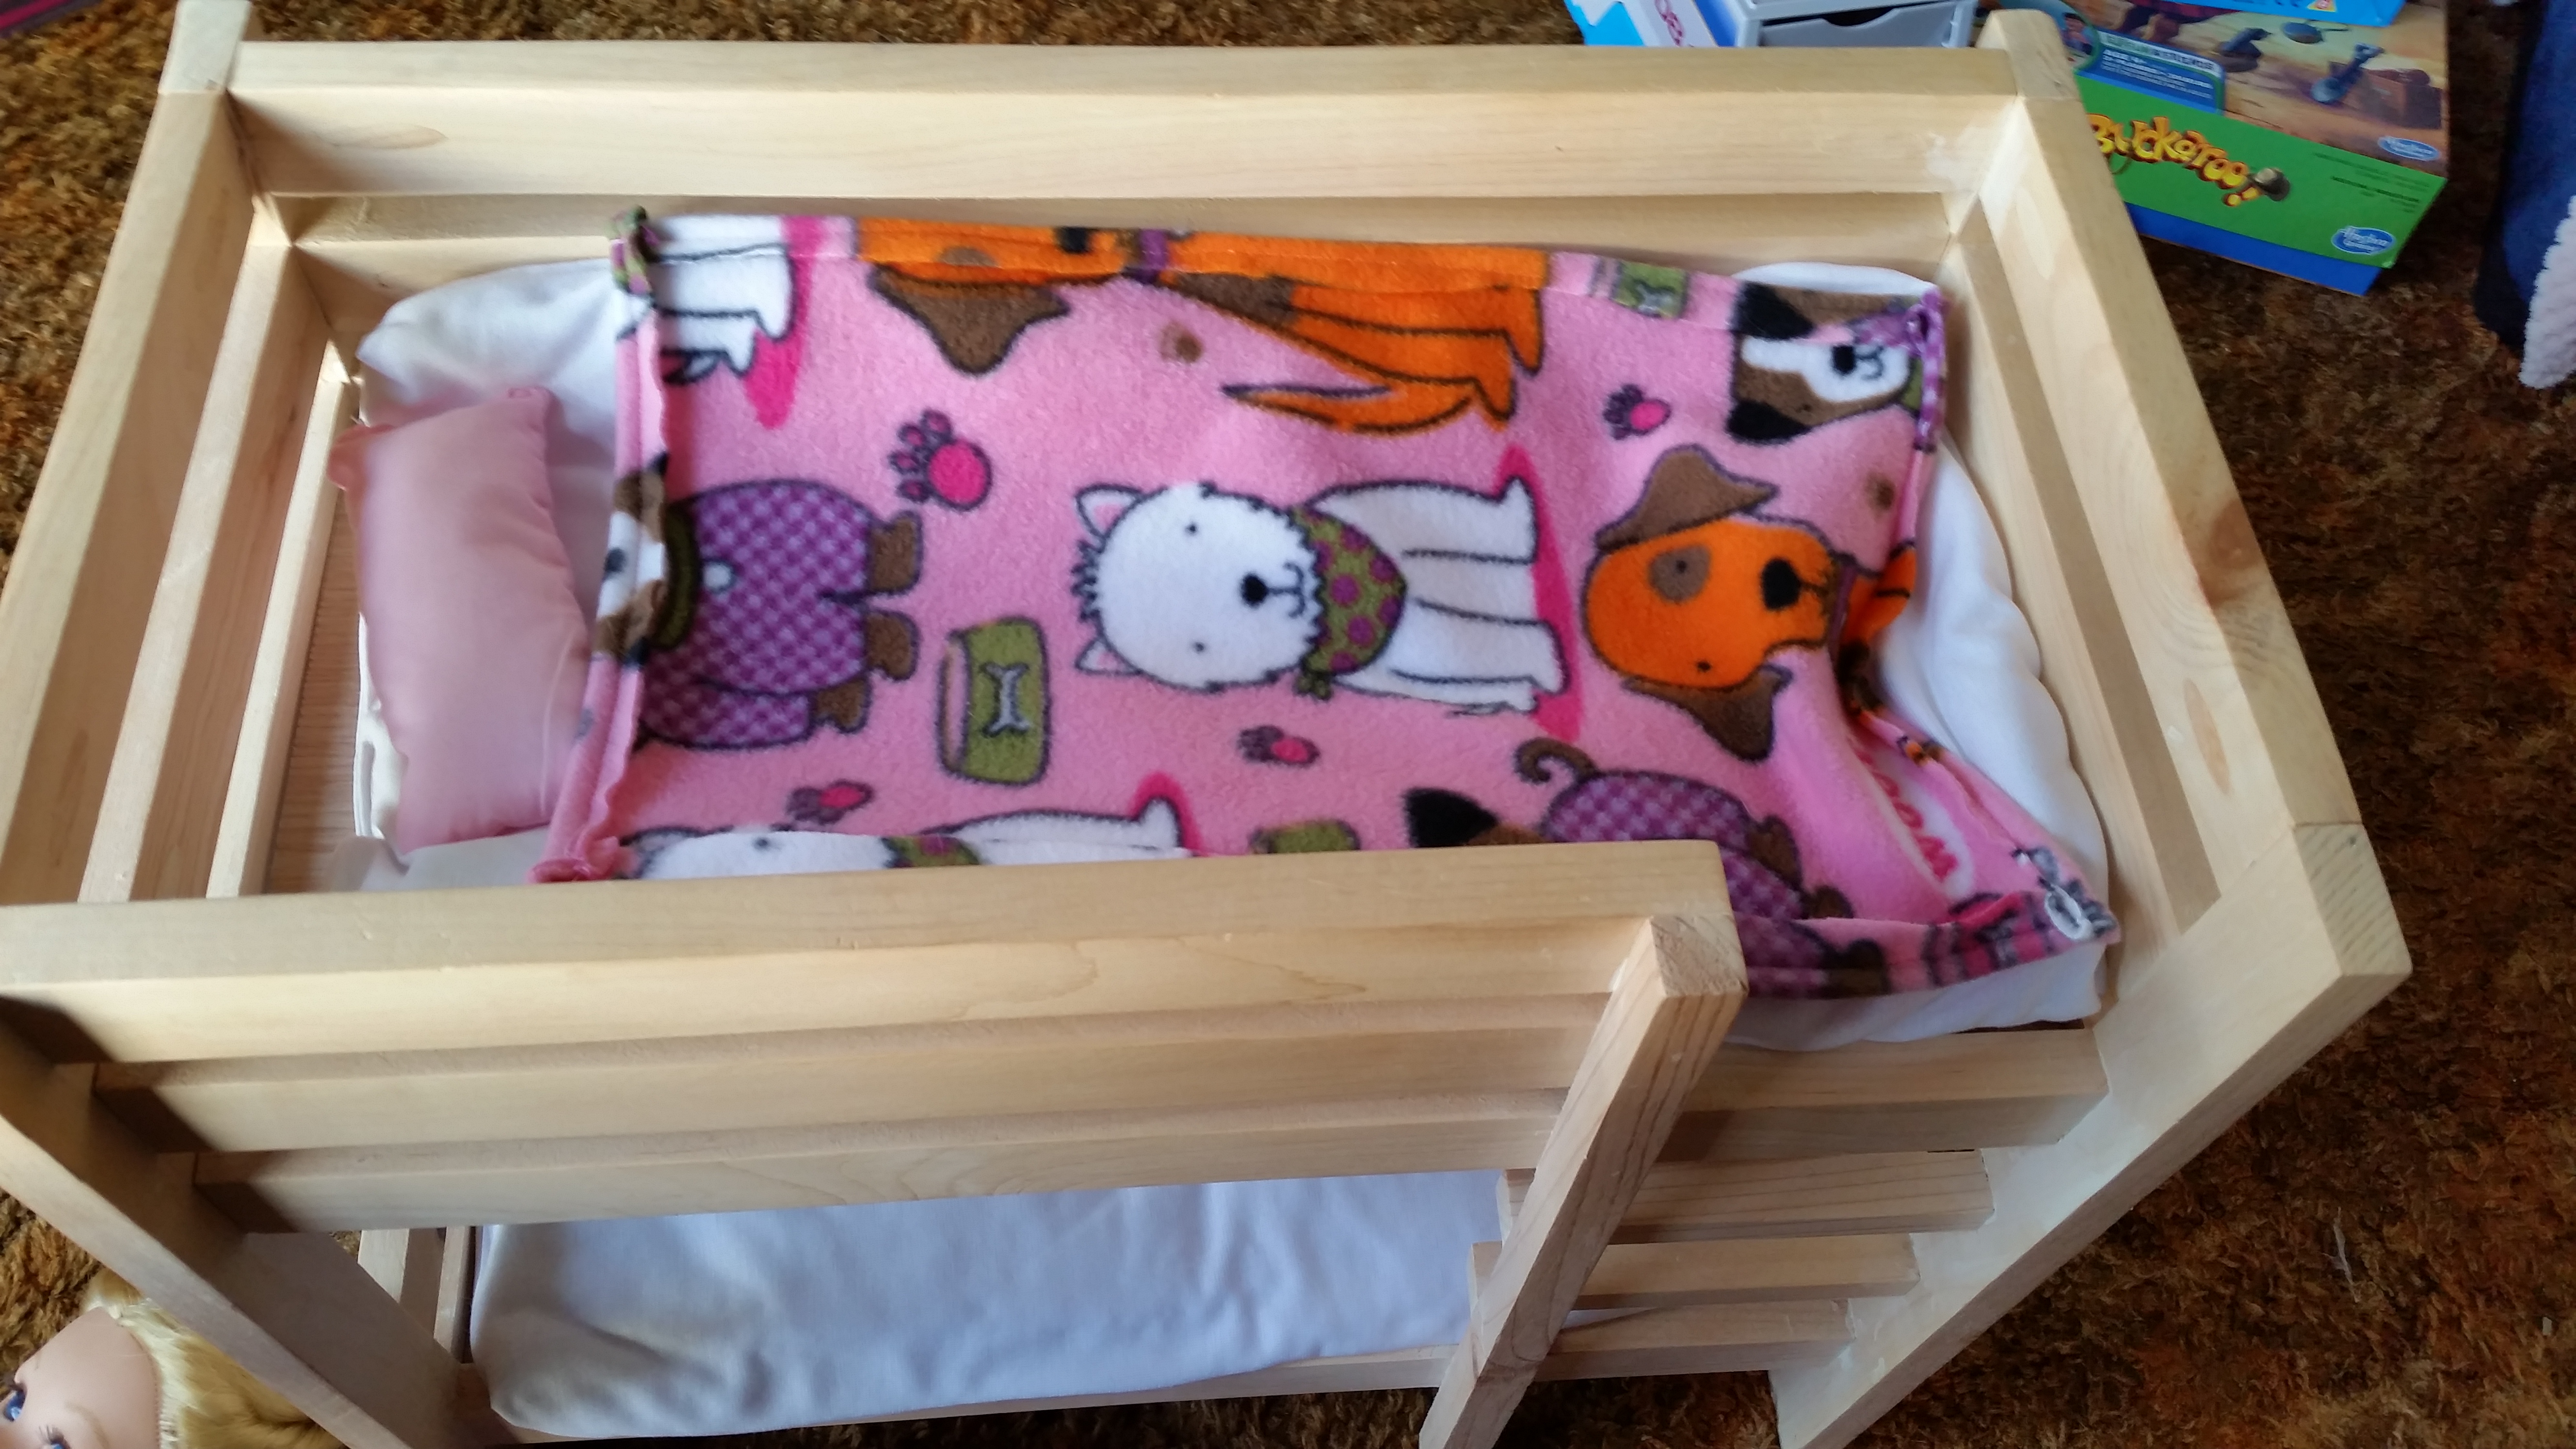
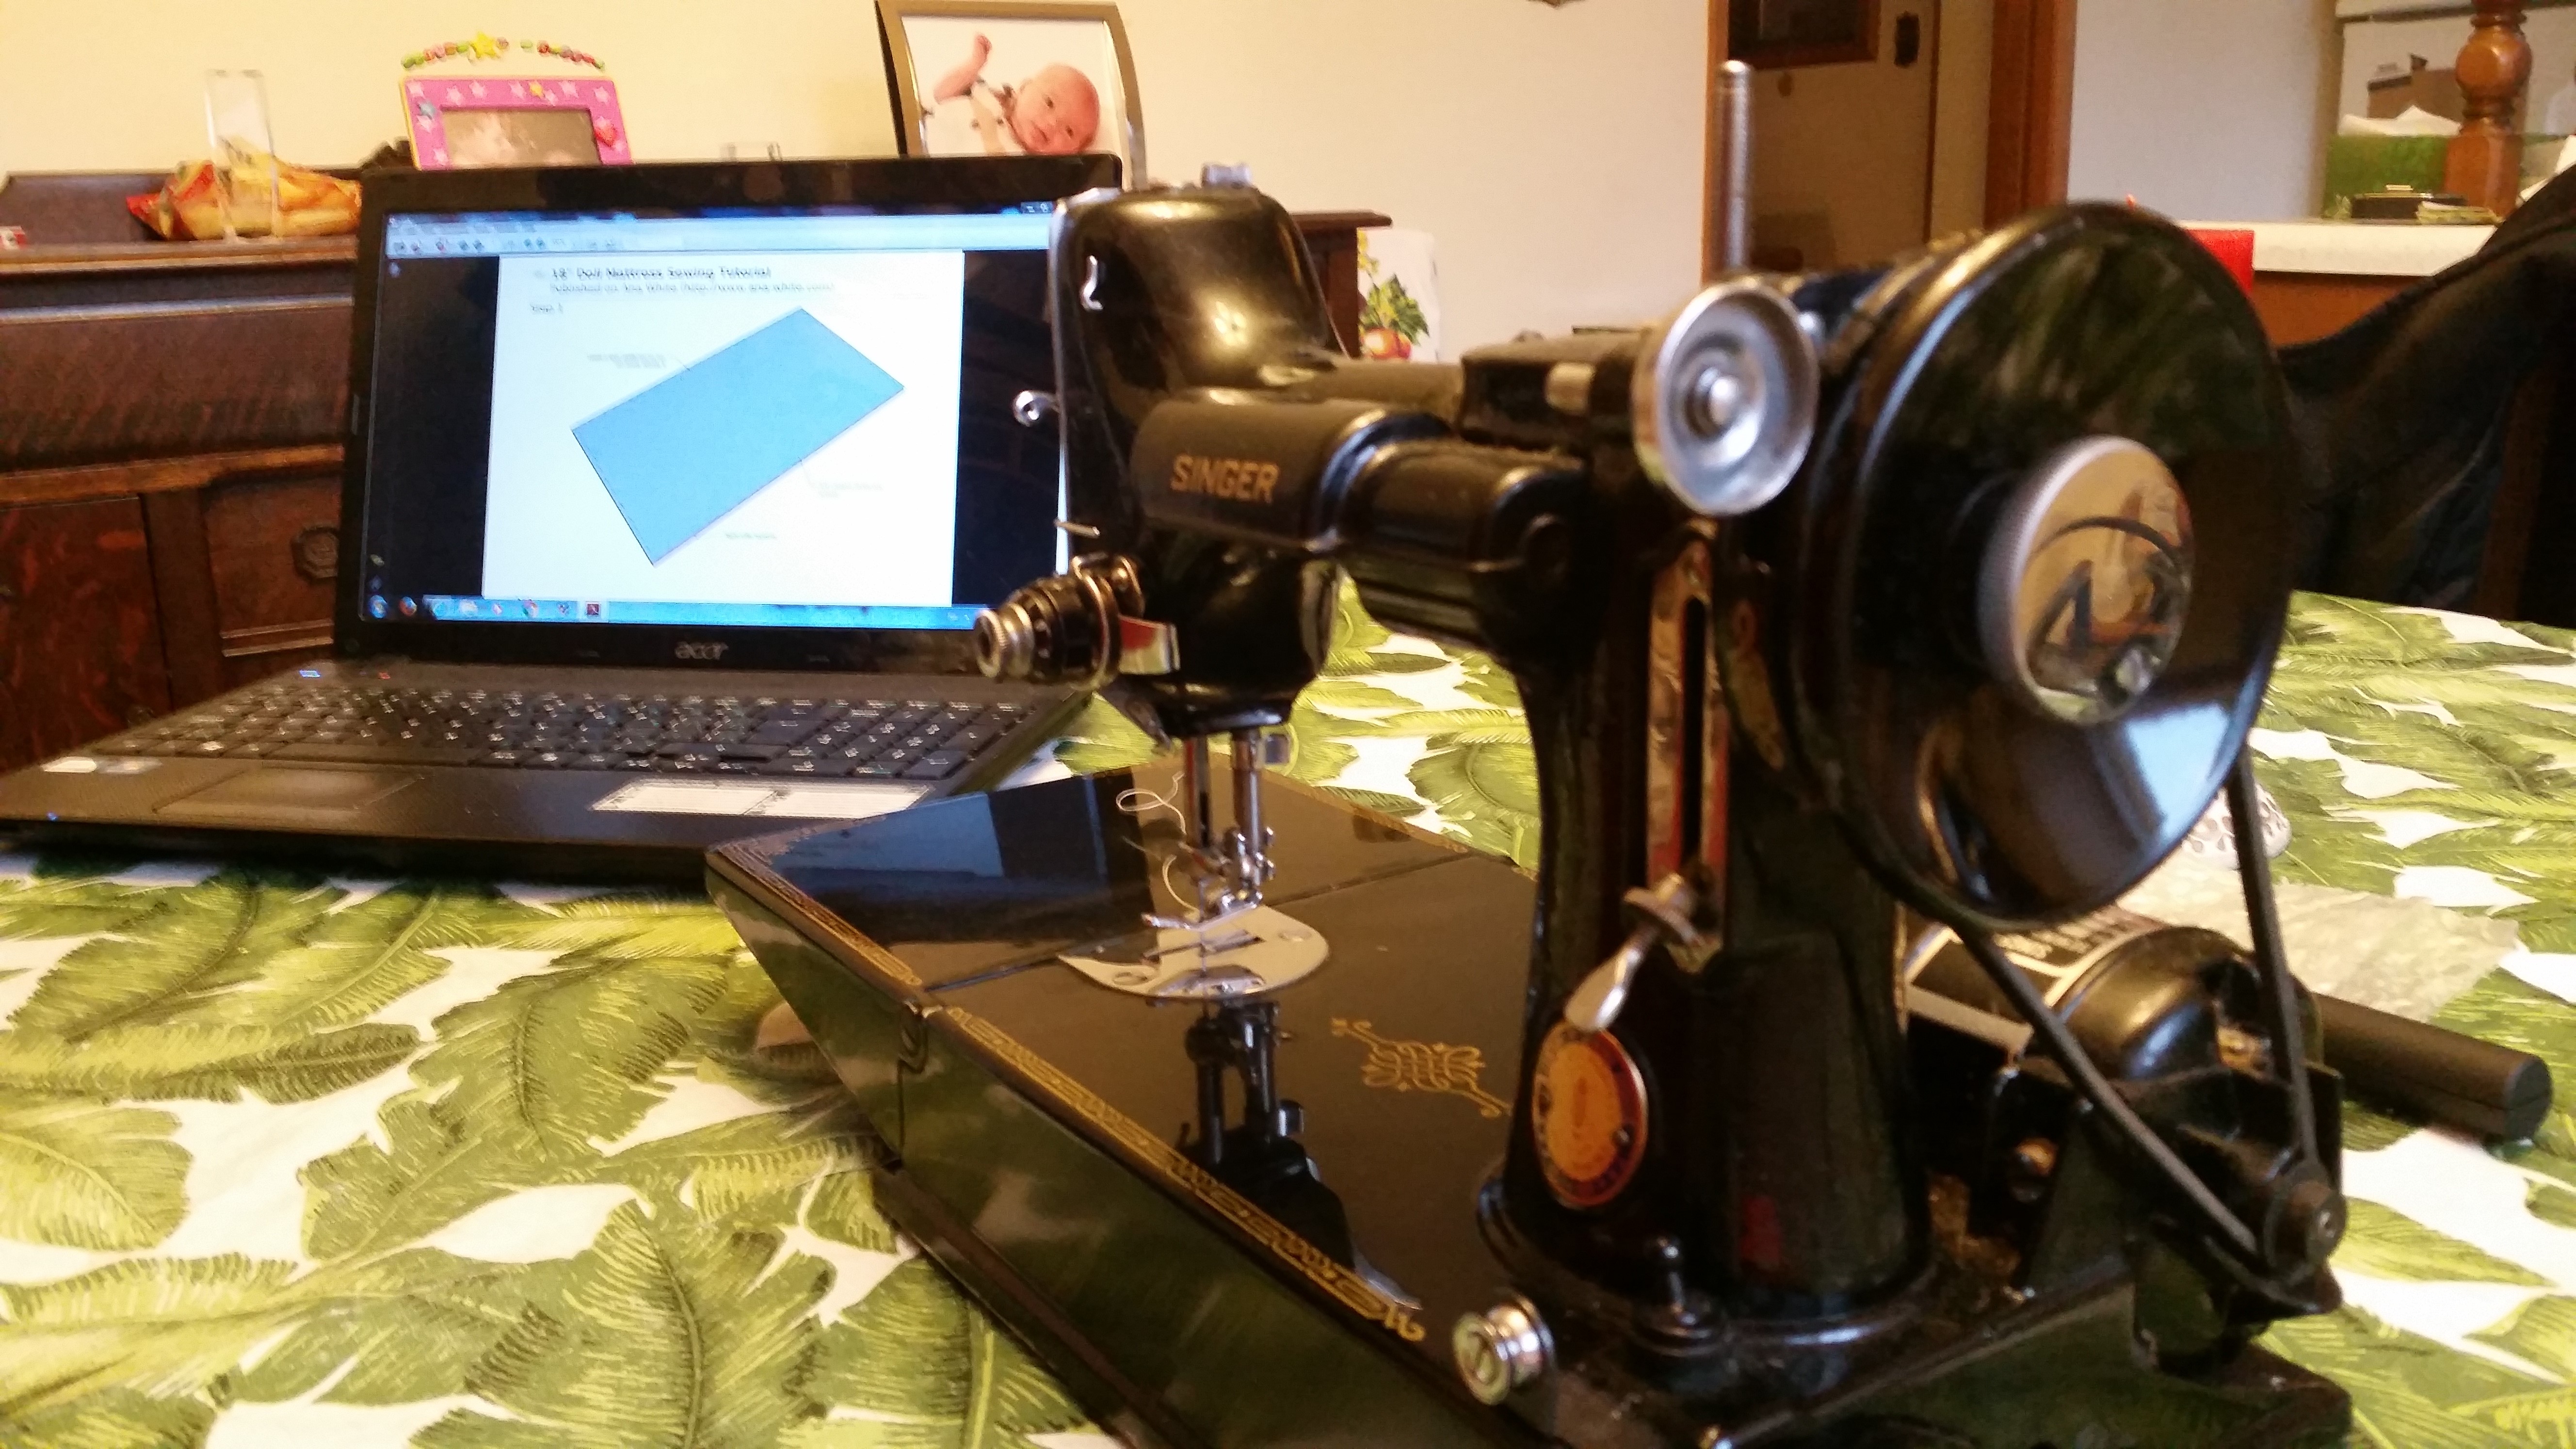
Now that the bunk bed is assembled bedding needed to be made. Ana White was a great tutorial on how to make the mattress, blankets and pillow.
 Cloth is hard to cut. I am a better carpenter than a tailor. Wood stays in a rigid straight line when you cut it. Fabric is all over the place. A new respect has been earned by me for anyone who works with cloth.
Three generations of technology has been used to build the doll bunk bed. I inherited my grandfathers wood working tools, the sewing machine is my mother-in-law’s (it was here mother-in-laws), and I used my laptop tethered to my cell phone to see the cut patterns as my mother-in-law does not have internet.
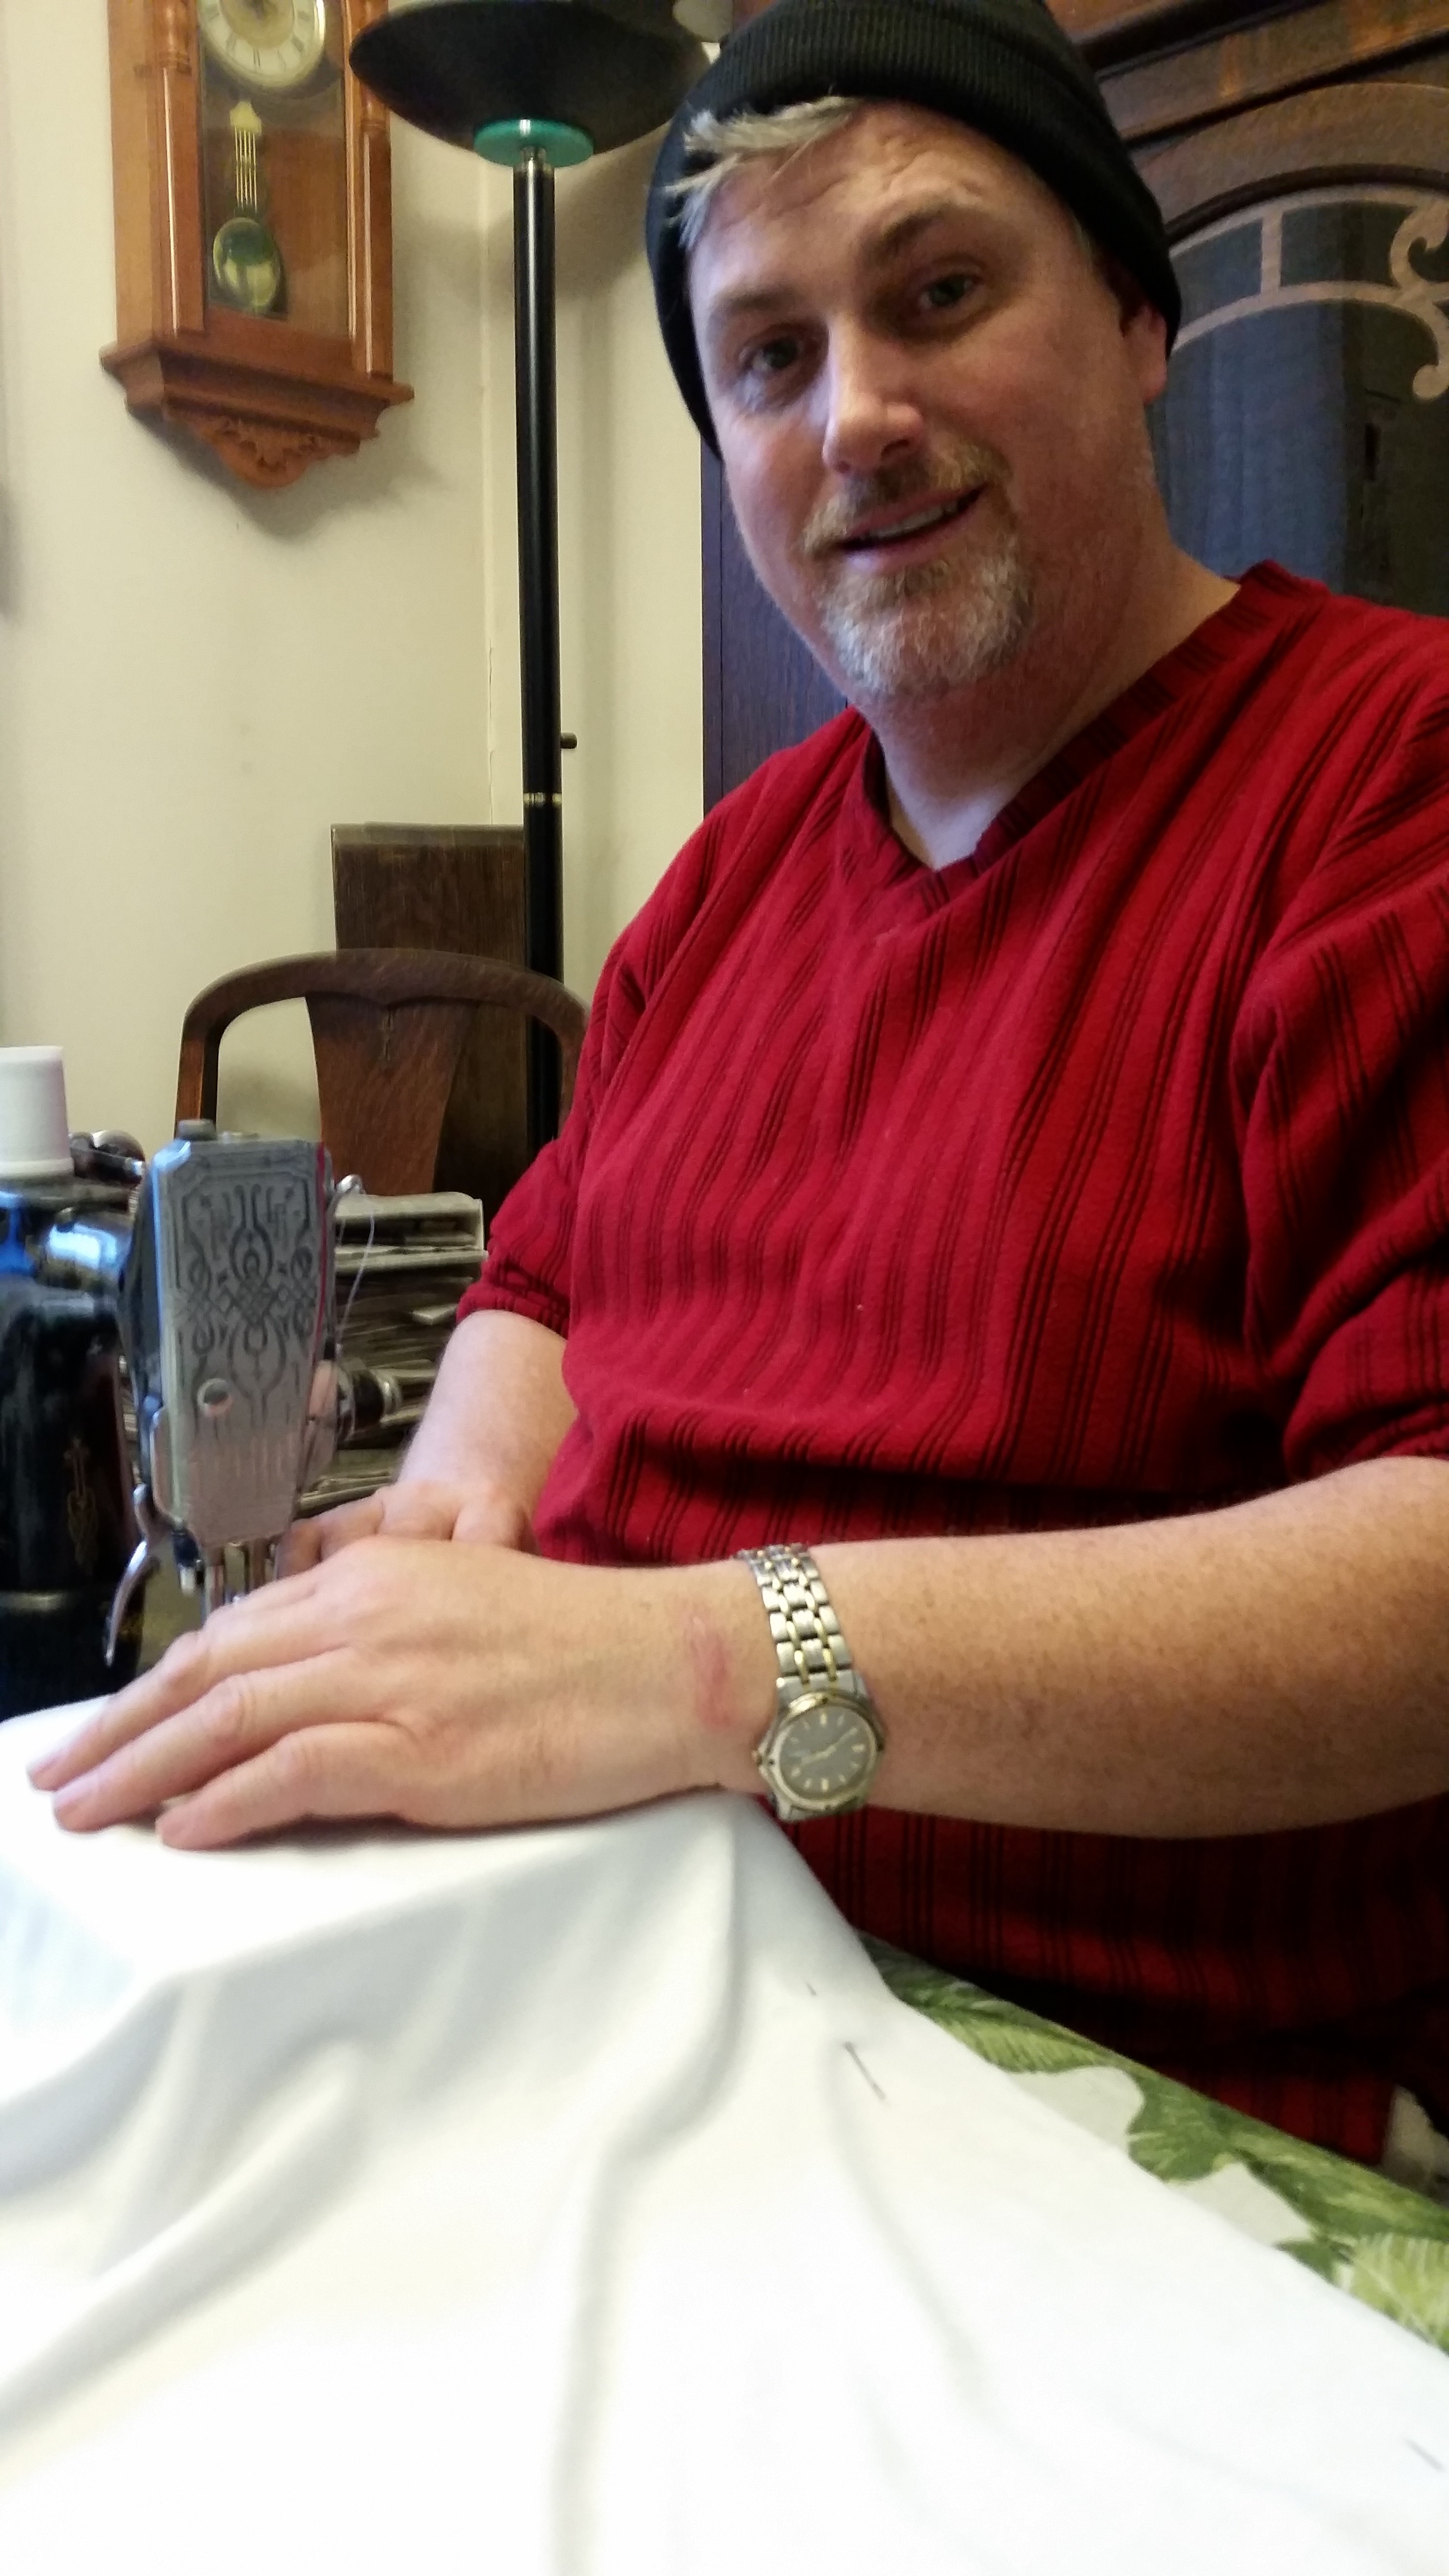
Grammy (my mother-in-law) showed me how to use the sewing machine. This was a bit of an ordeal as I learned about threading, bobbins and needles. It is a small miracle that I didn’t sew my finger to the cloth. I can still hear my home education teacher in high school yelling at me when I did this back in class. Nothing like a sewing machine to bring on a flashback. I had to post a pic of me sewing as my friends wouldn’t believe I did it. Once the ins and outs of the sewing where mastered it didn’t take too long to make the mattresses, pillows and bedding.
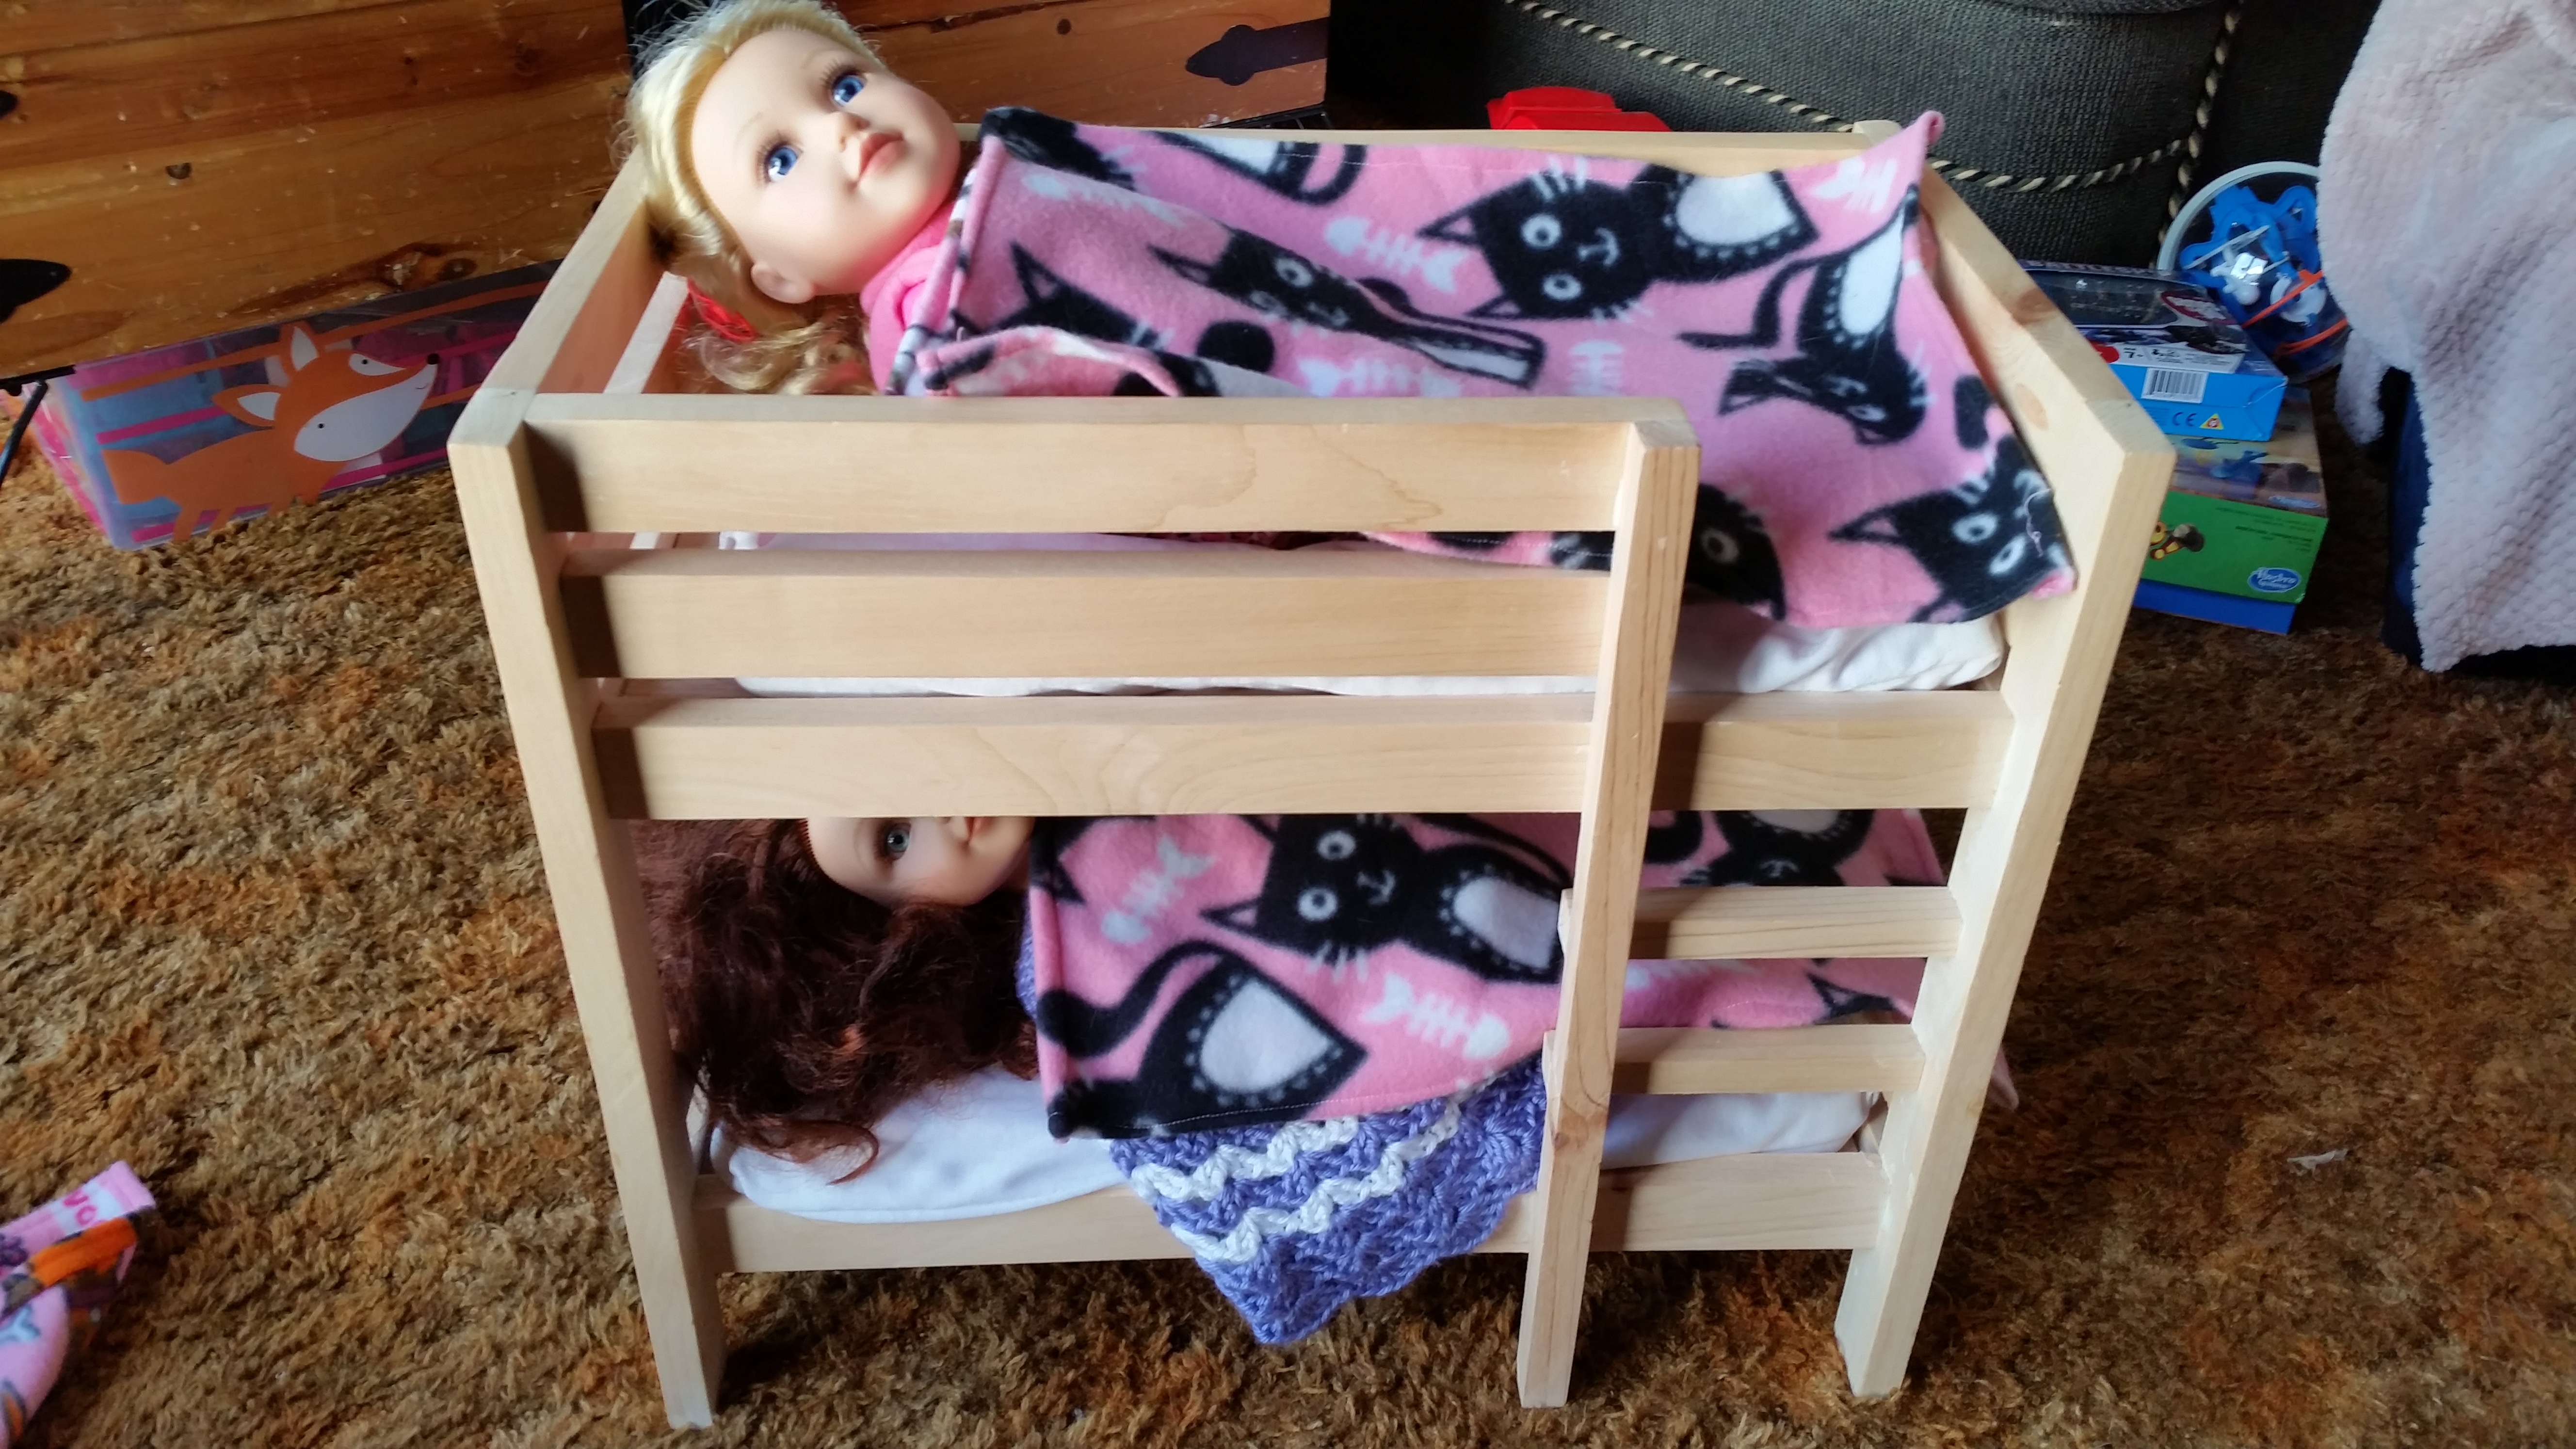
Here is the picture of the completed project. You will not find a happier girl at Christmas. She still plays with it everyday!!!