
Sandbox
The kids wanted me to build them a sandbox. Finally decided to go for it. They aren’t getting any younger and I haven’t seen too many teenagers looking for a place to play with their Tonkas. It has been a busy couple years in the yard. Considering I have built a Tree House, Outdoor Fire Place (still a work in progress) and some planters. This doesn’t include starting a blog , working full time and being a dad.
We had some friends over a few weeks ago. They asked my son if Daddy was going to build him a sandbox. He said “I hope so, I’ve been waiting for ten years”. Summer must must have felt like an eternity for him, considering he is only five.
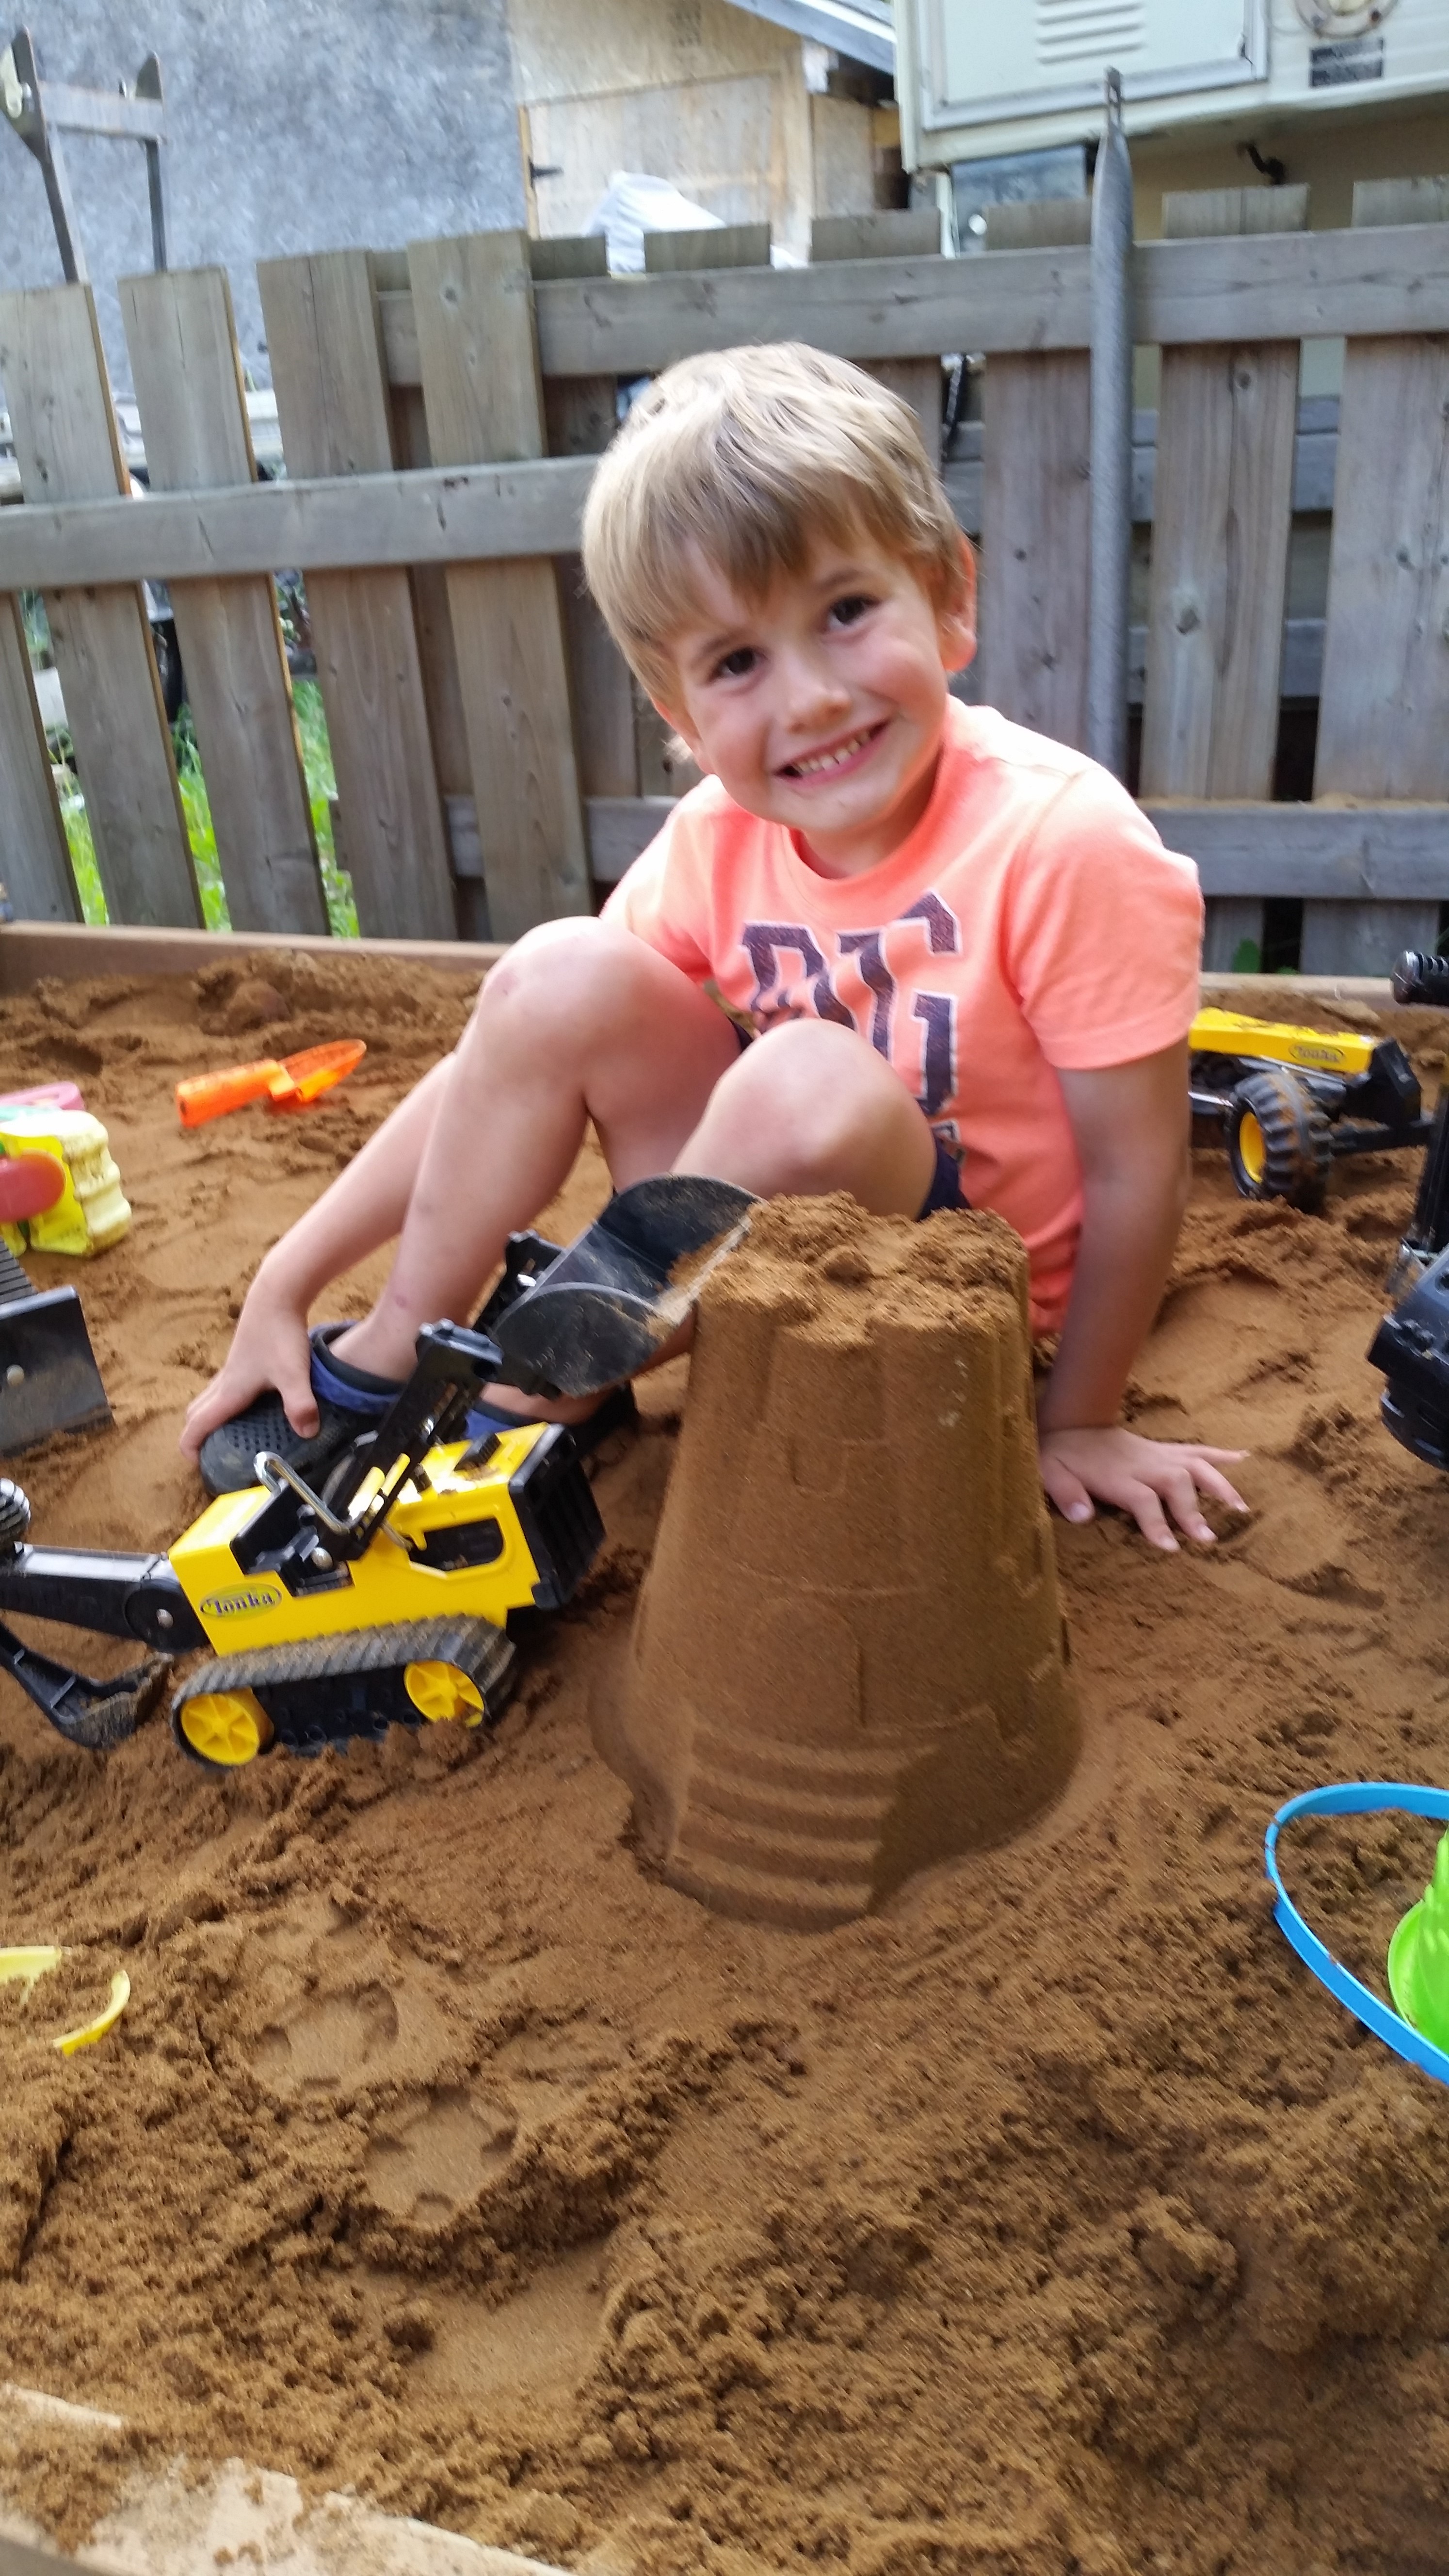
The reason for a covered sandbox would be to keep the critters from using it as a litter box. Bench seating is an added bonus. Kids love getting dirty and playing in the sand. It is good for child development and imagination.
Here are some items you will need to build your sandbox.
Tools:
- Speed Square
- Tape Measure
- Safety Glasses
- Pencil
- Drill
- Drill Bit Set
- Mitre Saw
- Circular Saw
- Level
- Shovel
- Pick Axe
- Wheelbarrow
Materials:
- 2 x 12 Boards
- 1 x 6 boards
- 2 x 4 Board
- 12 Hinges
- Screws
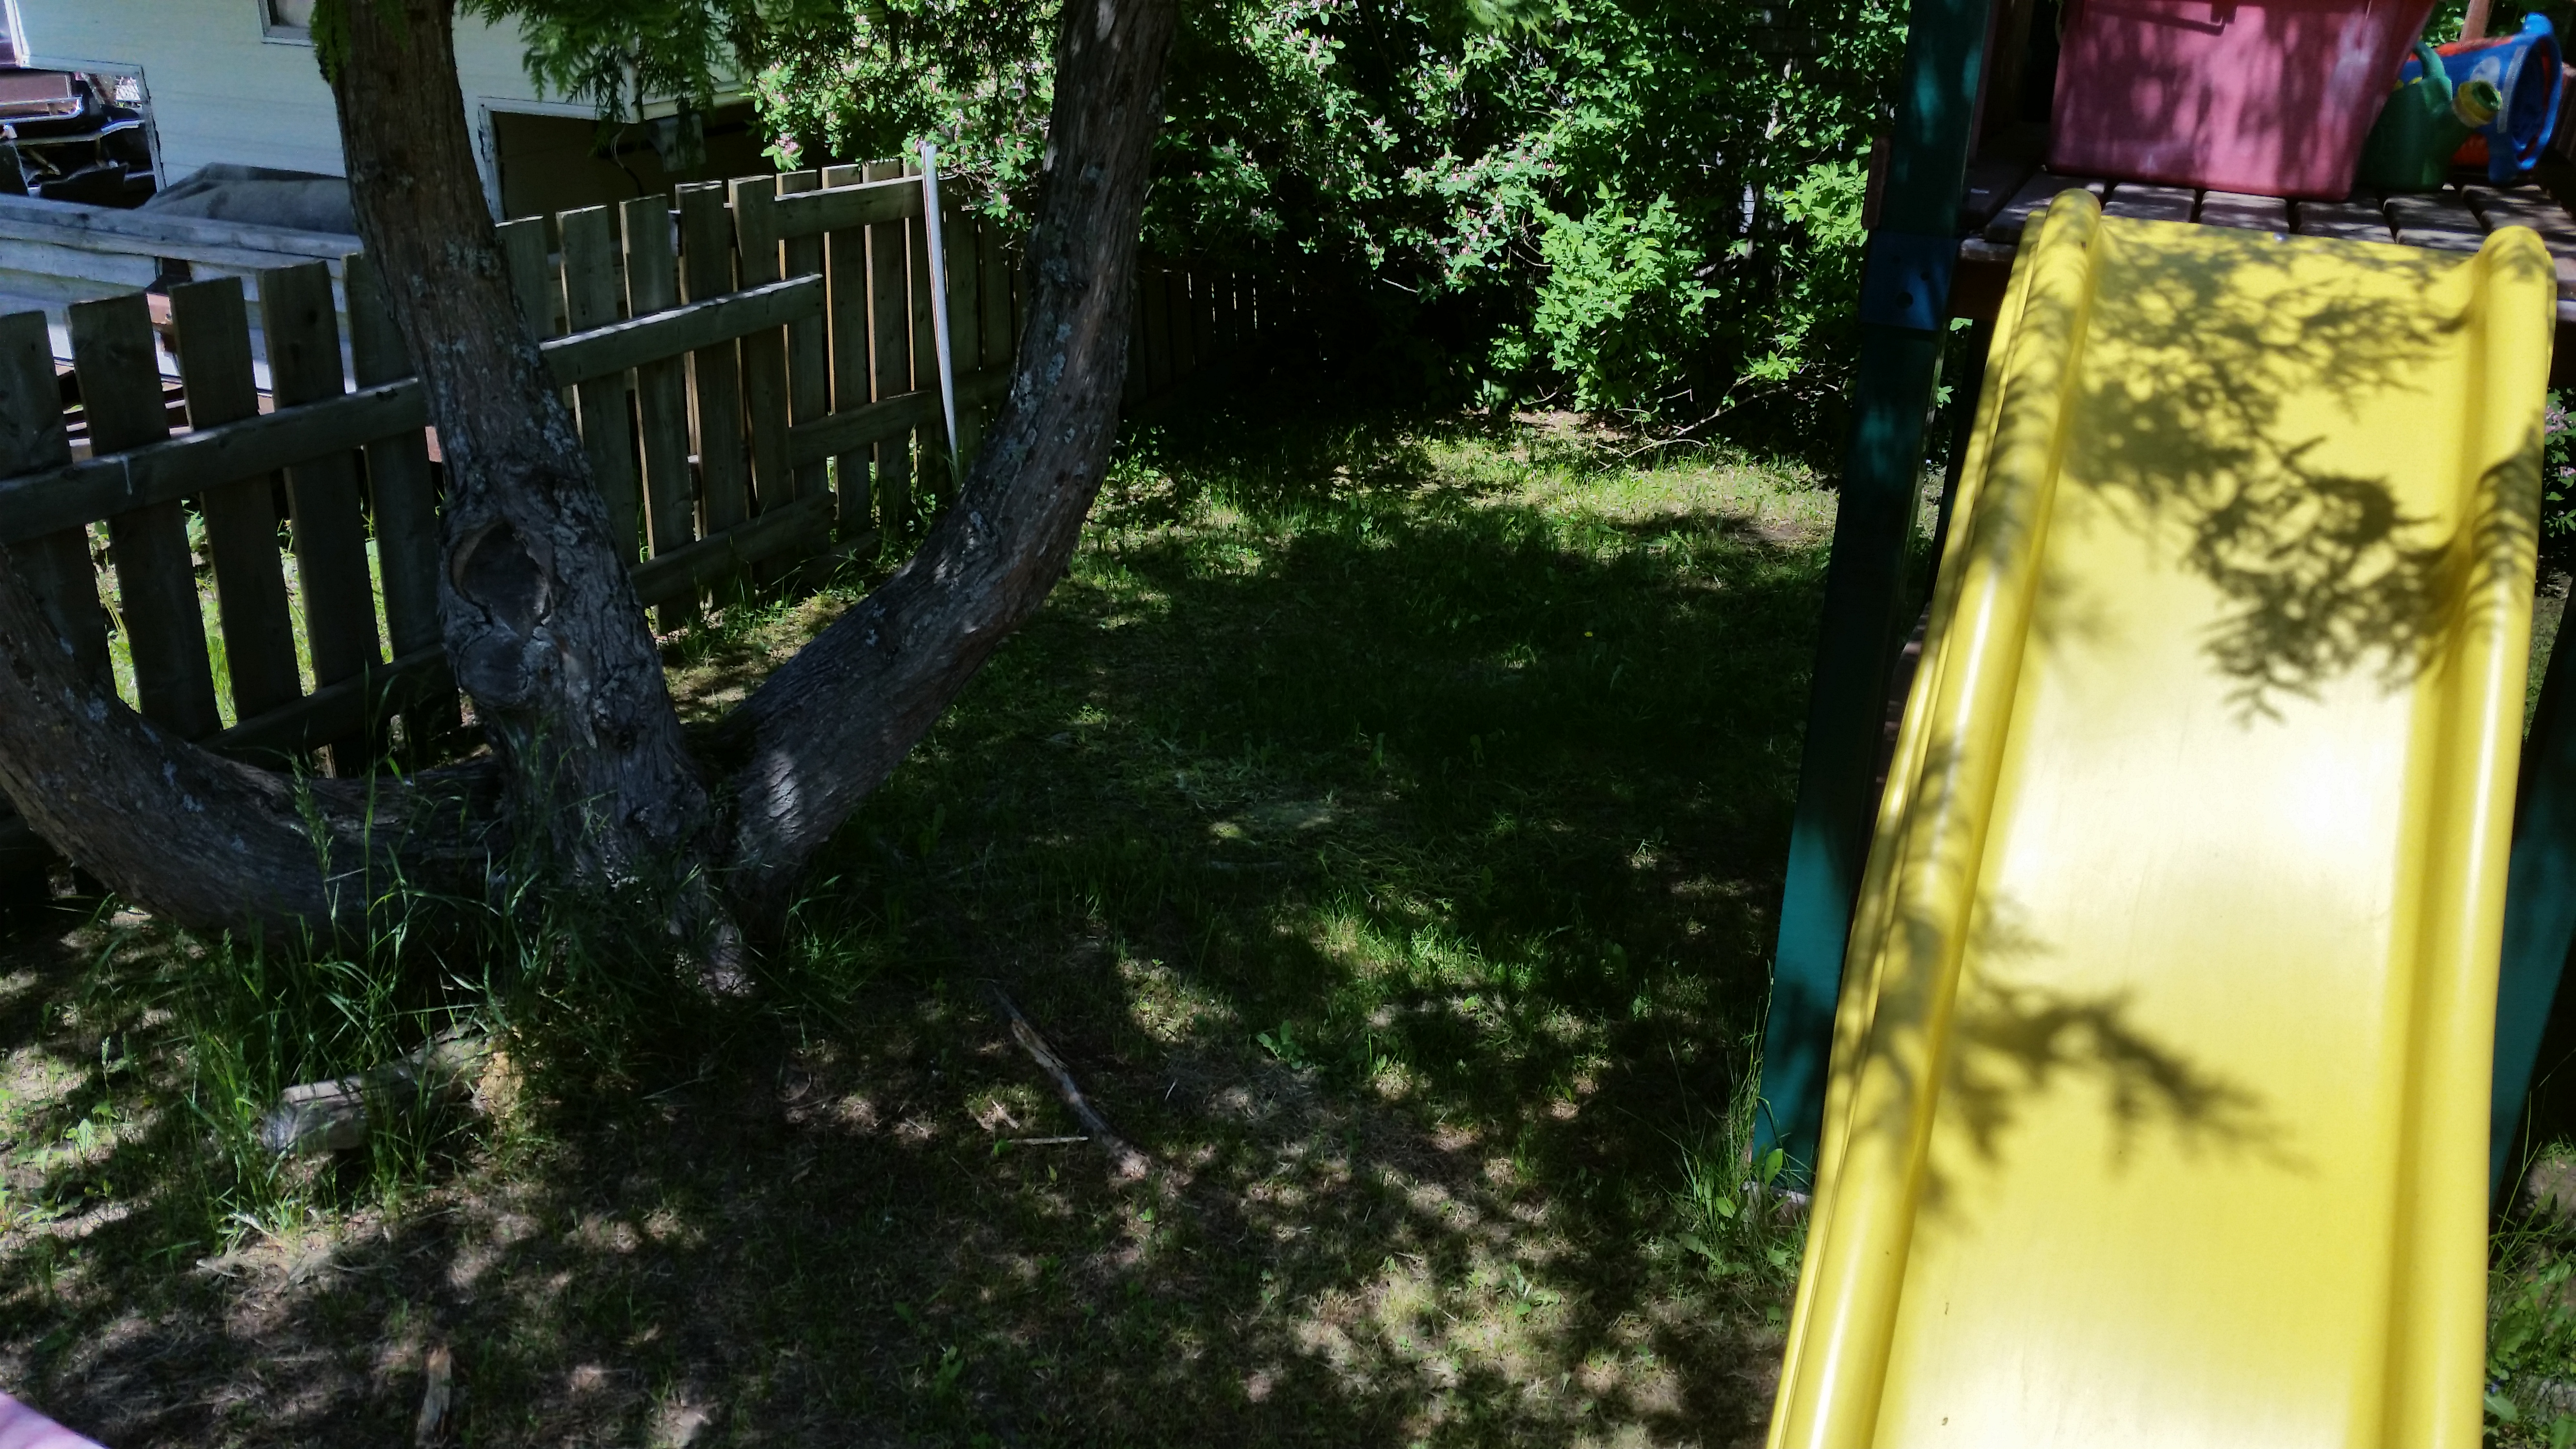
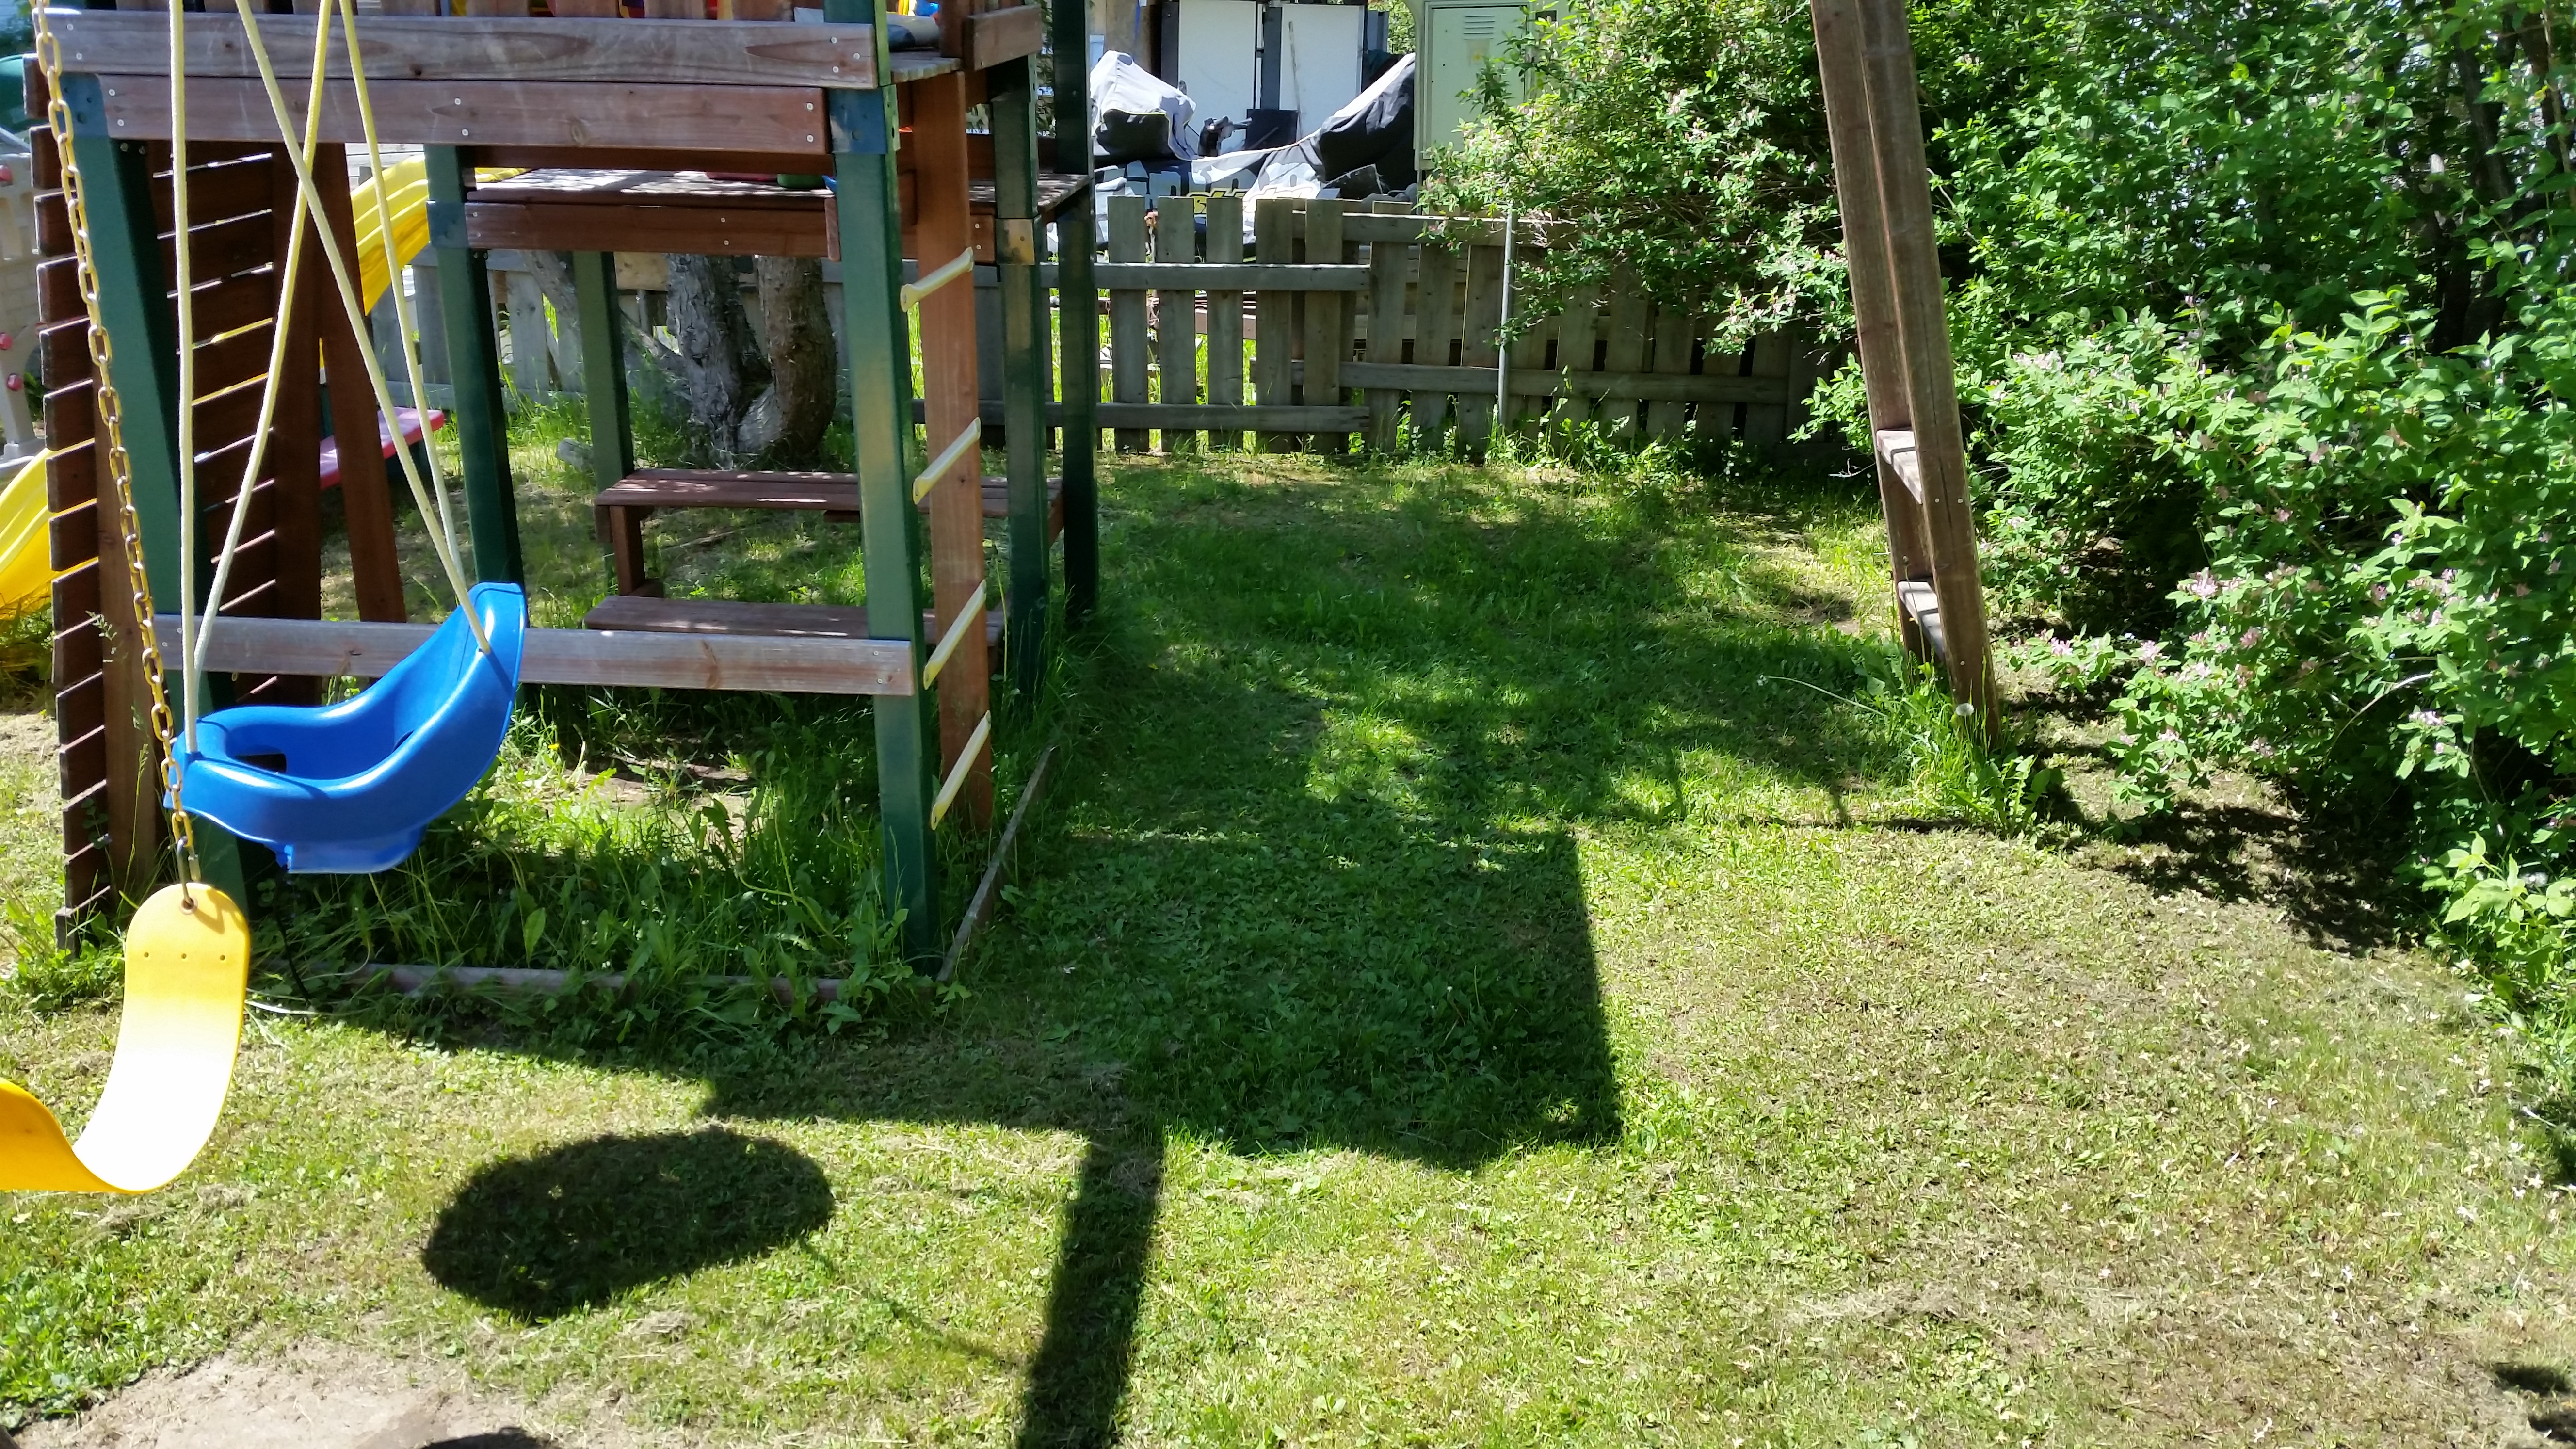
Step 1: Find a Location
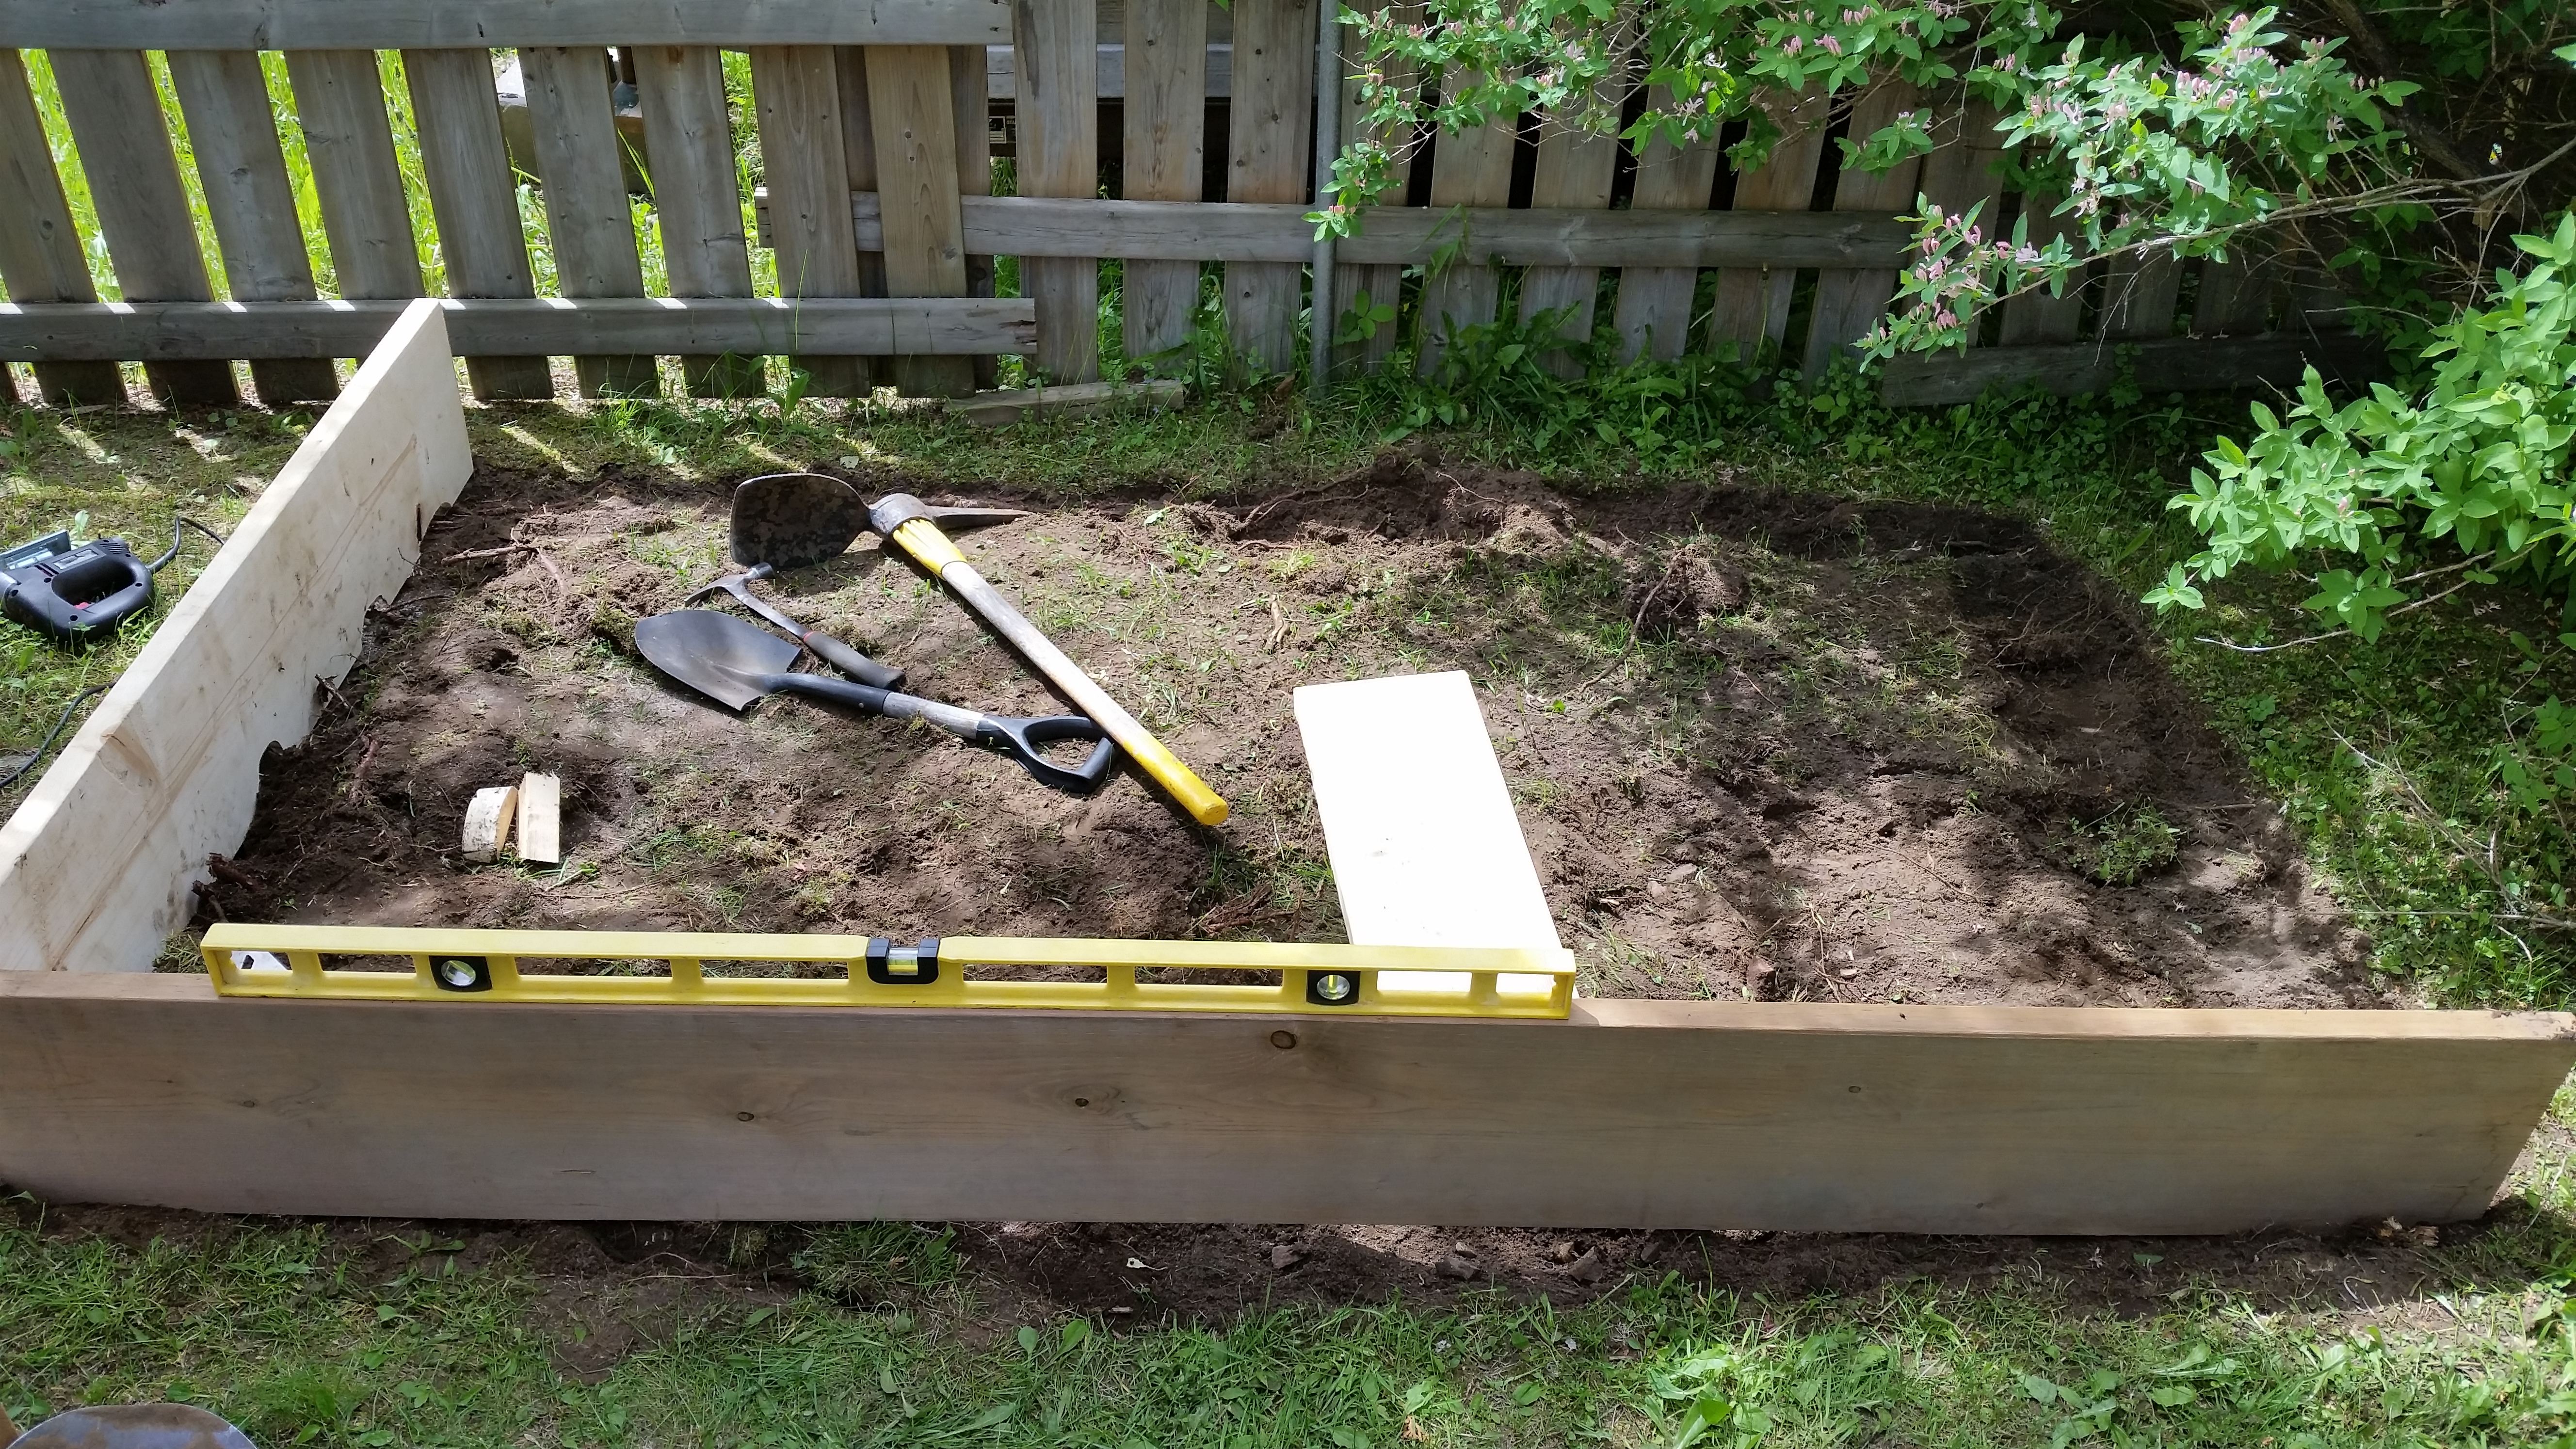
Summer days can be long and hot. A place in the yard had to be found where the kids could play and still have some shade. My wife and I finally decided to build the sandbox in the back corner under the trees and behind the swing-set. Another advantage to being here is that it does not use up open space in the yard. Two disadvantages to building here is that there is not much room to work and putting the sand in the box would be considerable manual labor.
Step 2: Layout
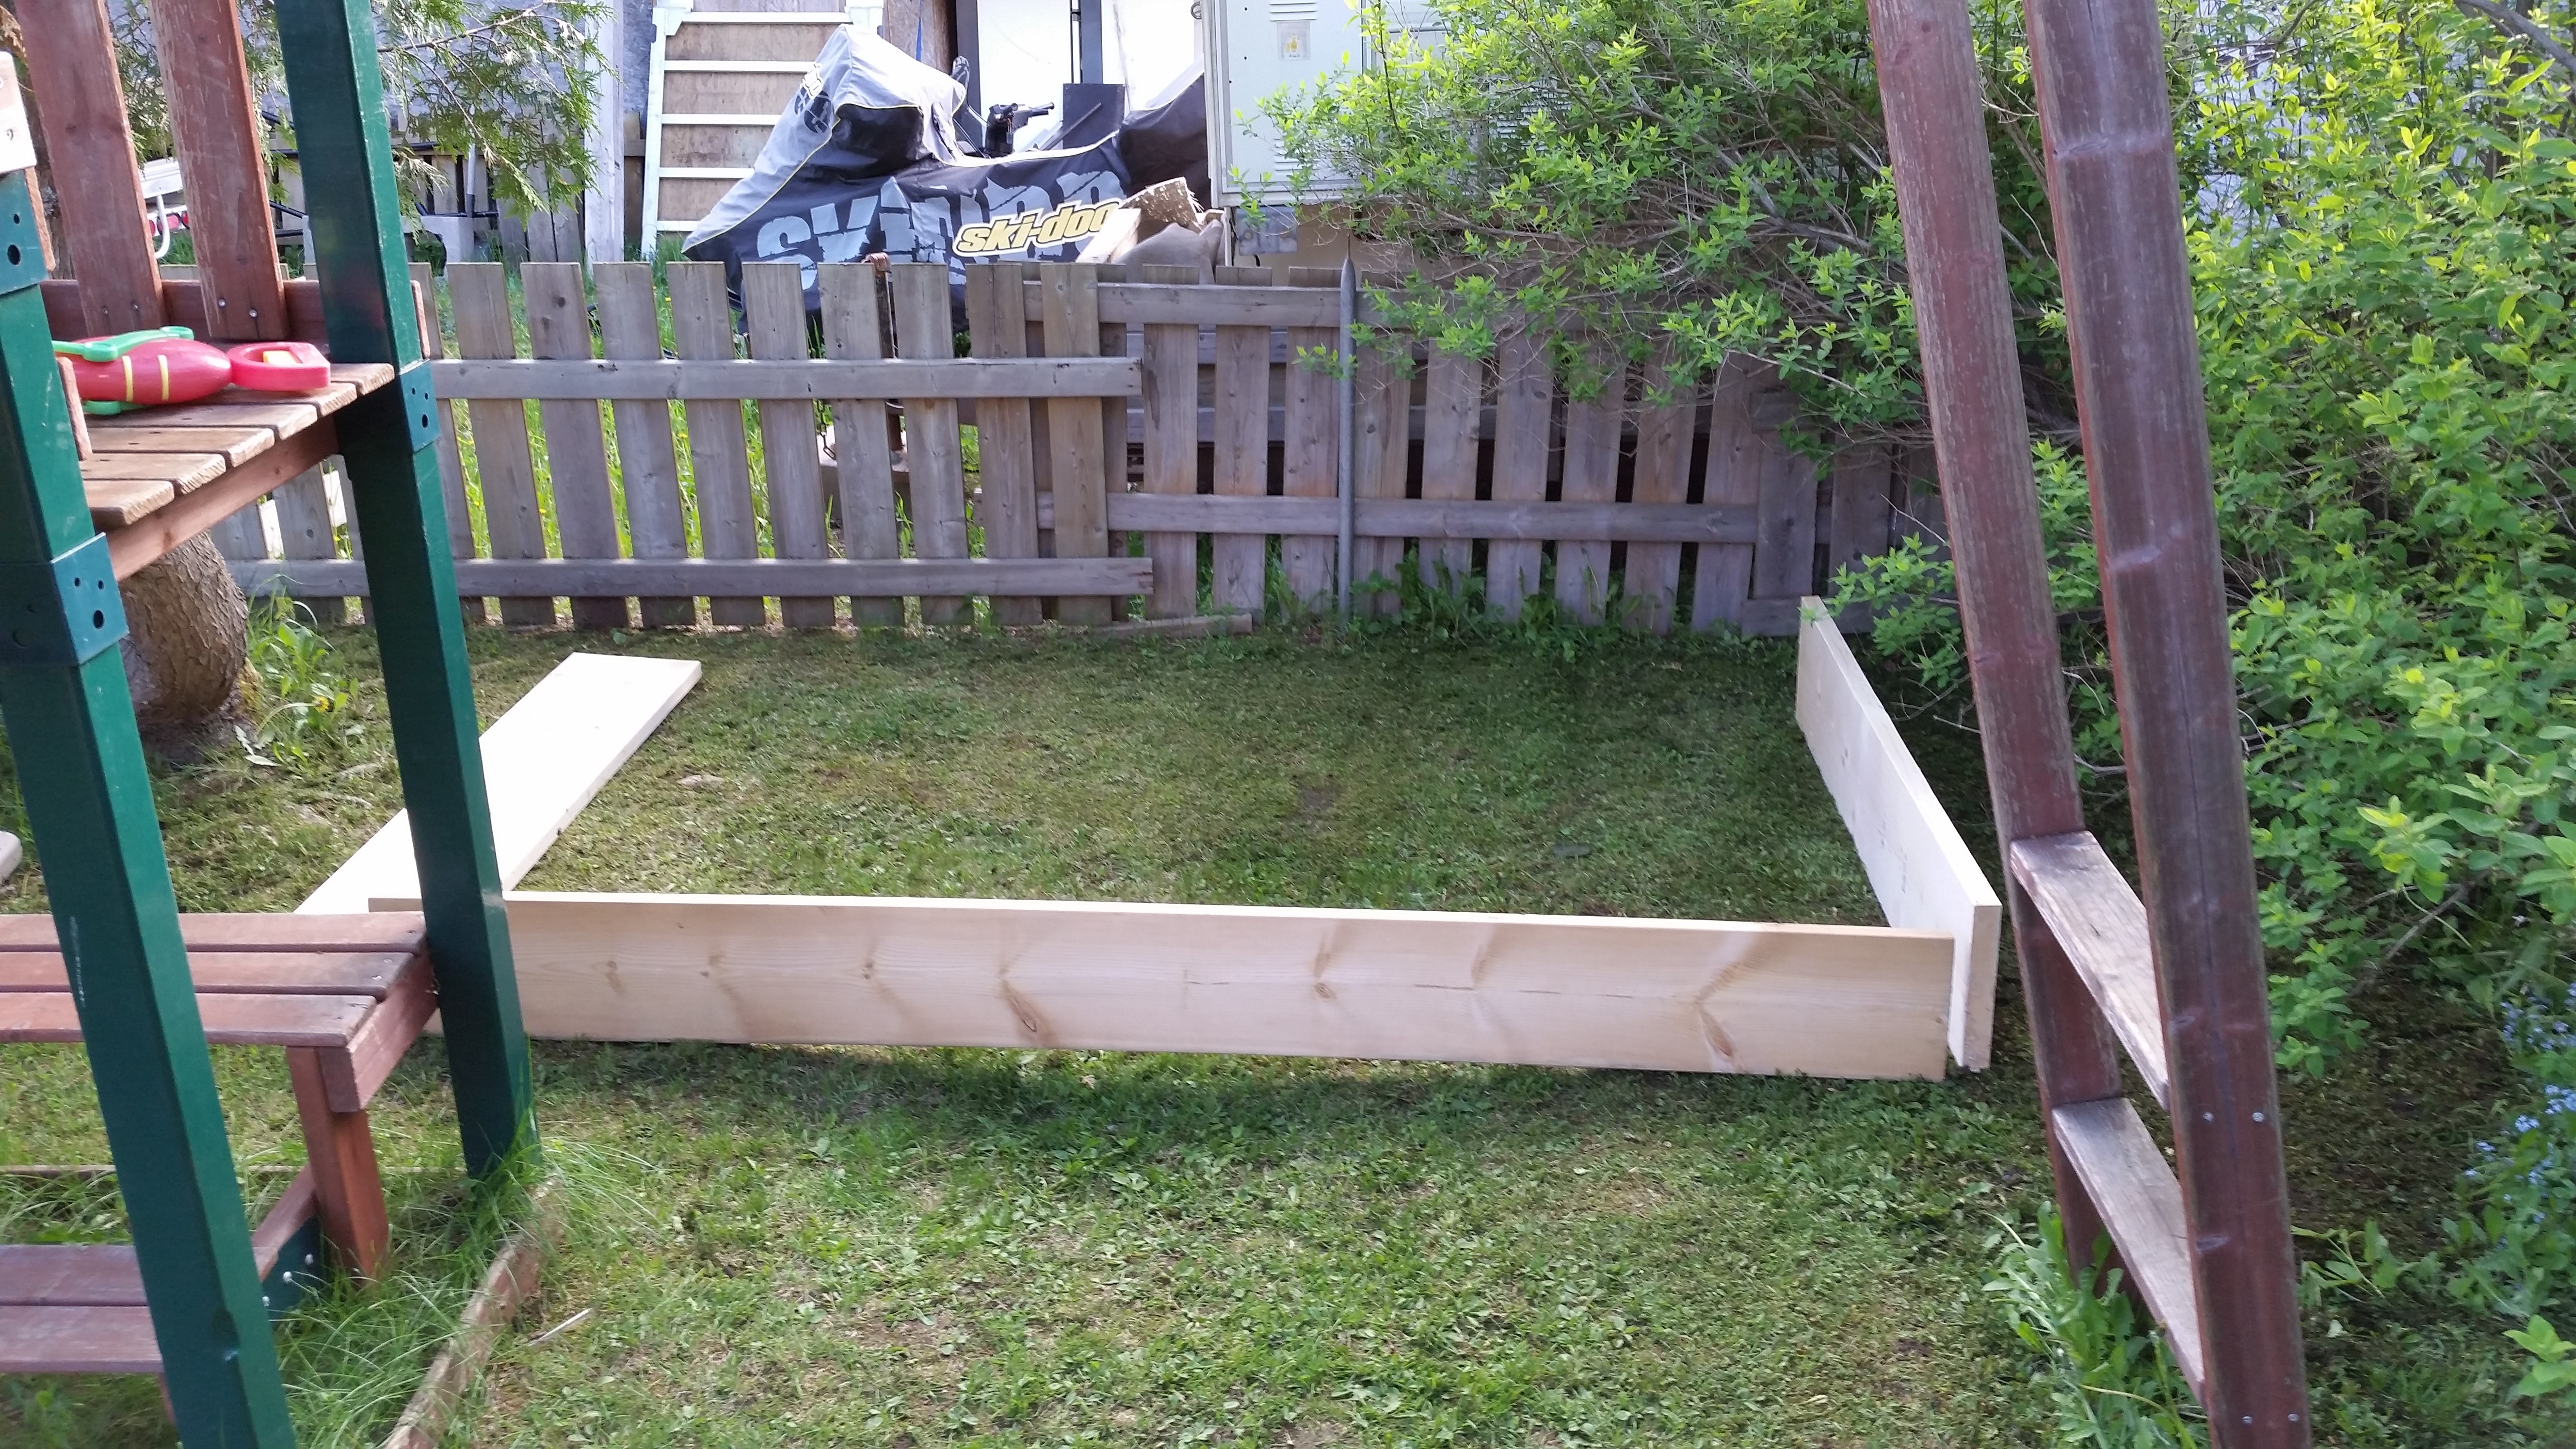
Most instructions online use 2×6 and 2×8. I settled on 2×12. This would allow for more sand to be put in the sandbox. Who hasn’t tried to dig to China growing up? Twelve inches is a long way from China but should give enough depth to satisfy any digger. Following in Tinkering with Tony style I tweaked the instructions I found and decided to make the box bigger. Who has room to play in a 4×4 foot sandbox? The final size I decided on was 5×8 feet. This presented some other challenges that I will discuss in this post.
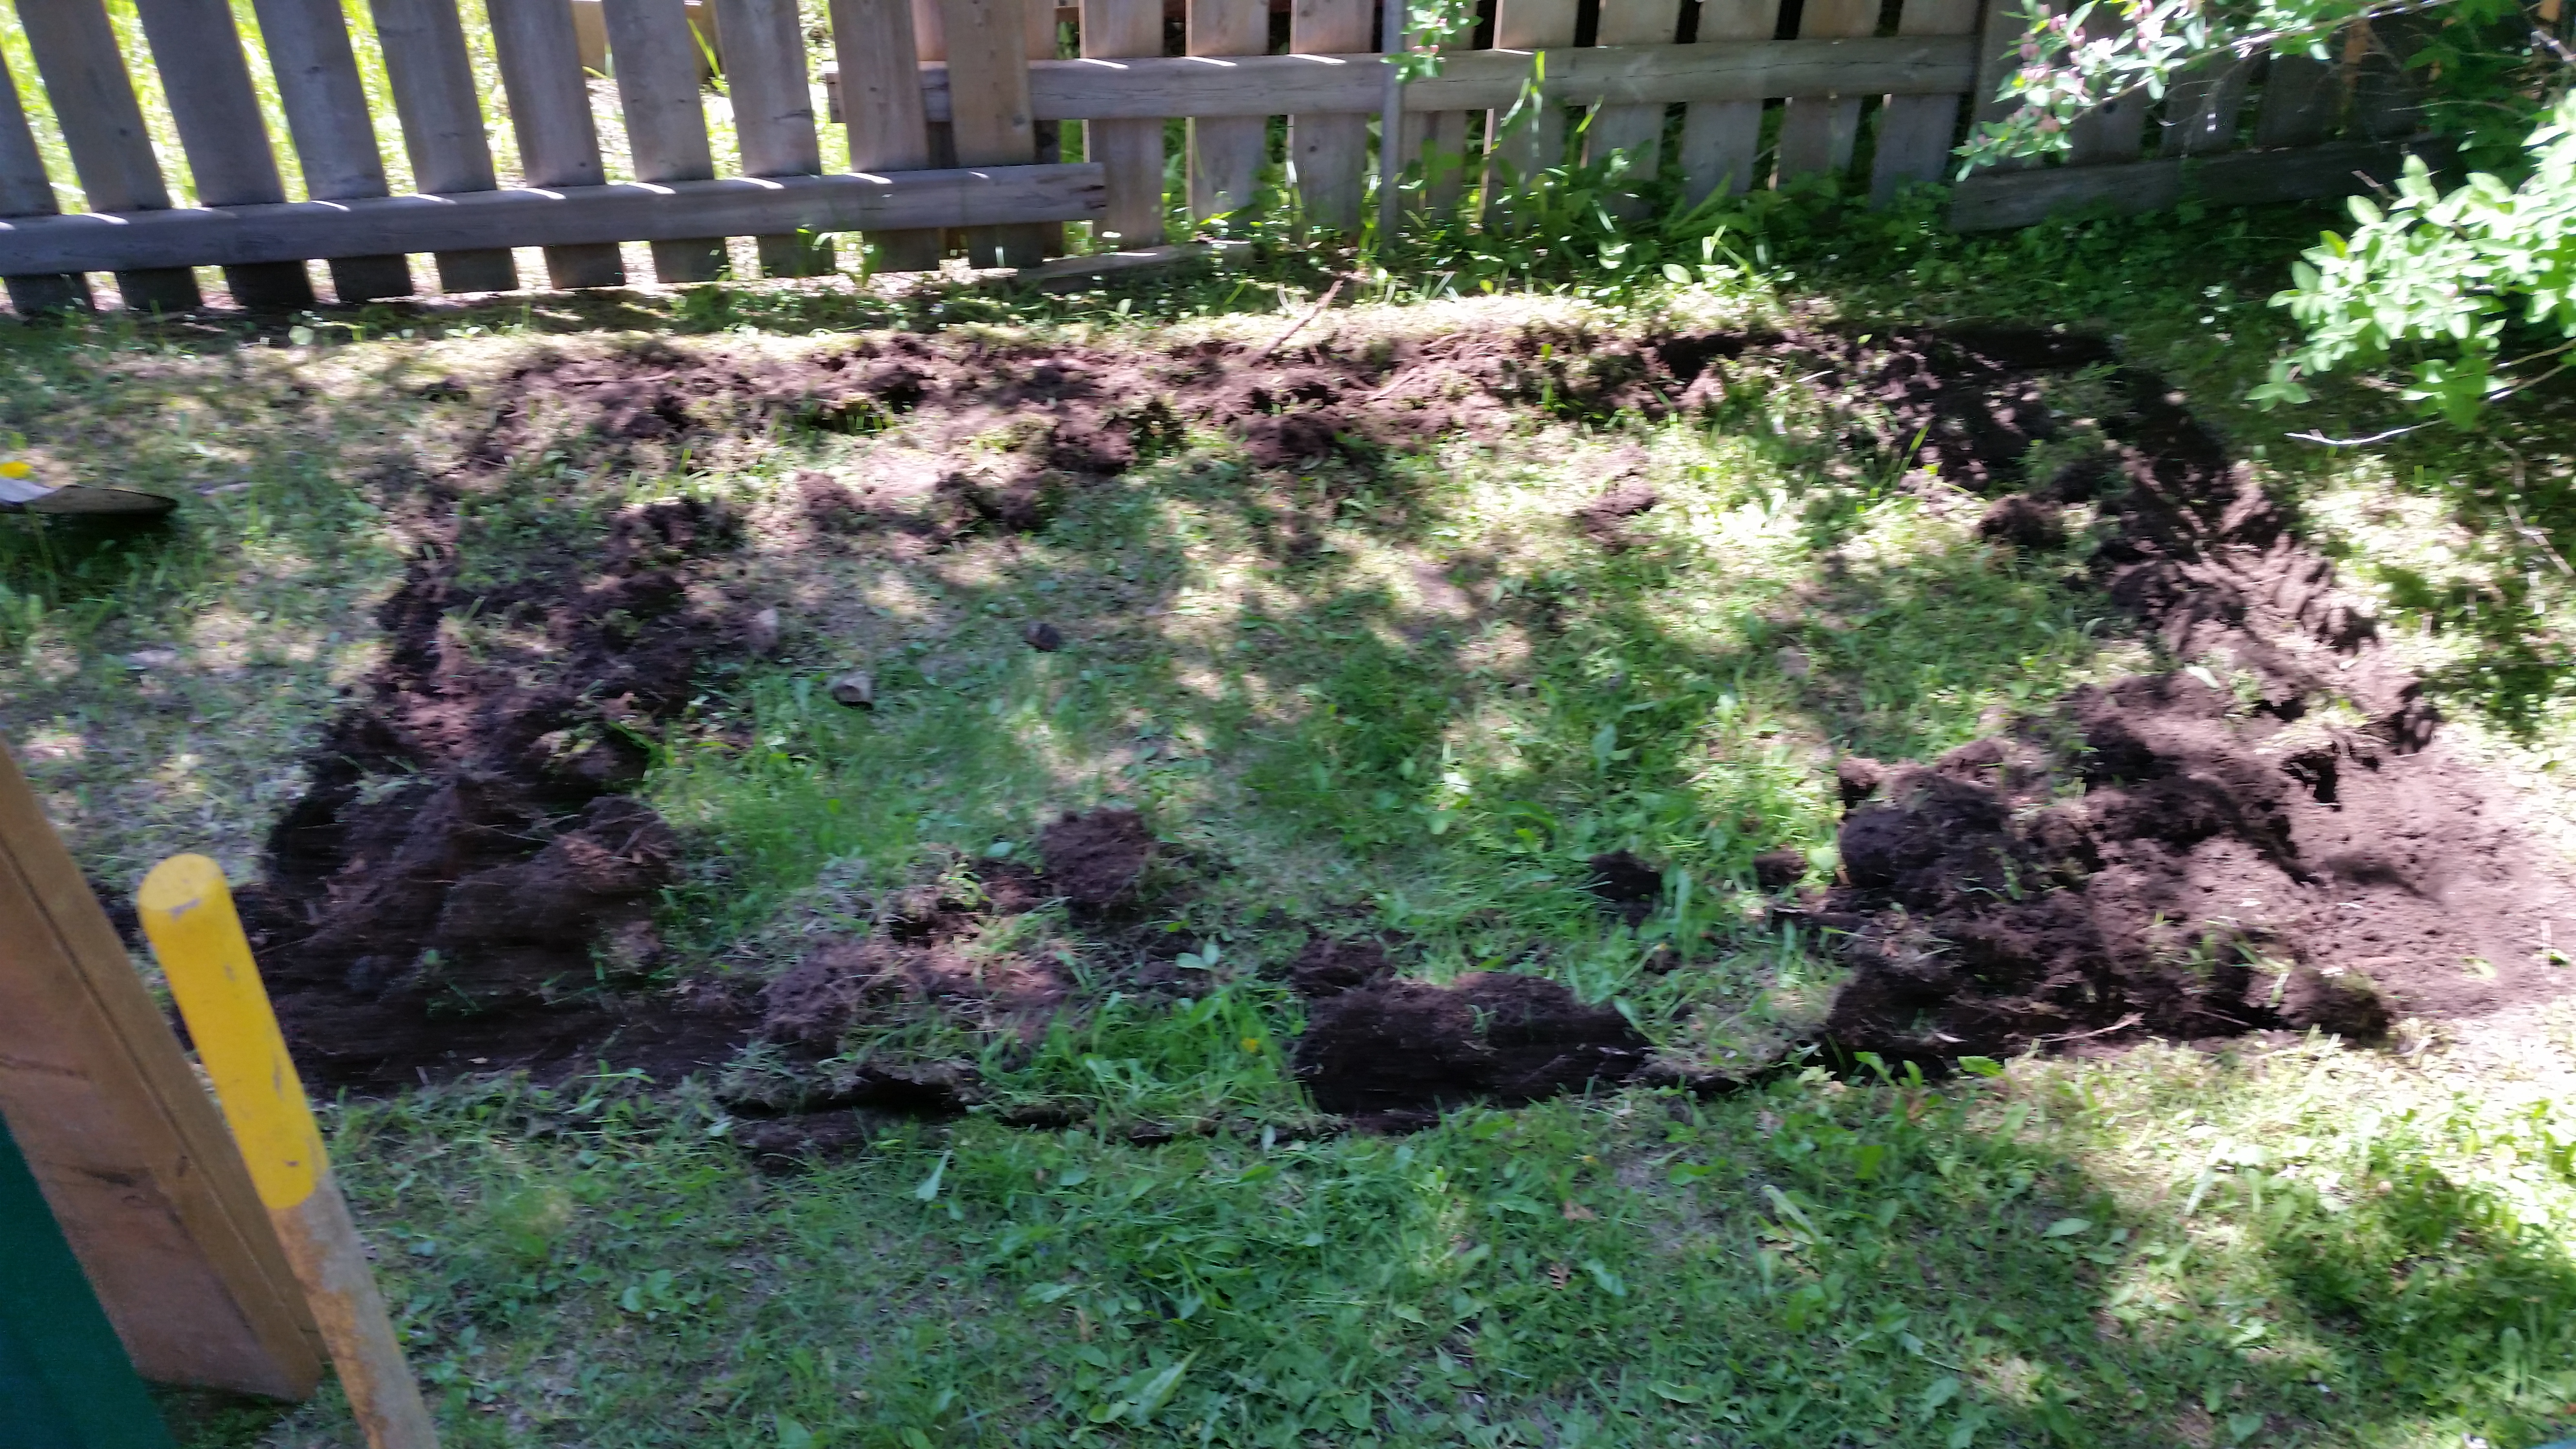
Step 3: Remove Sod
Removing the sod appears to be optional in other posts. Removing the sod will assist with having anything grow in the sand box.
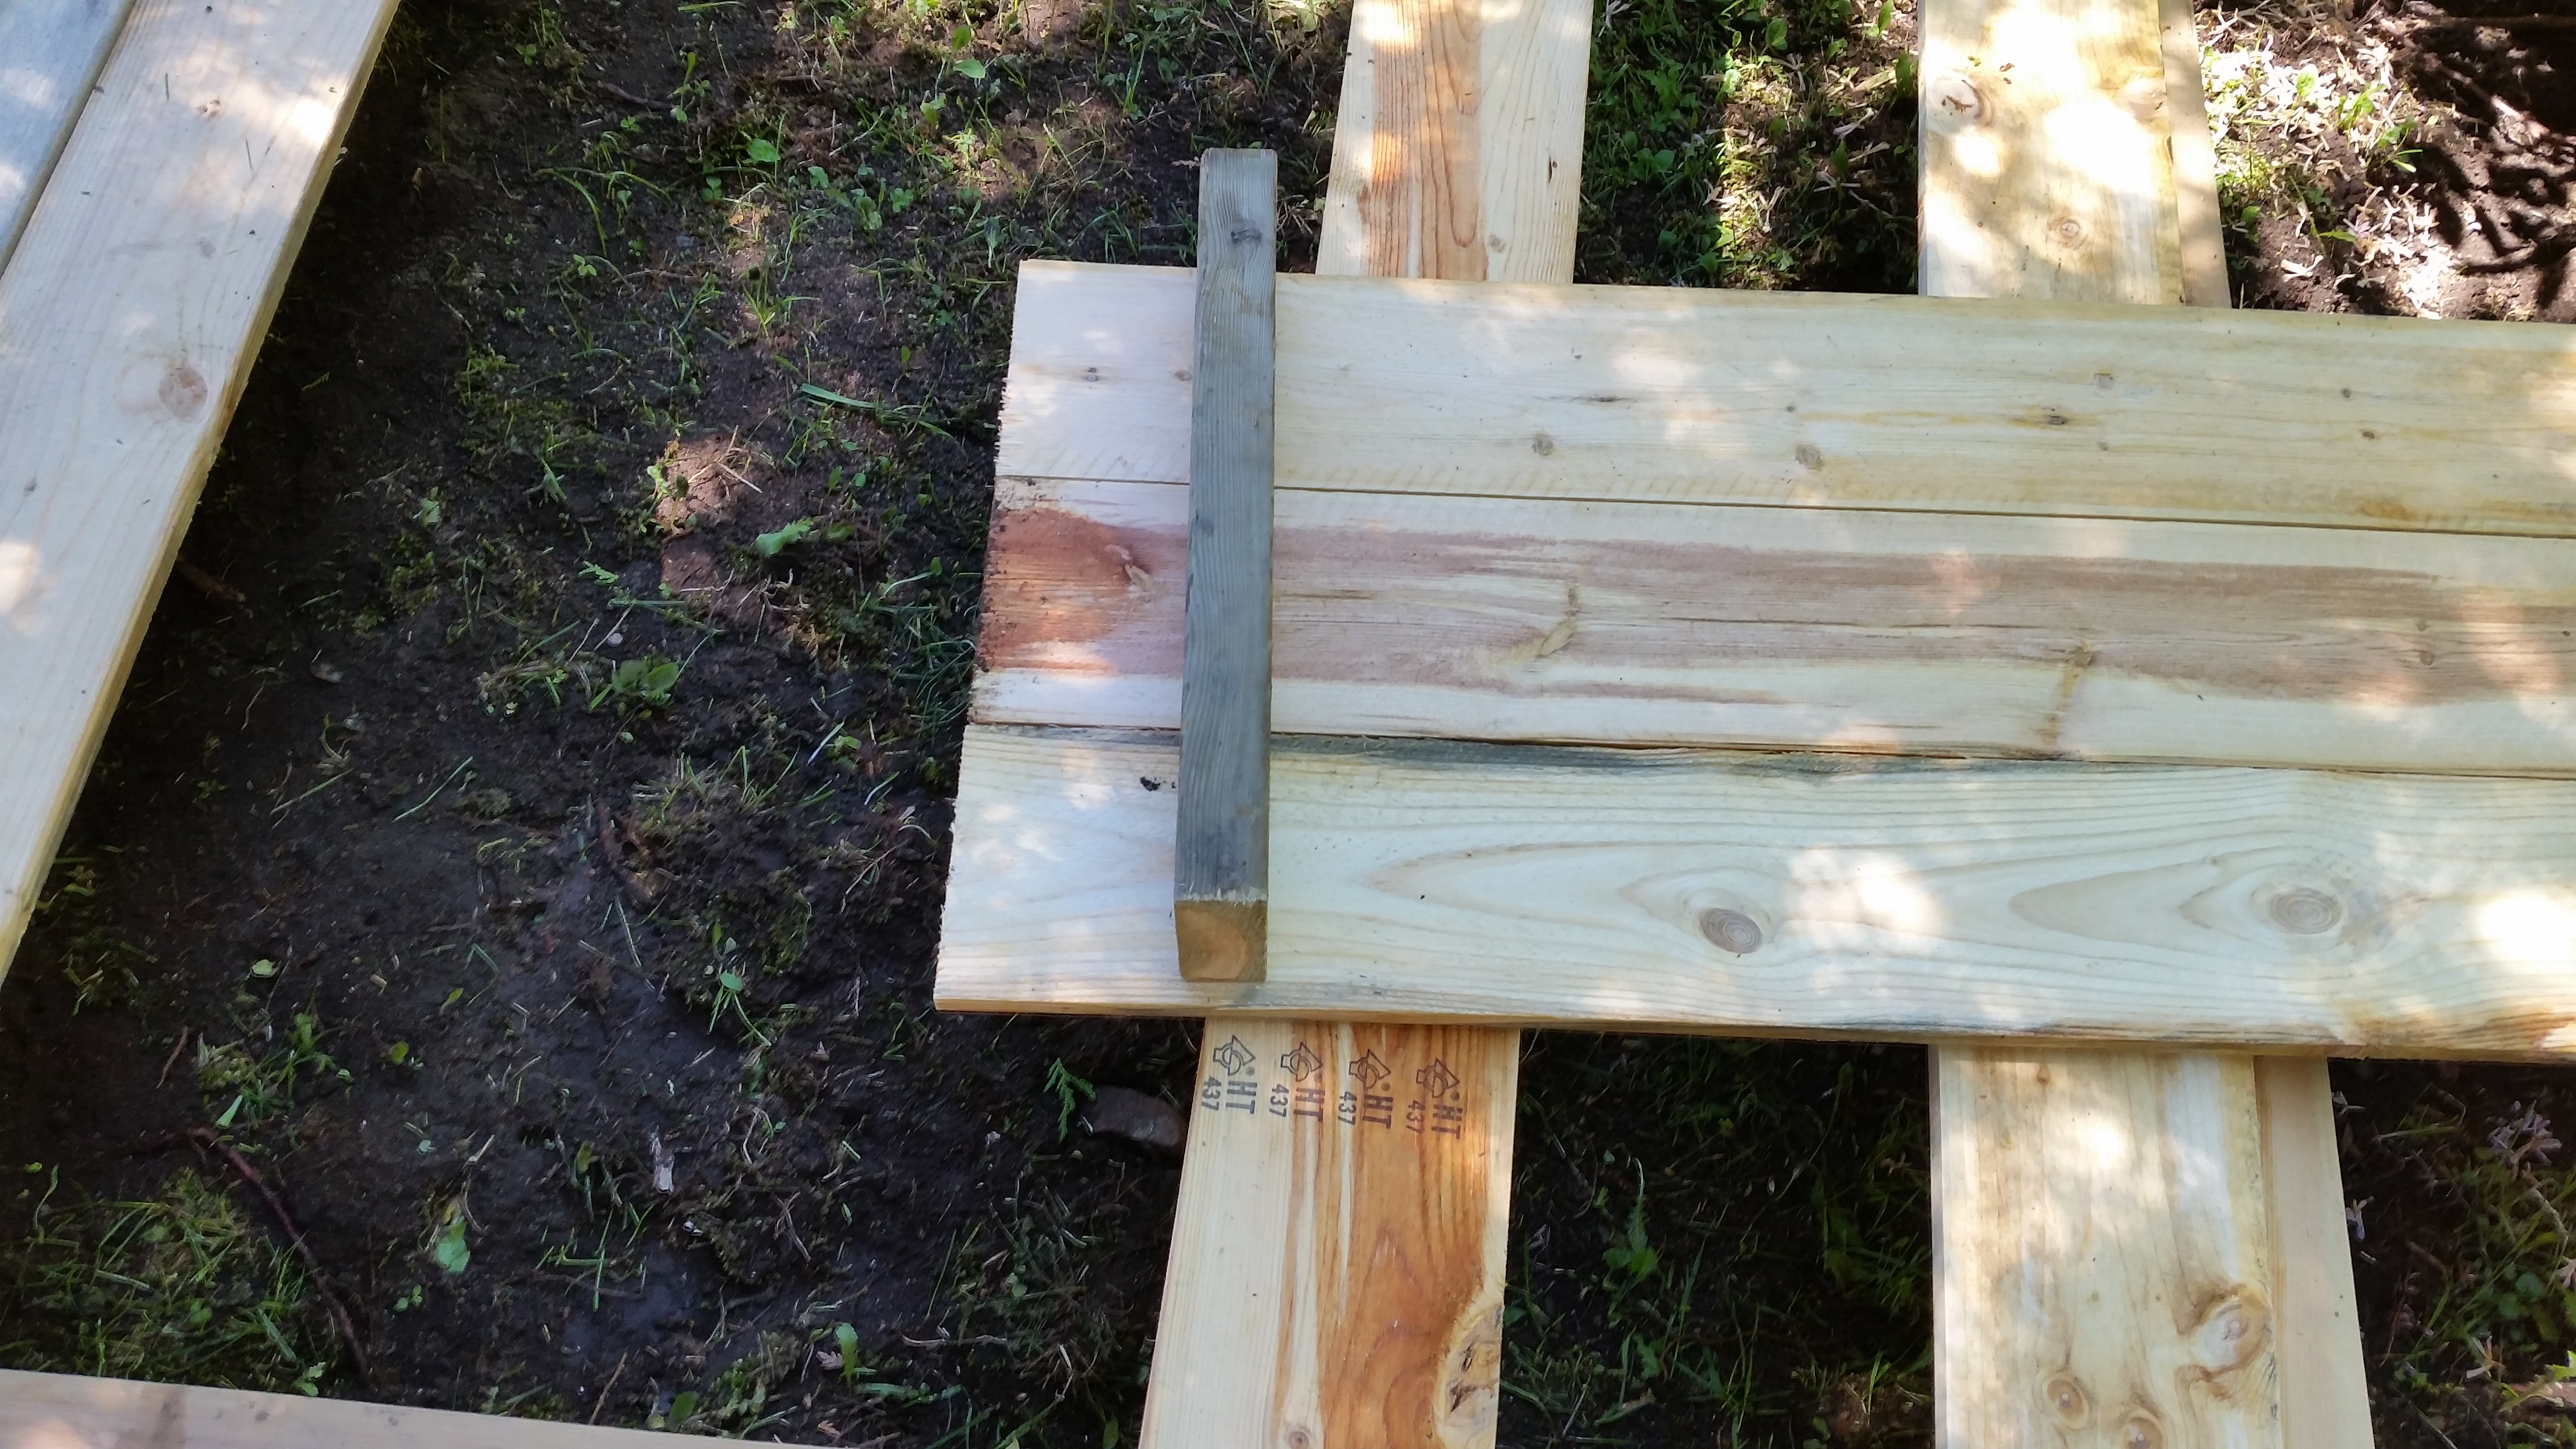
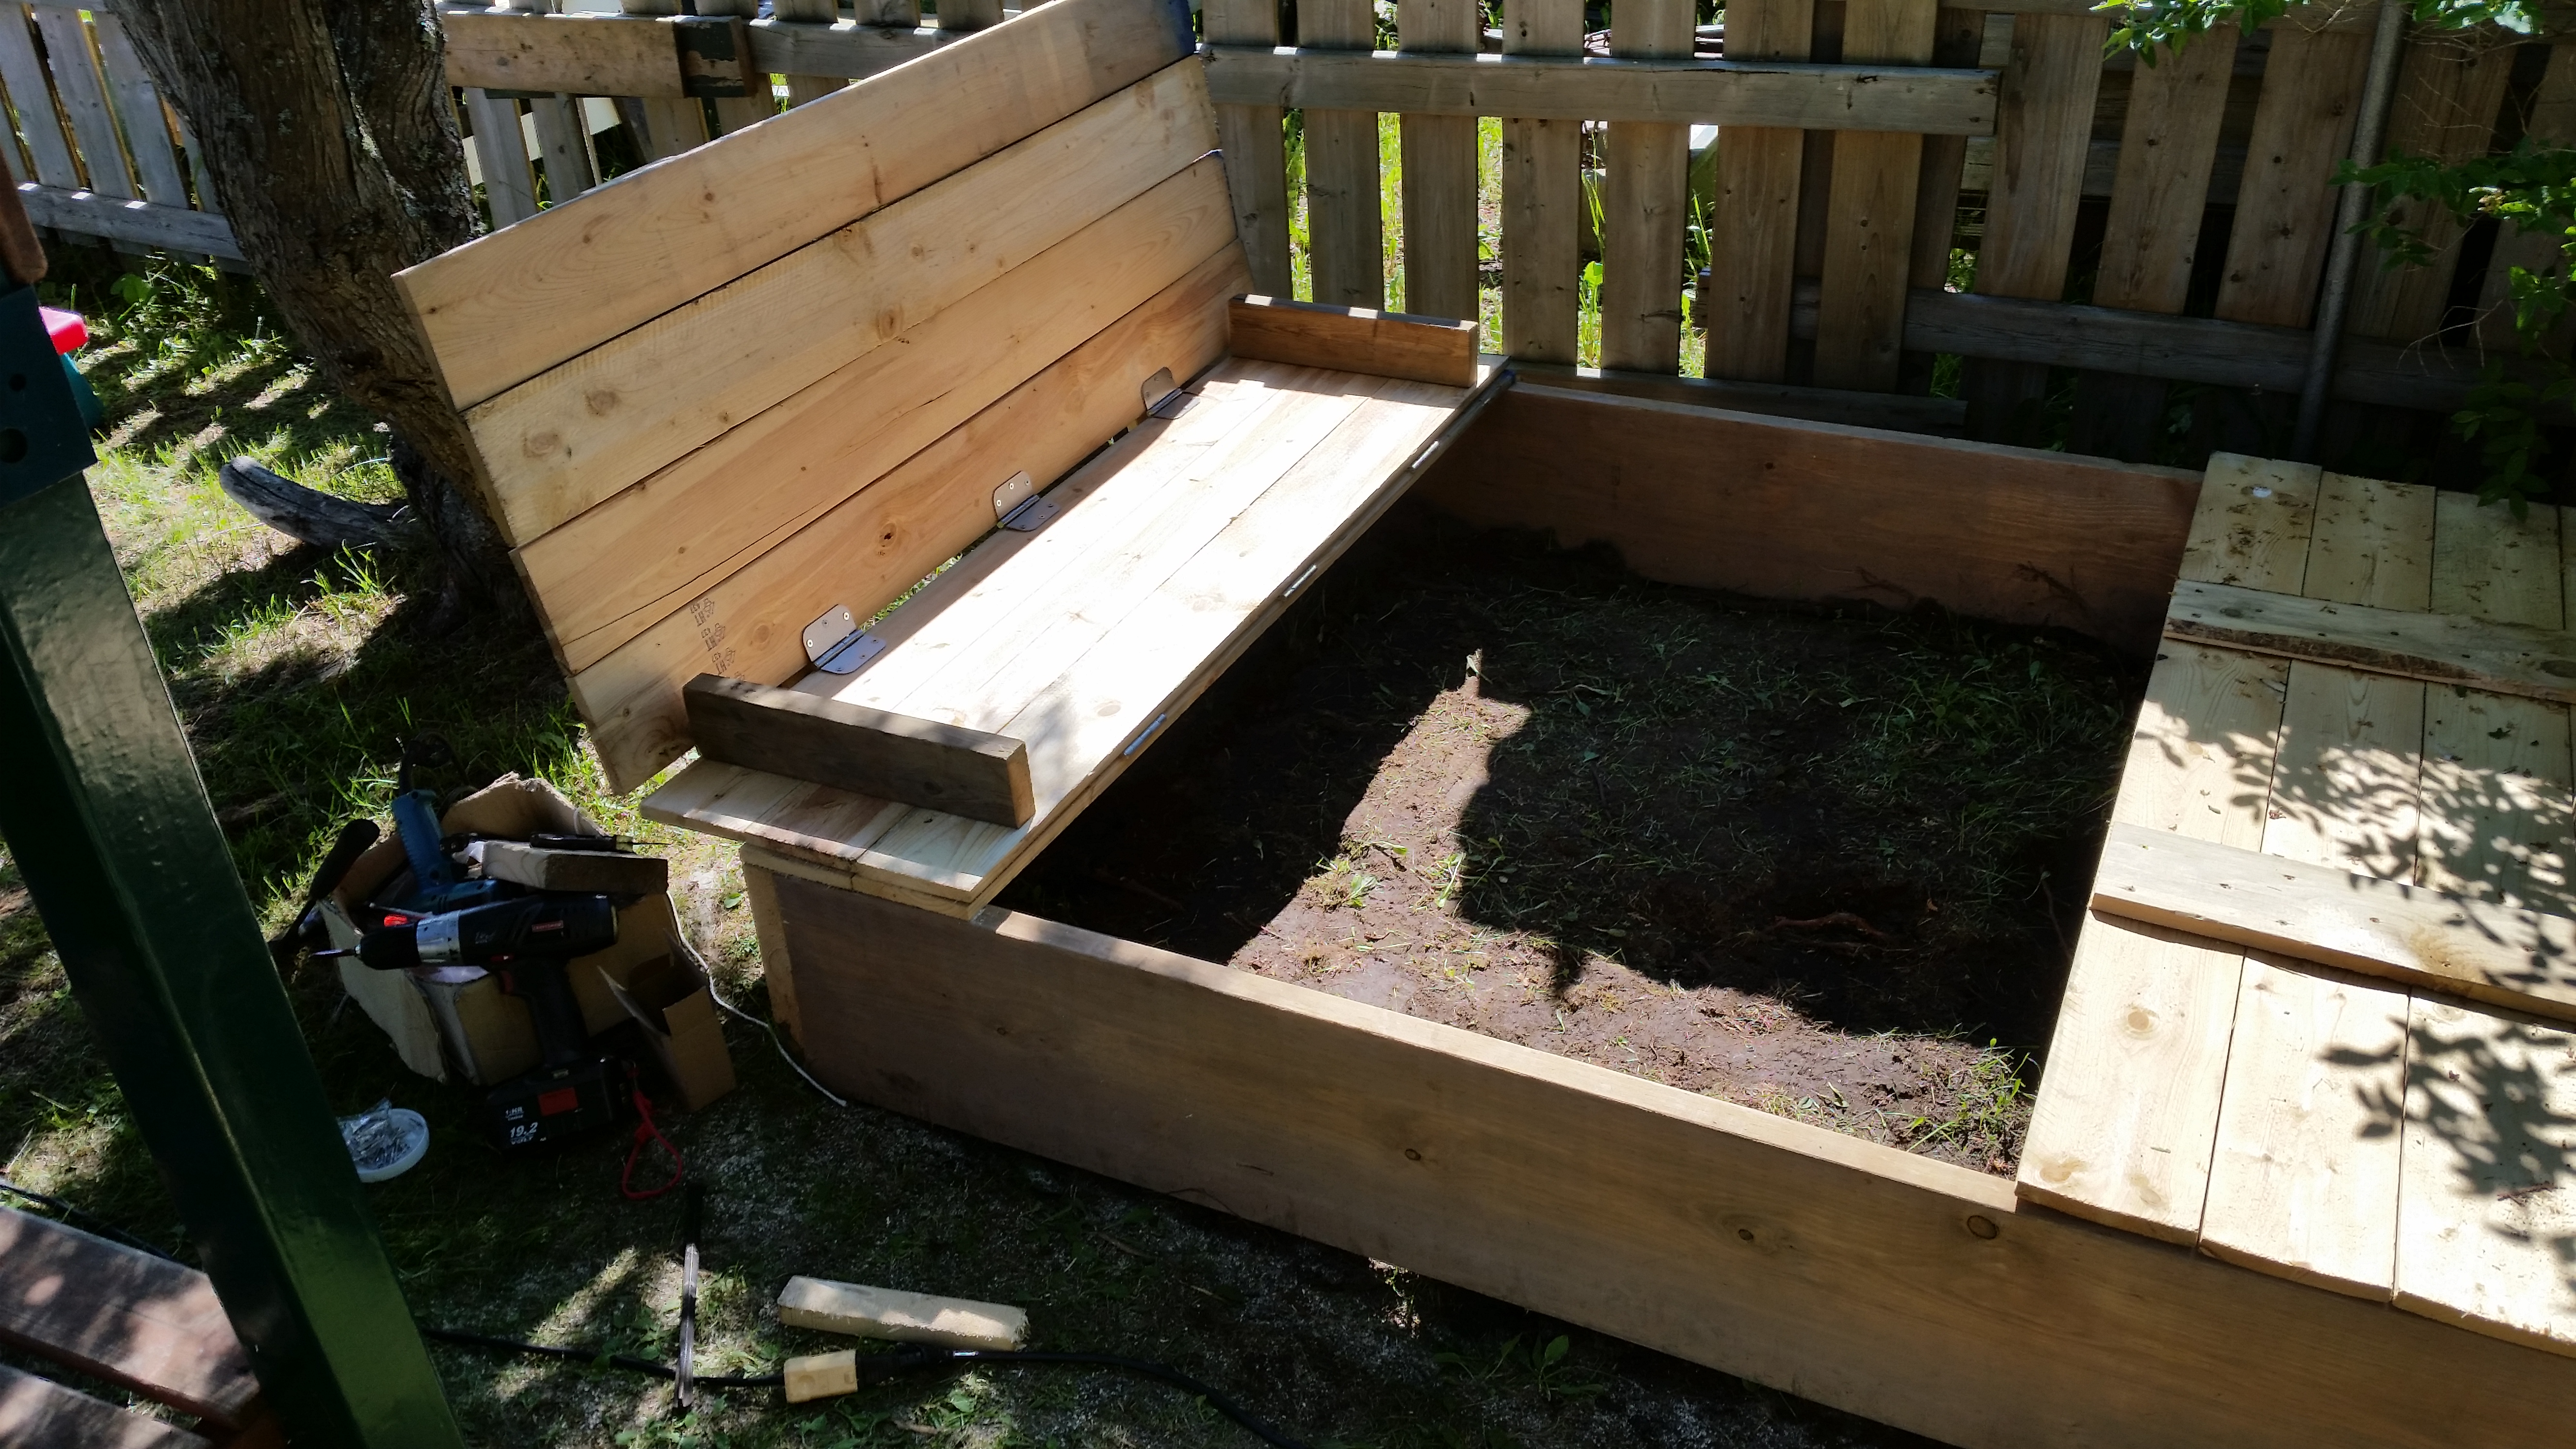
Step 4: Create the Main Box
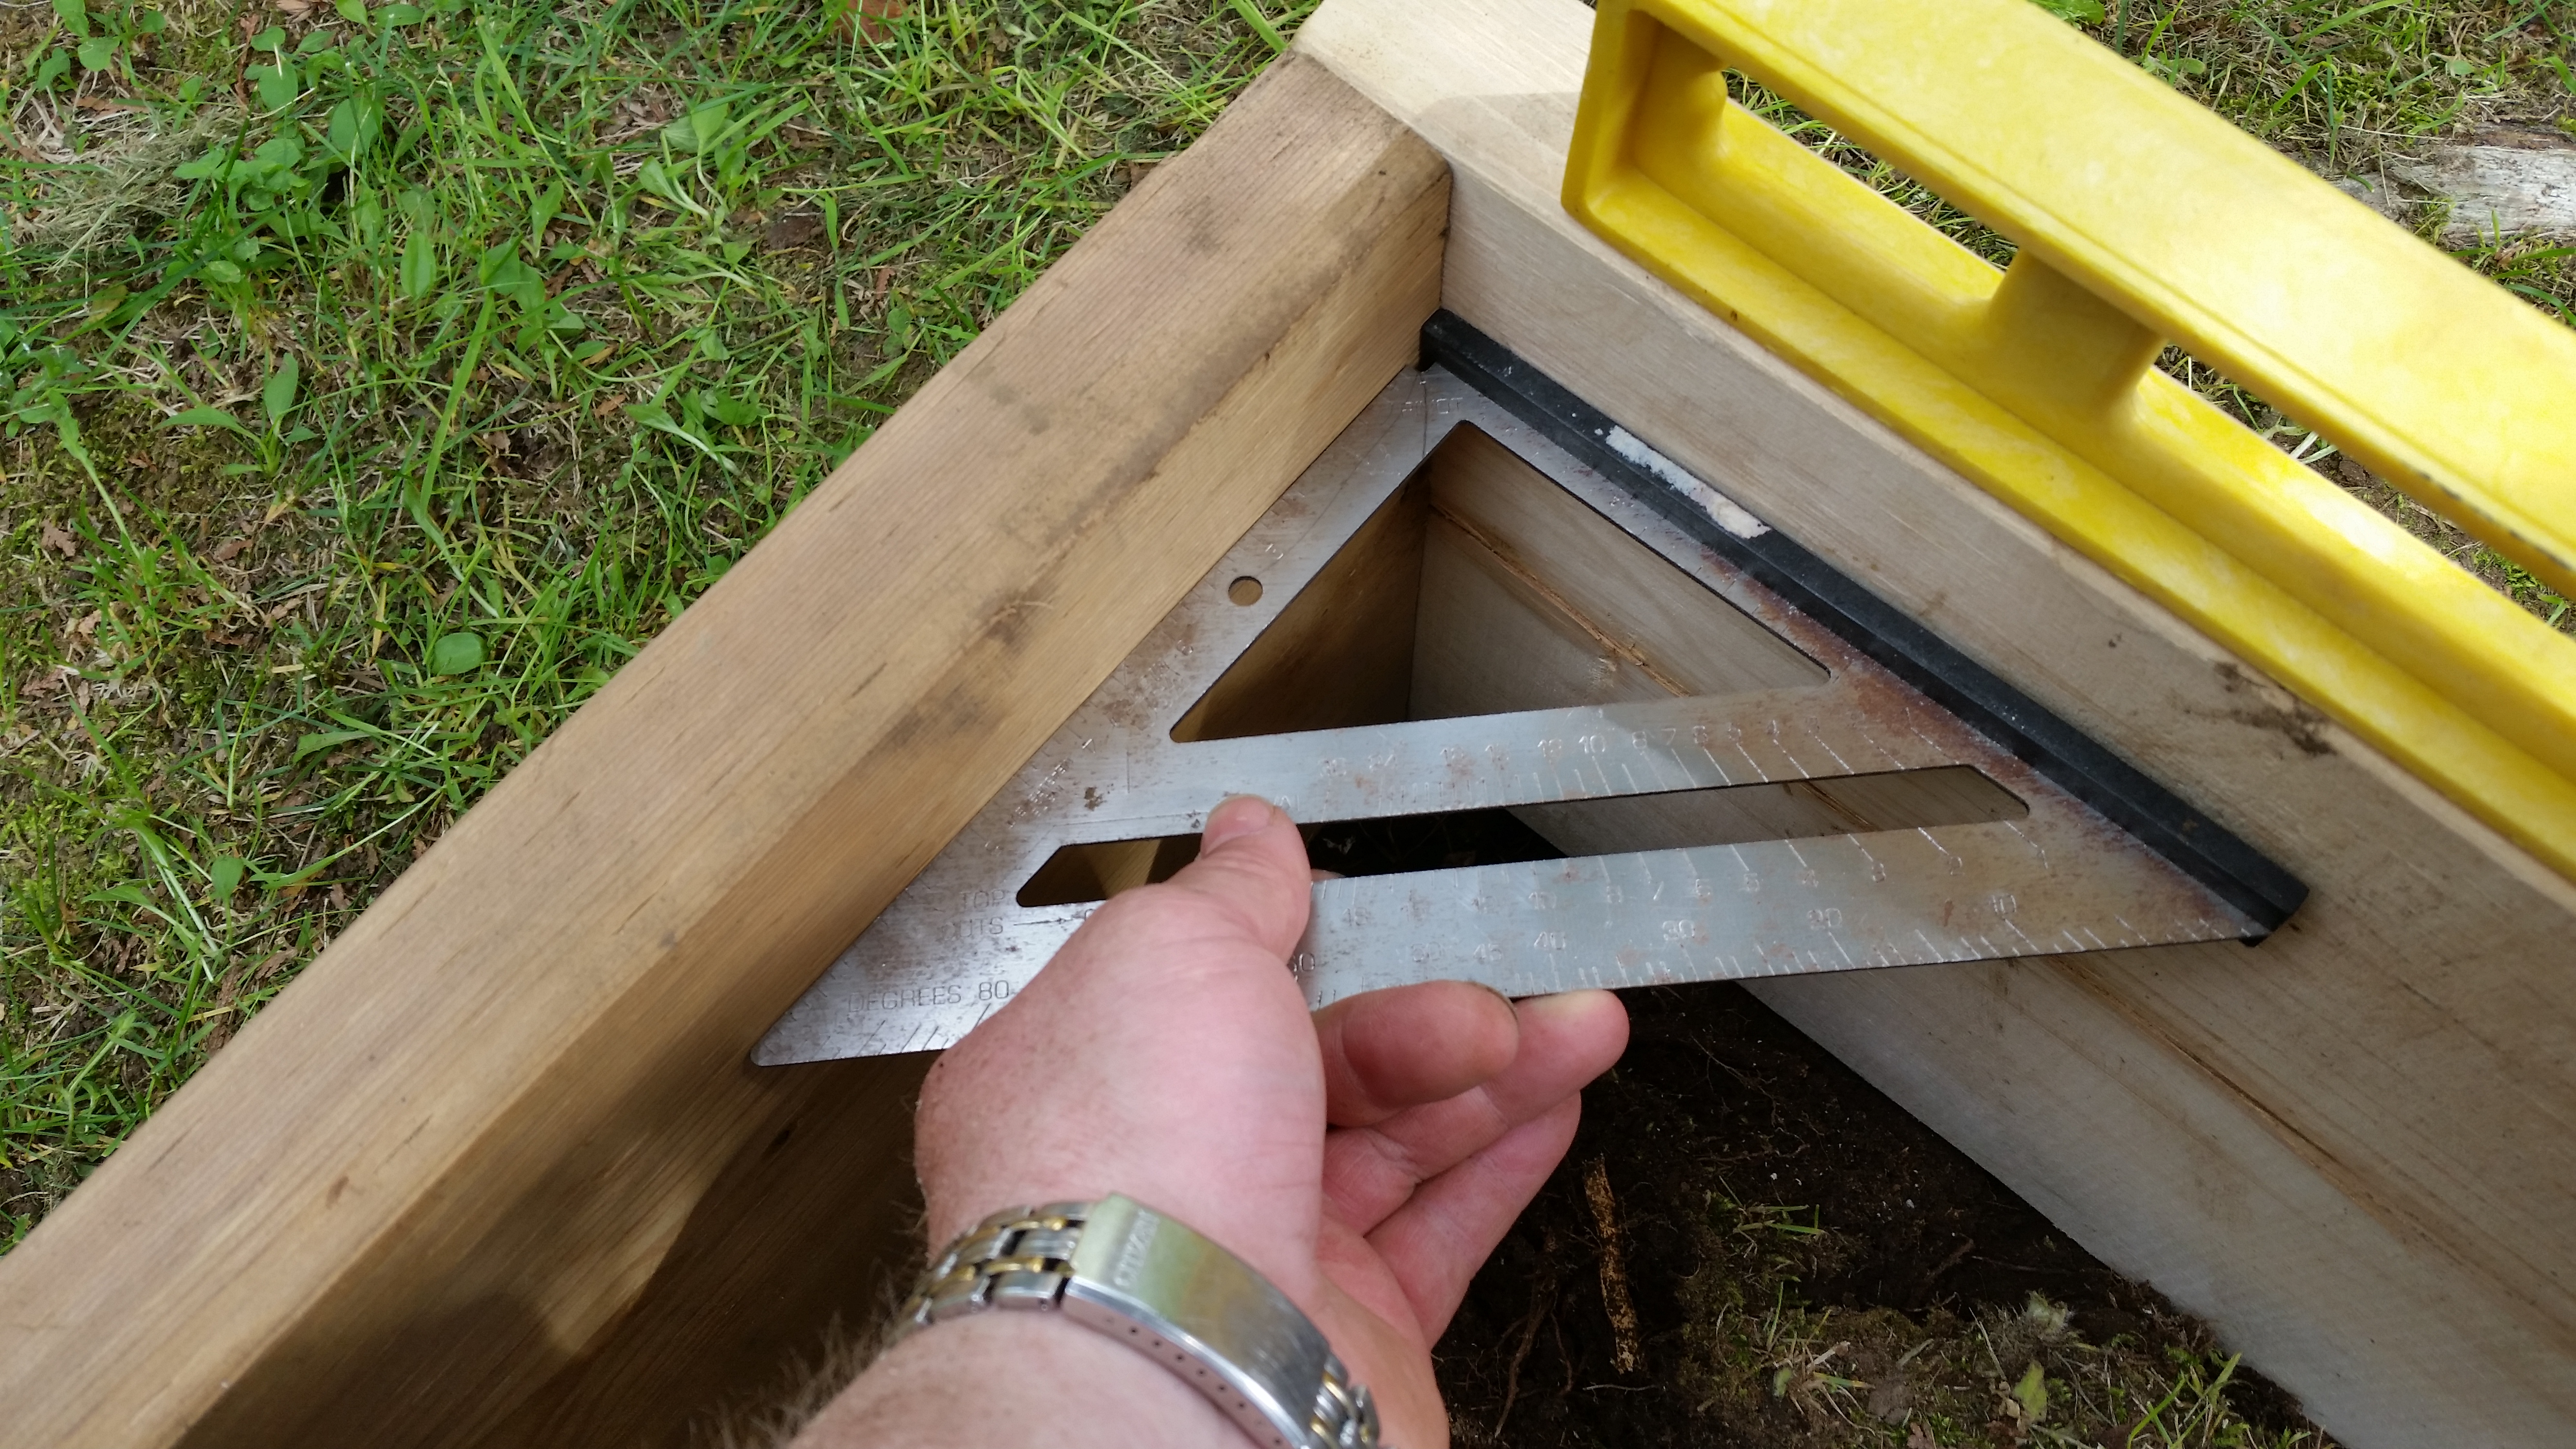
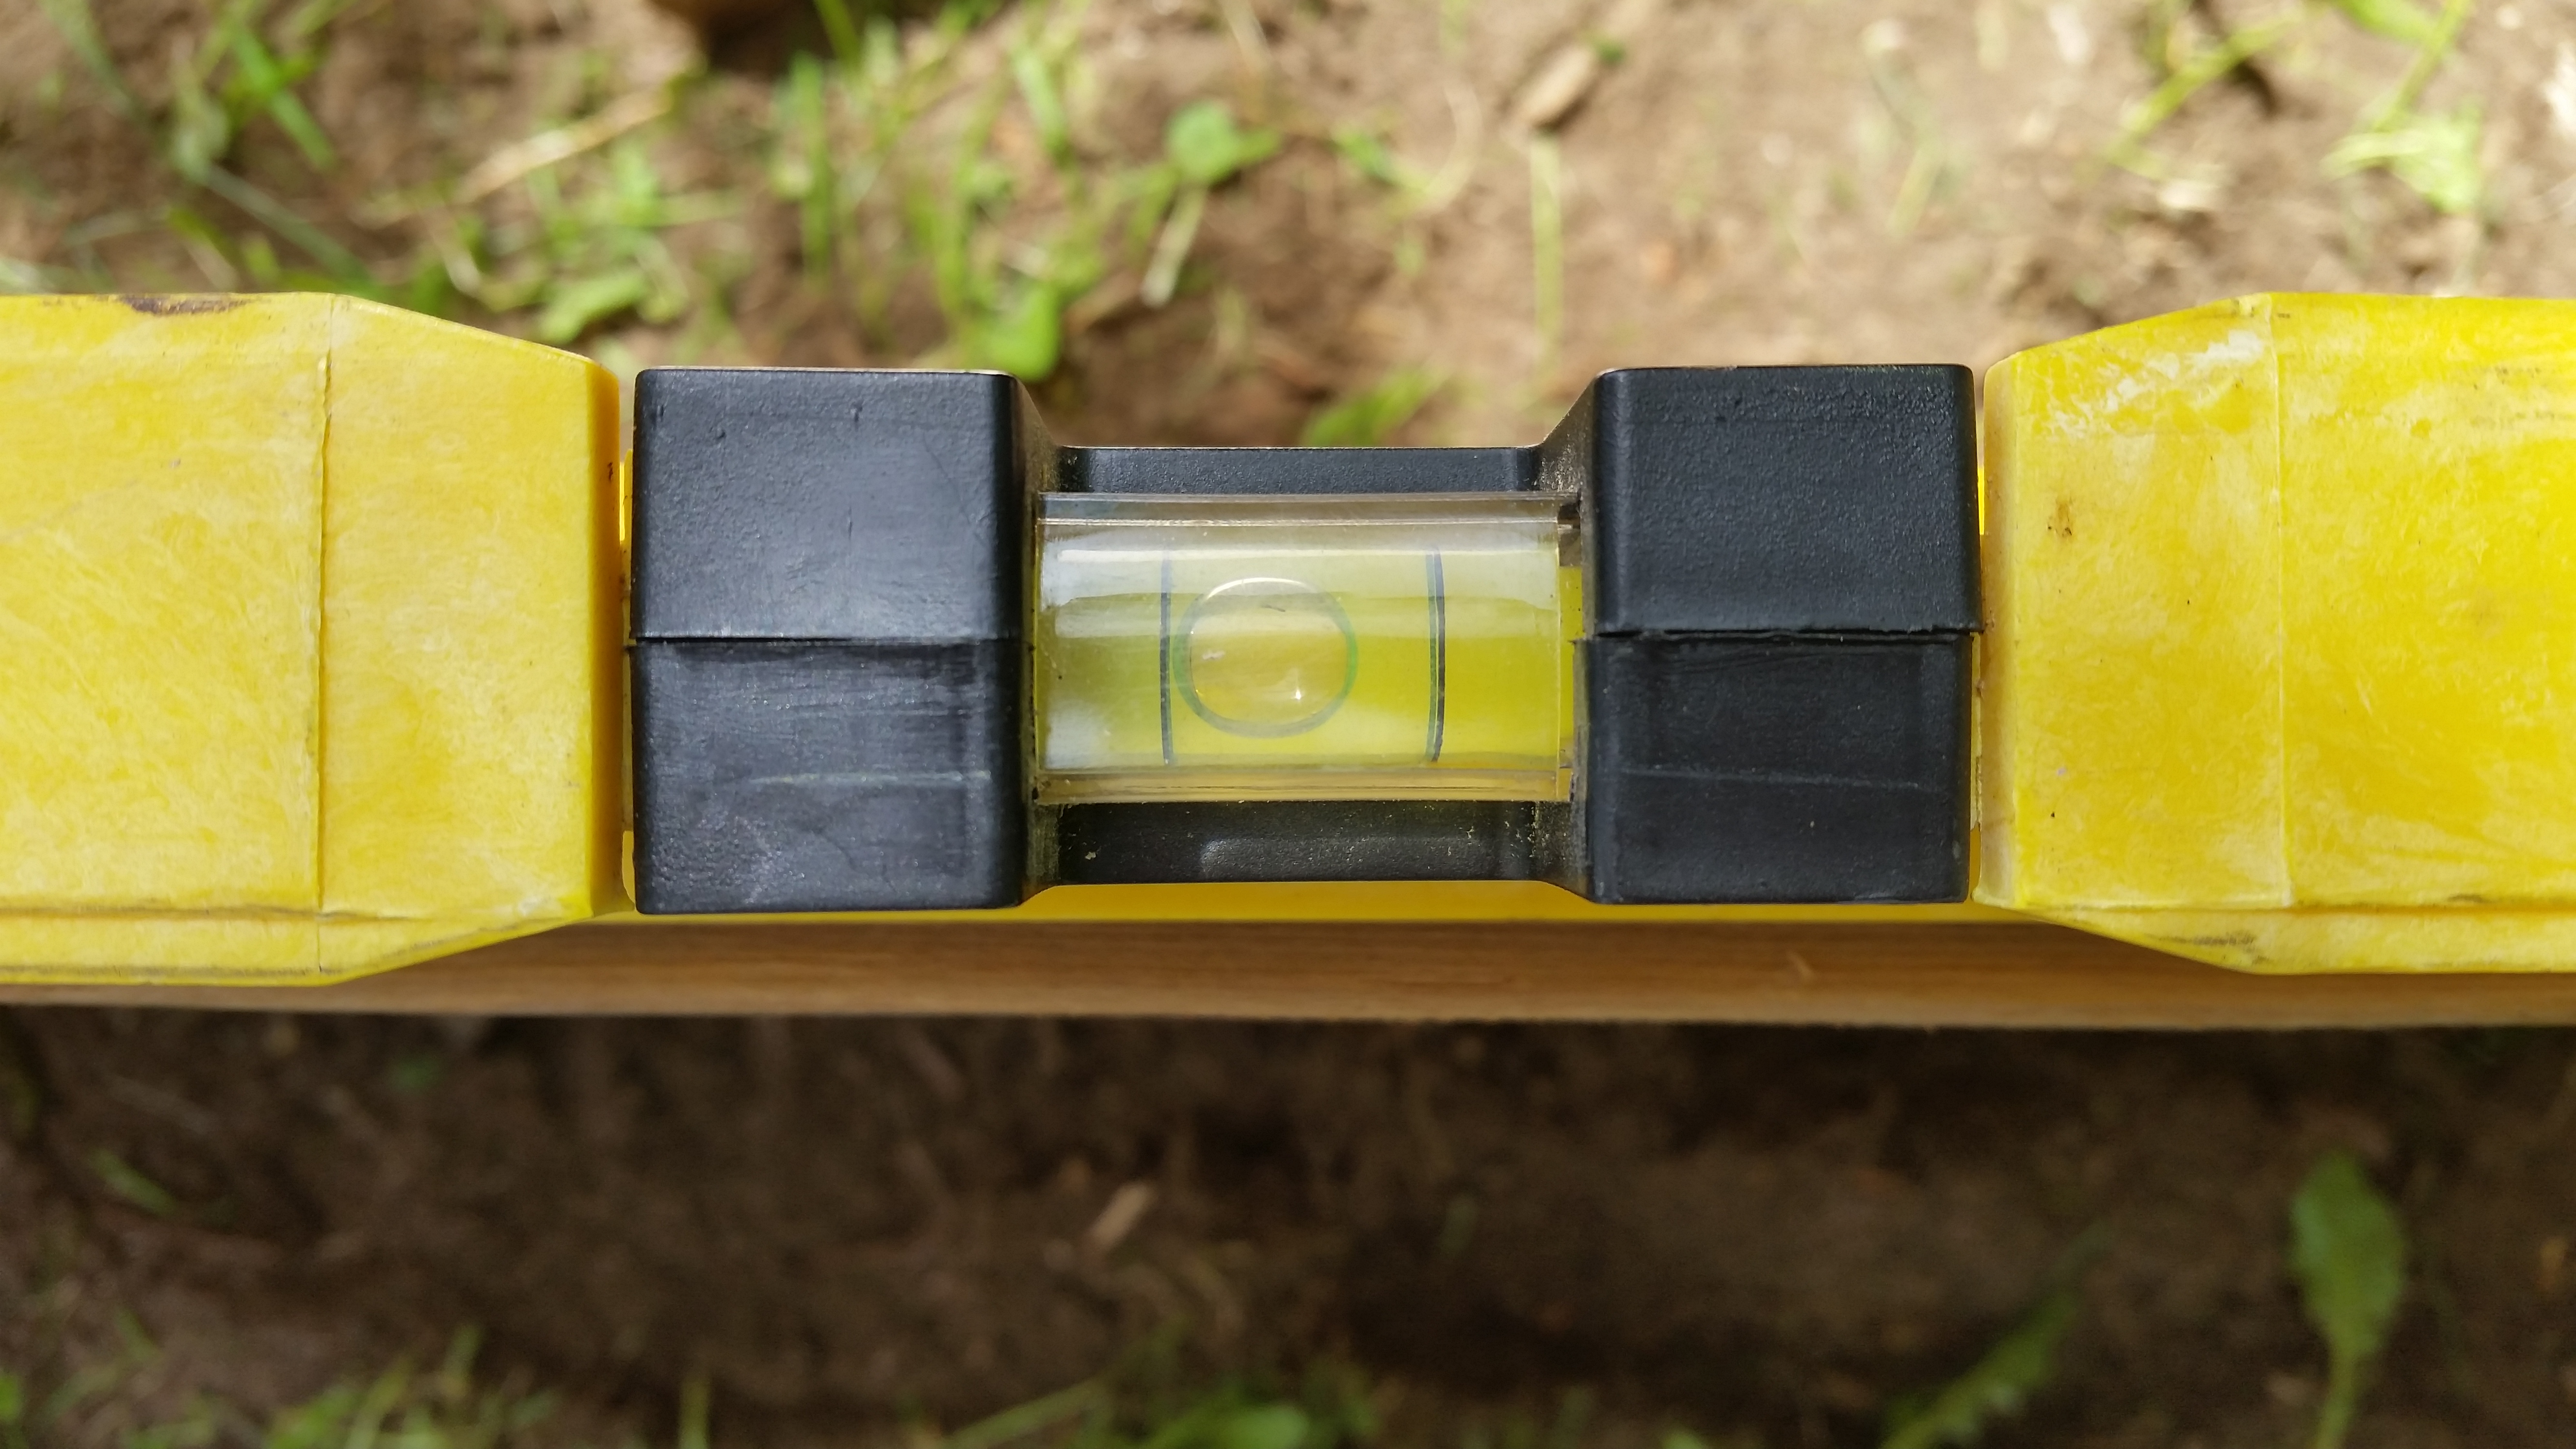
Cut two 2×12 60 inches and cut 2 that are 96 inches. Screw the boards together in the corners. Make sure the boards are square and level. Digging and fine tuning will be needed to get this just right.
Step 5: Layout 1×6
Cut the 1×6 into 60 inch lengths. You will need 18 of them to do an 8 foot box. Screw down the first 2 boards to start. 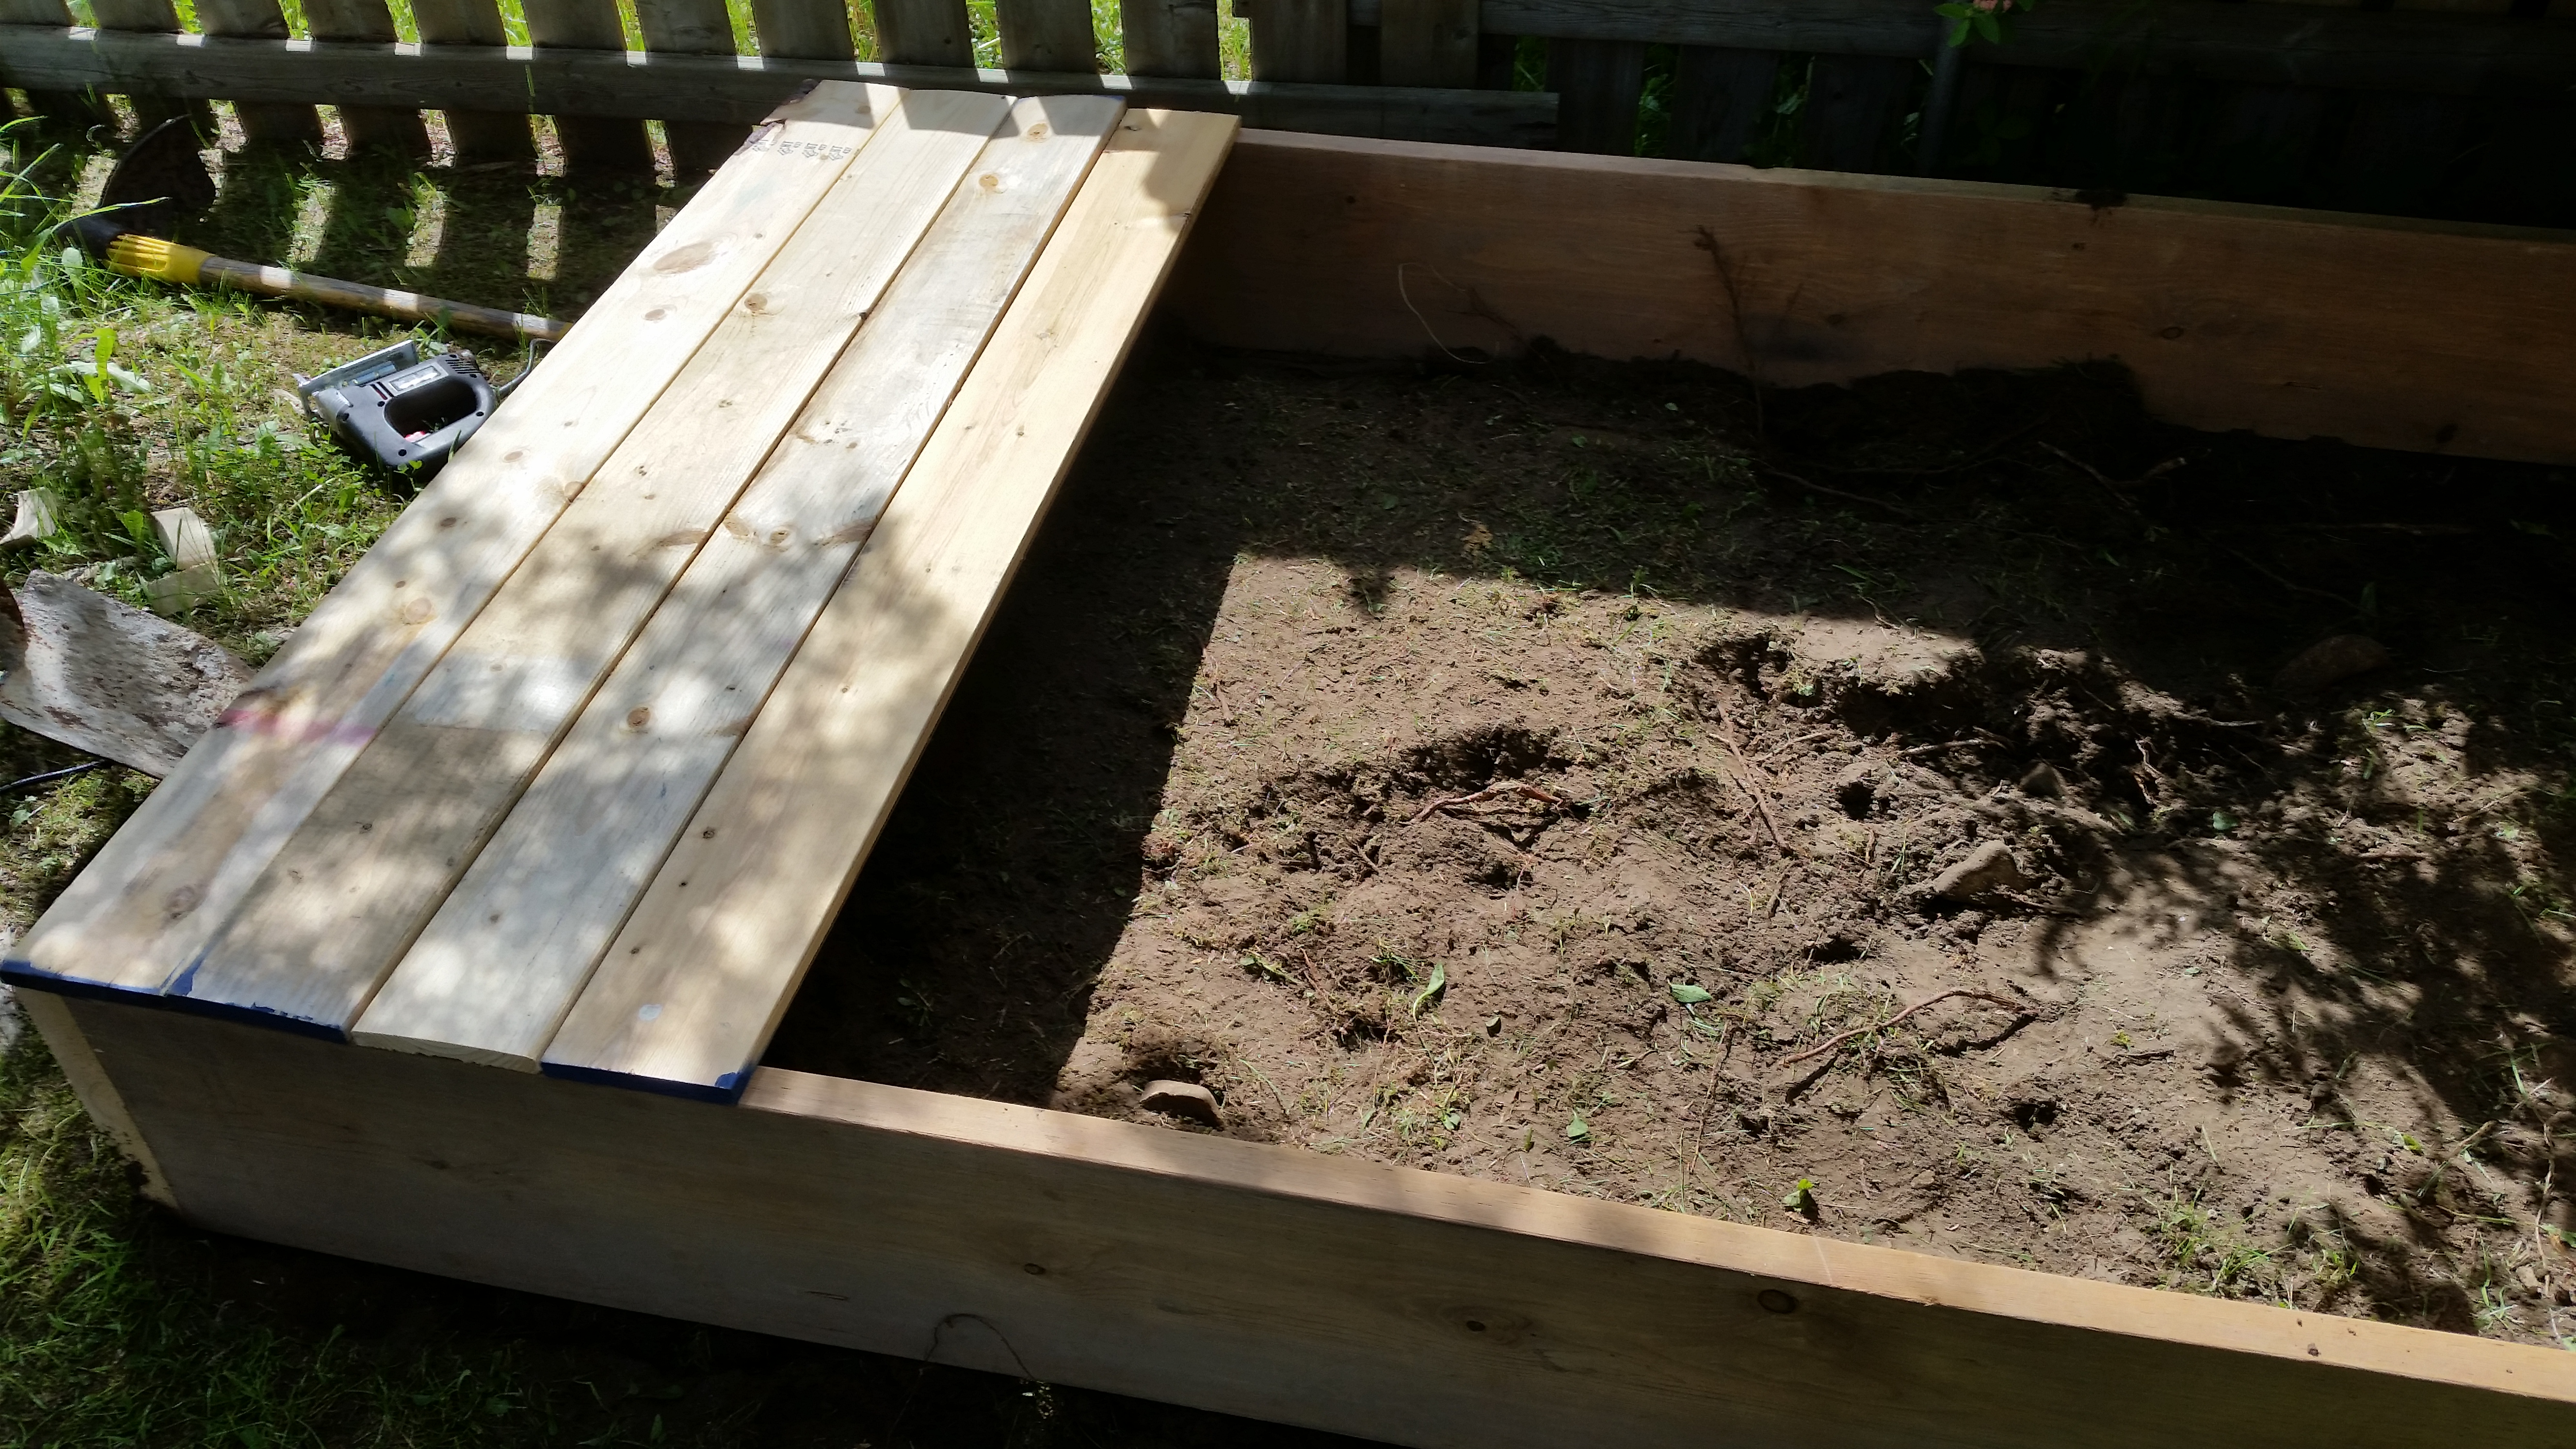
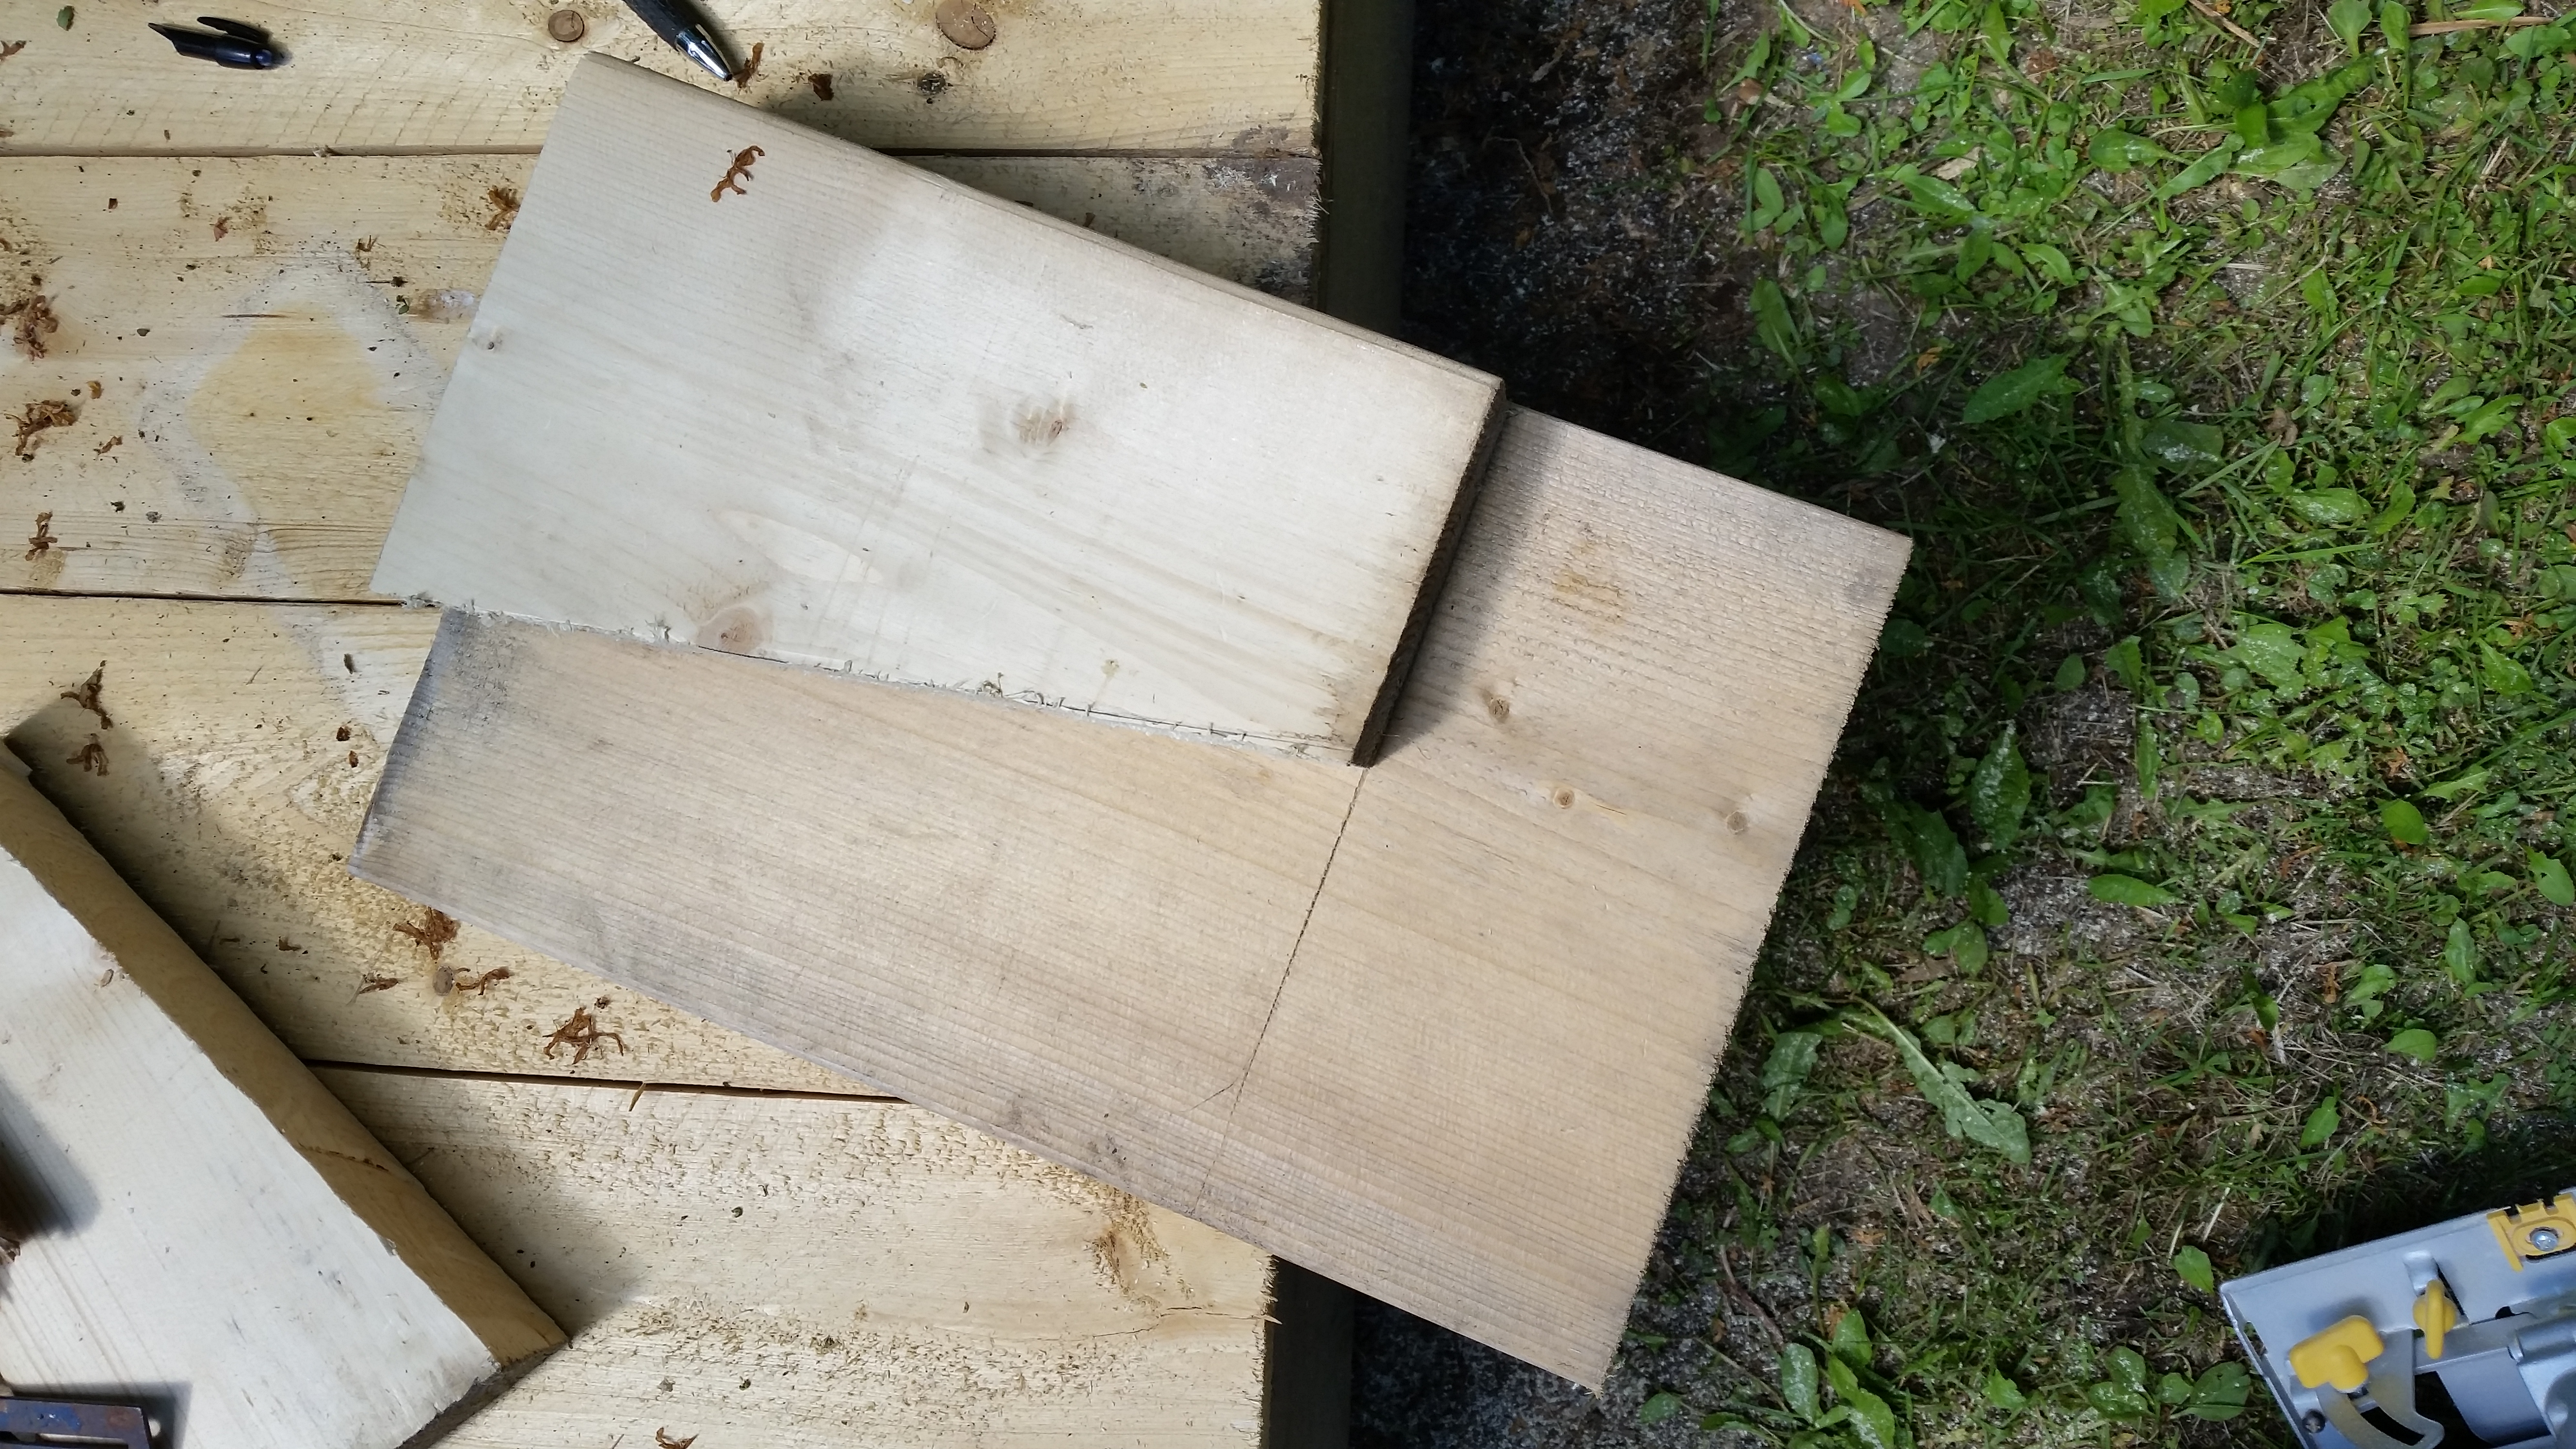
Step 6: Armrests
Take a 2×4 and cut it just short of the width of 3 1×6. The armrest is the piece that holds together the seat portion of the bench. I placed the armrest about 4 inches in from the outside of the board.
Step 7: Hinges
Place the seat with the armrests on the sandbox side. Install 3 hinges. Make sure to use screws short enough so they will not poke through the wood.
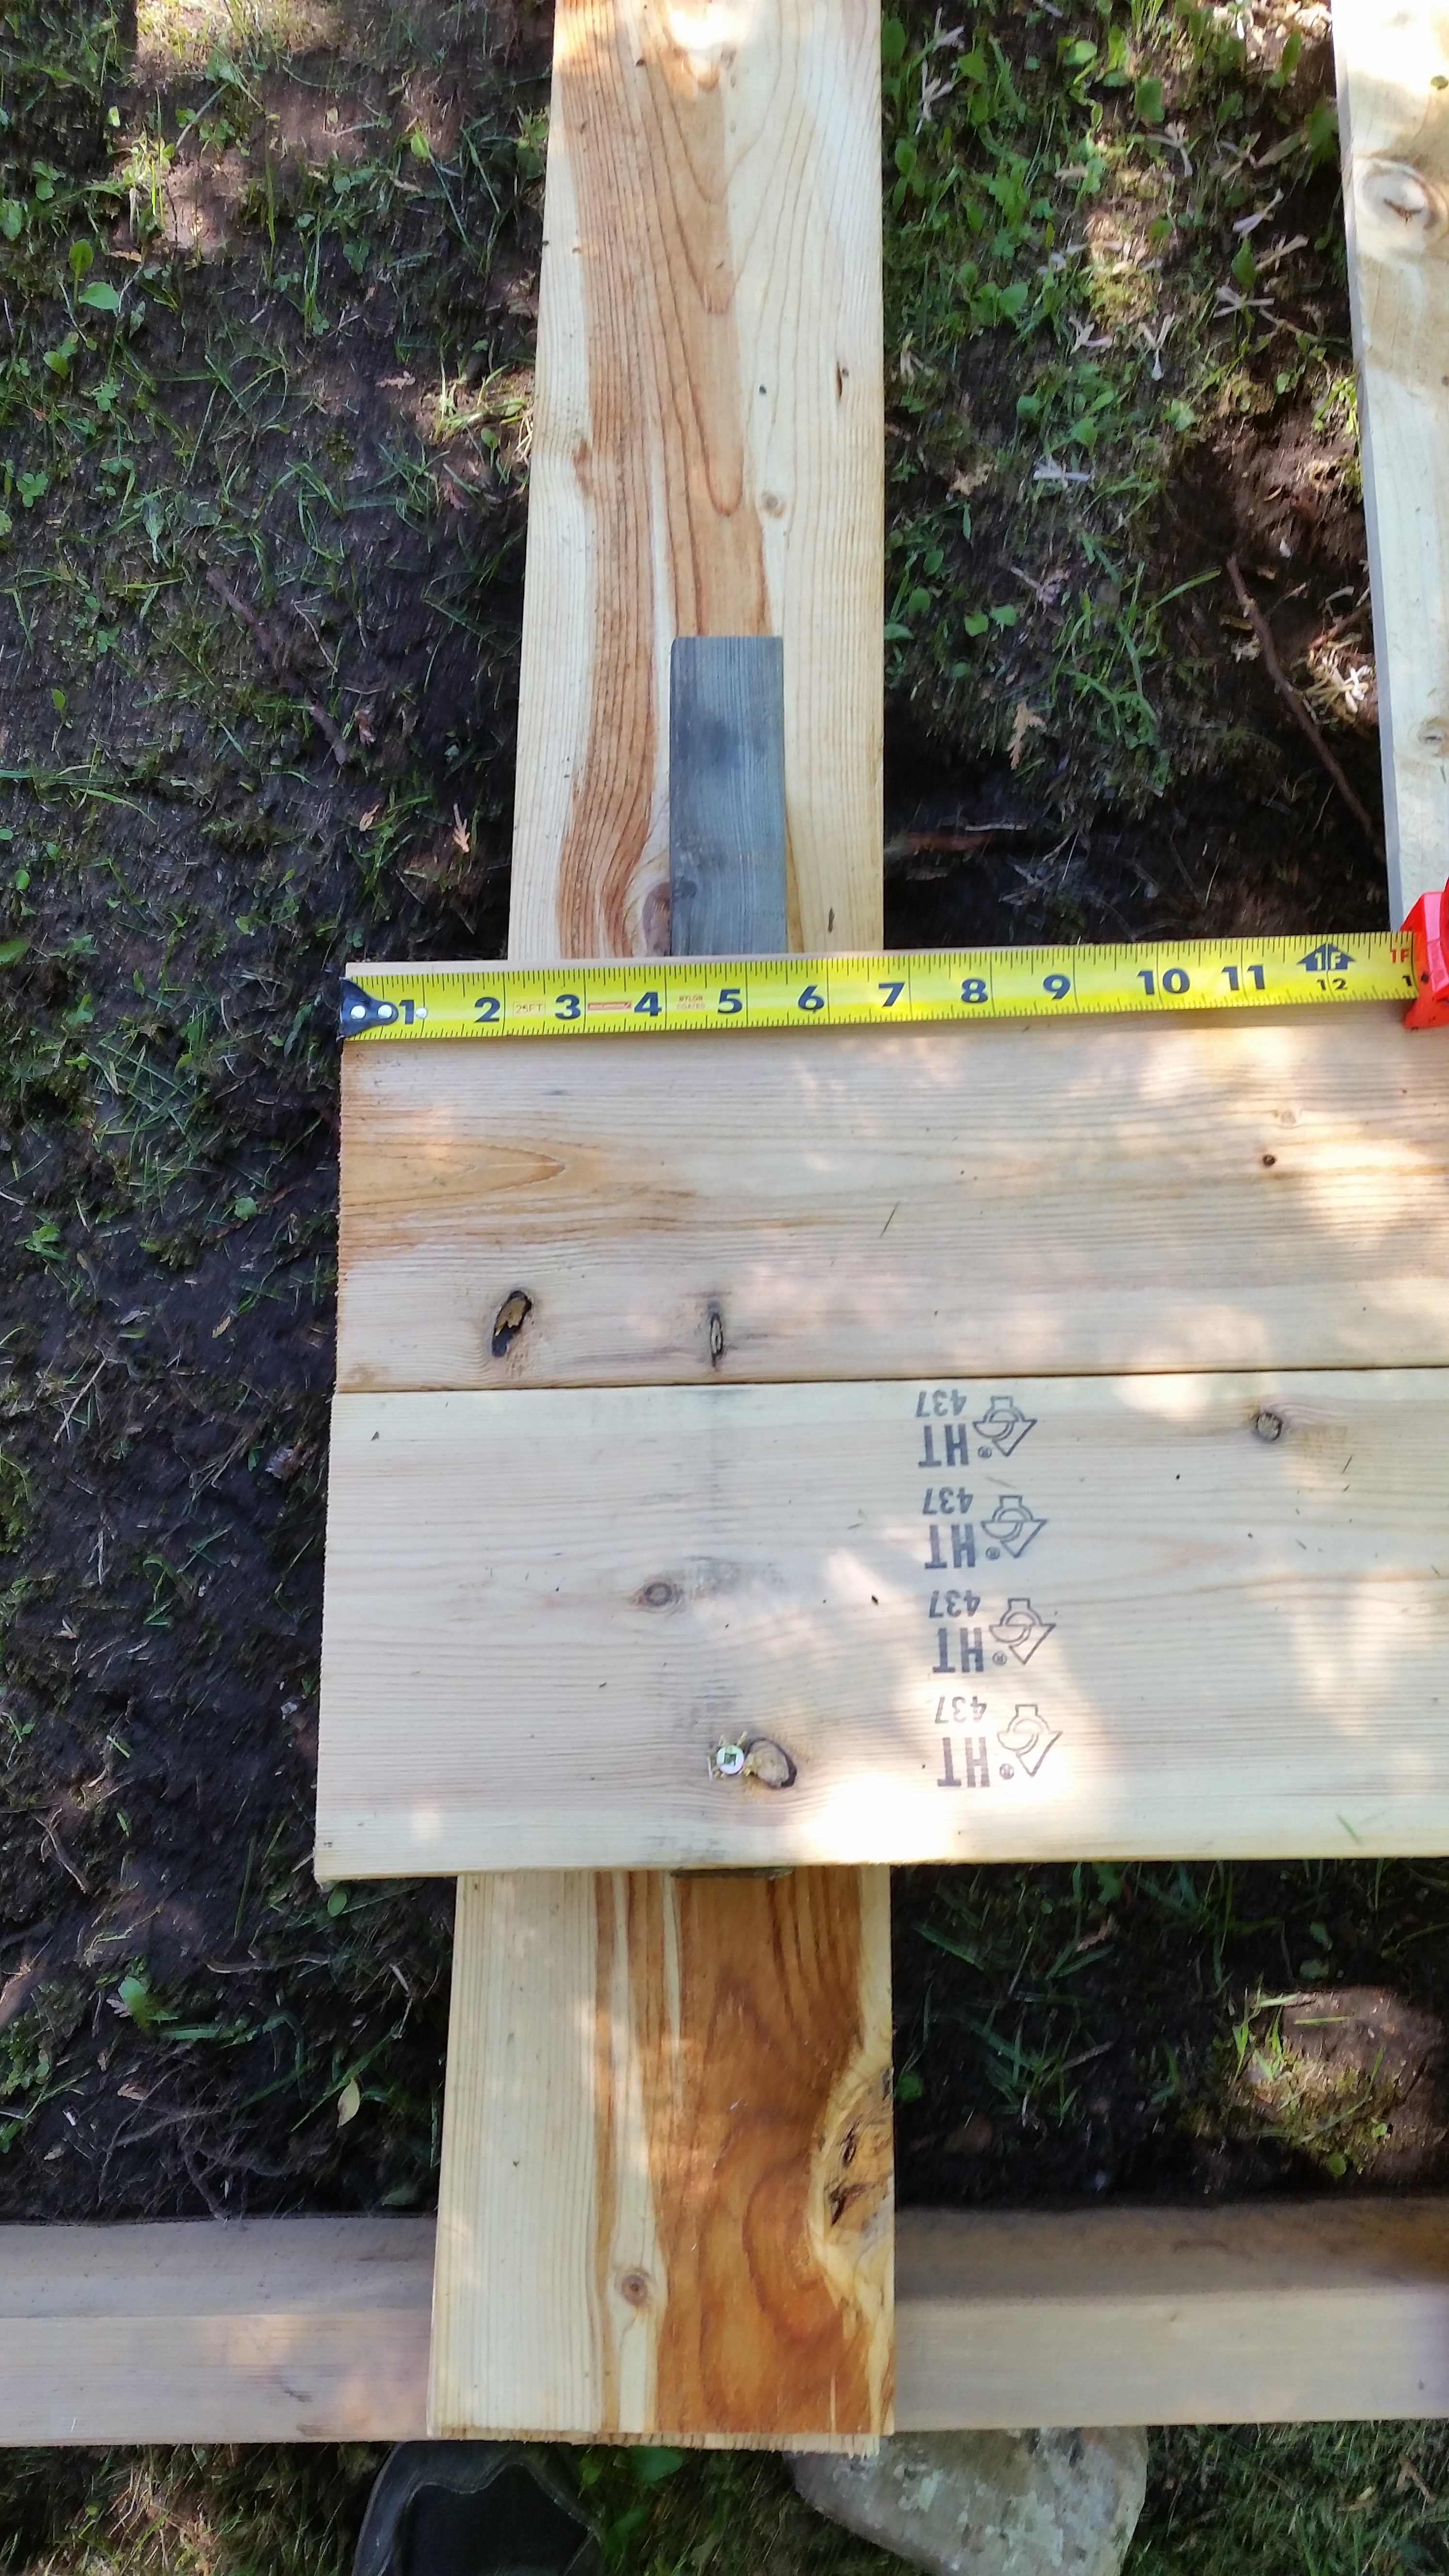
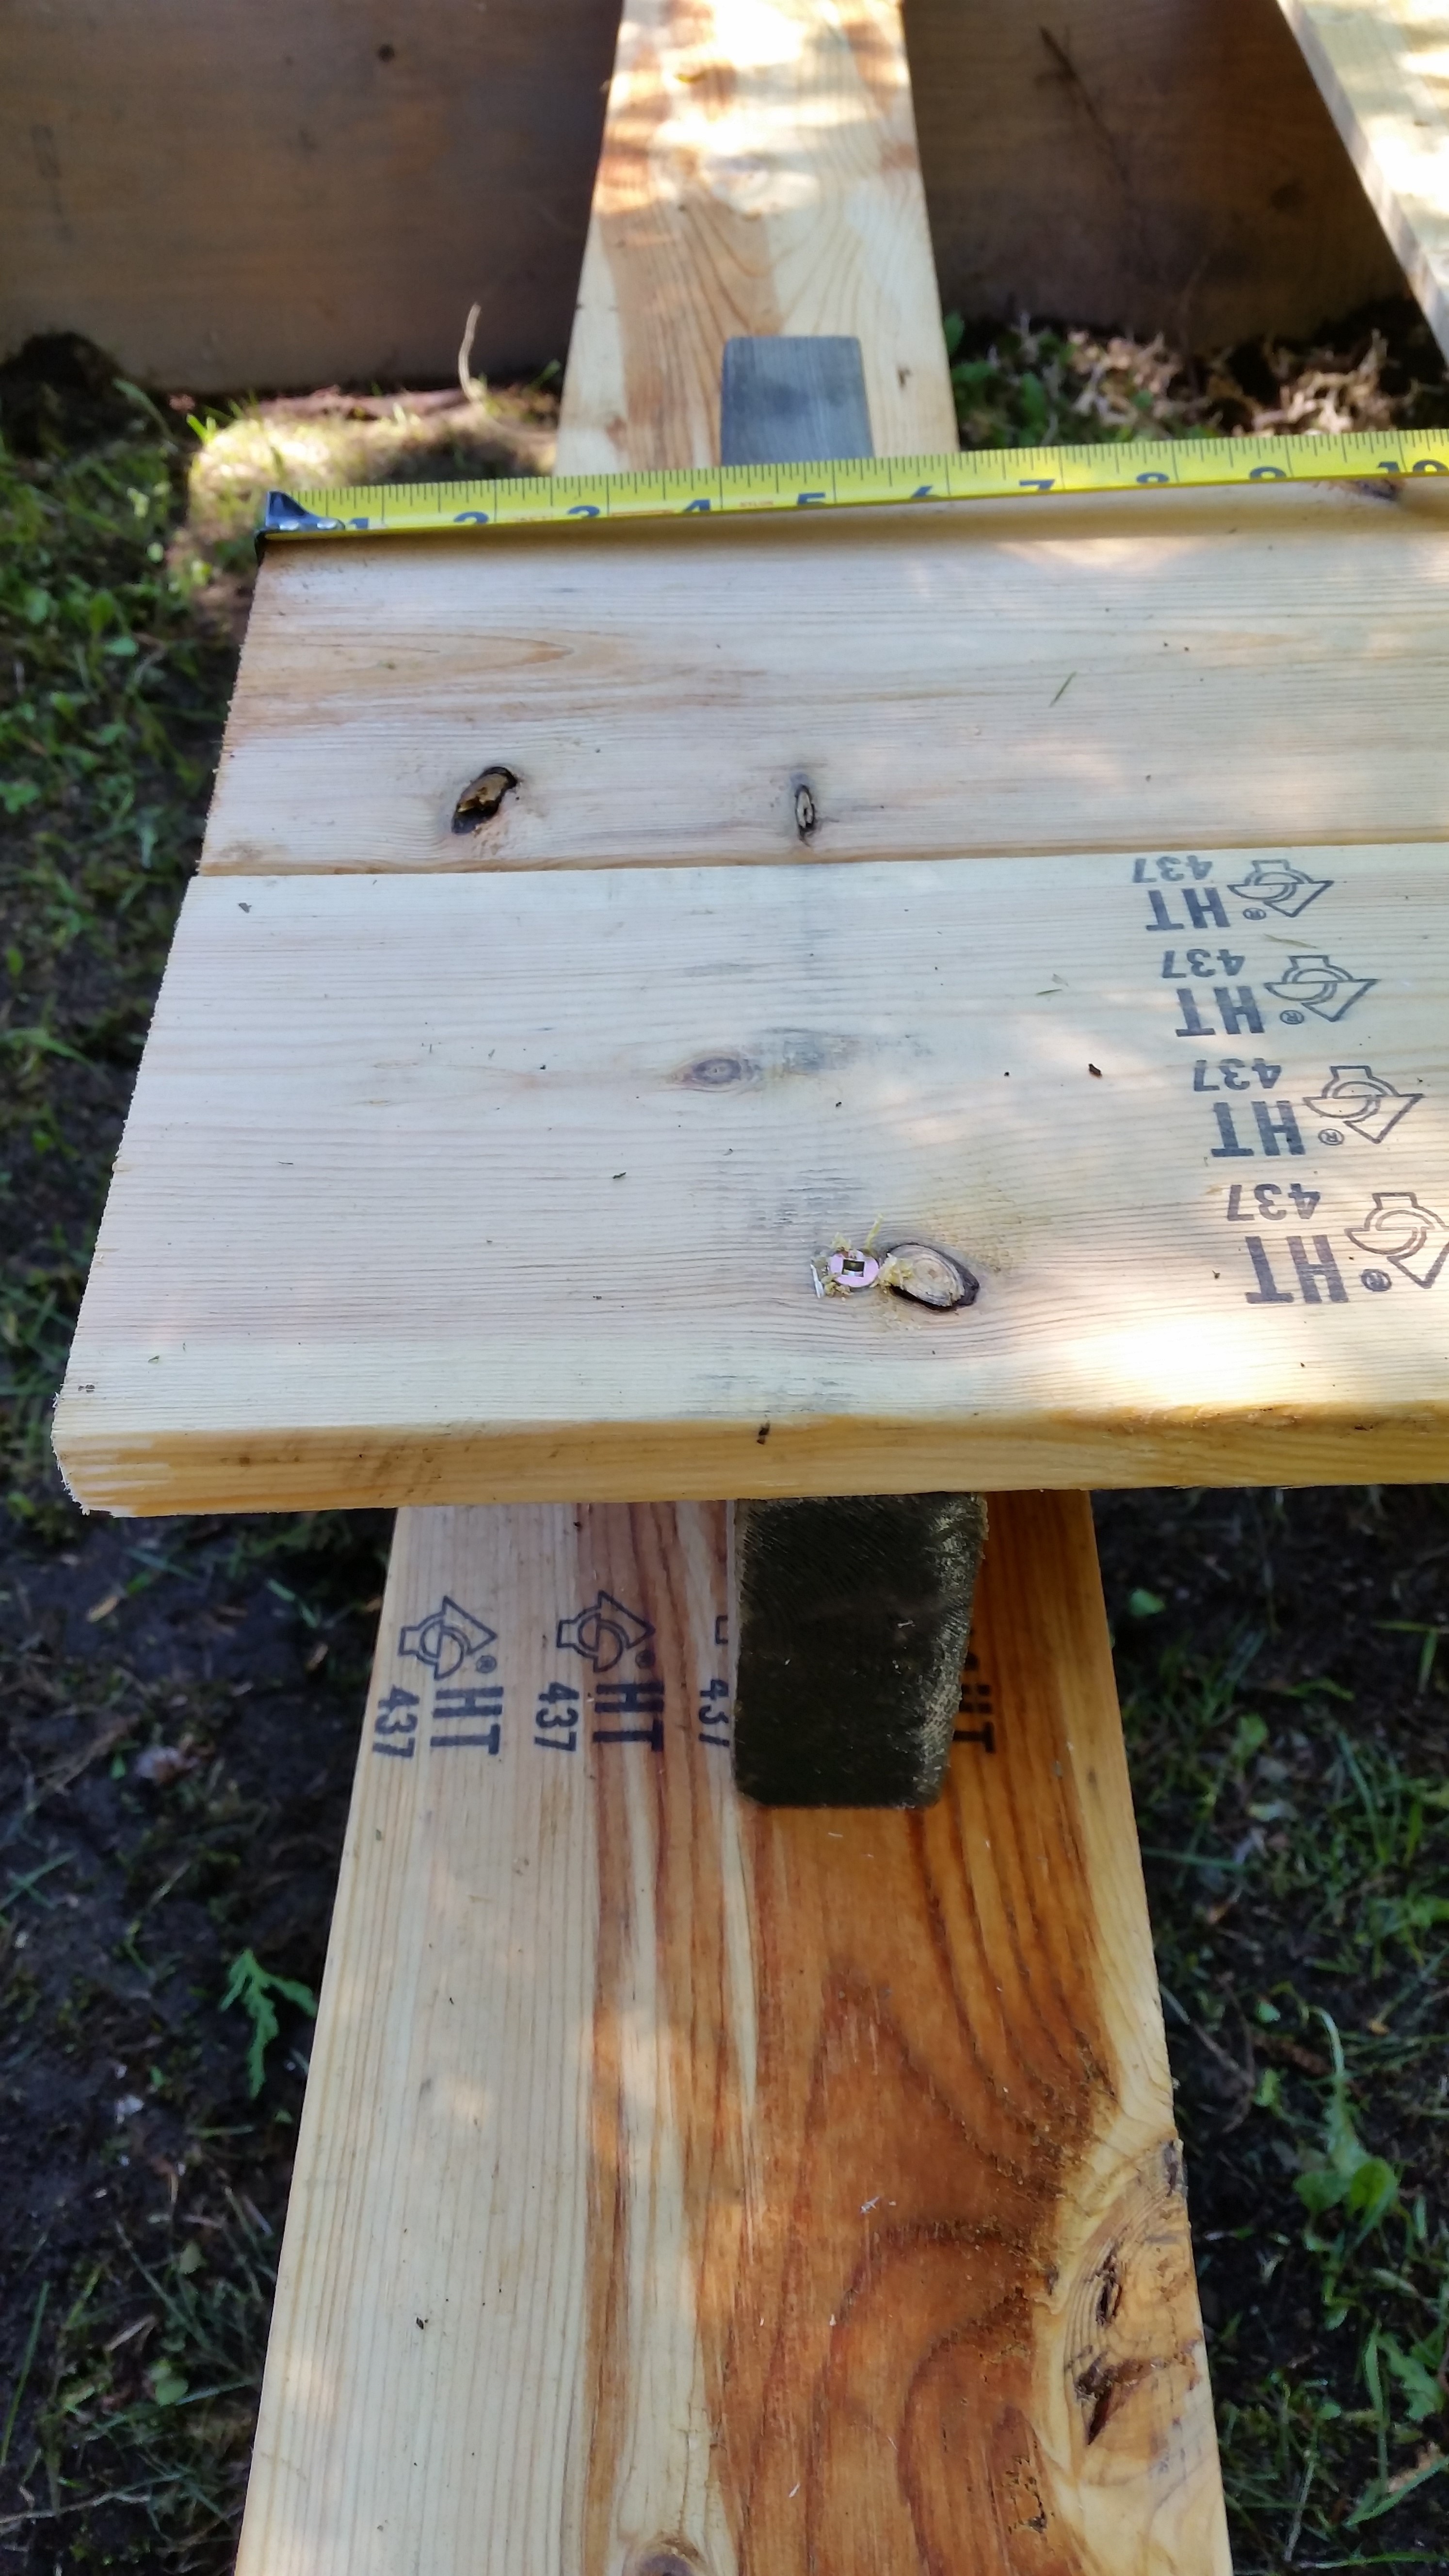
 Step 8: Backrest
Four 1×6 were used for the backrest. Layout outthe boards and screw another 1×6 to the back of the boards. This 1×6 holds together the backrest and should be cut as long as 4 1×6 put together are wide. The supporting 1×6 should be placed 16 inches in from the outside of the boards.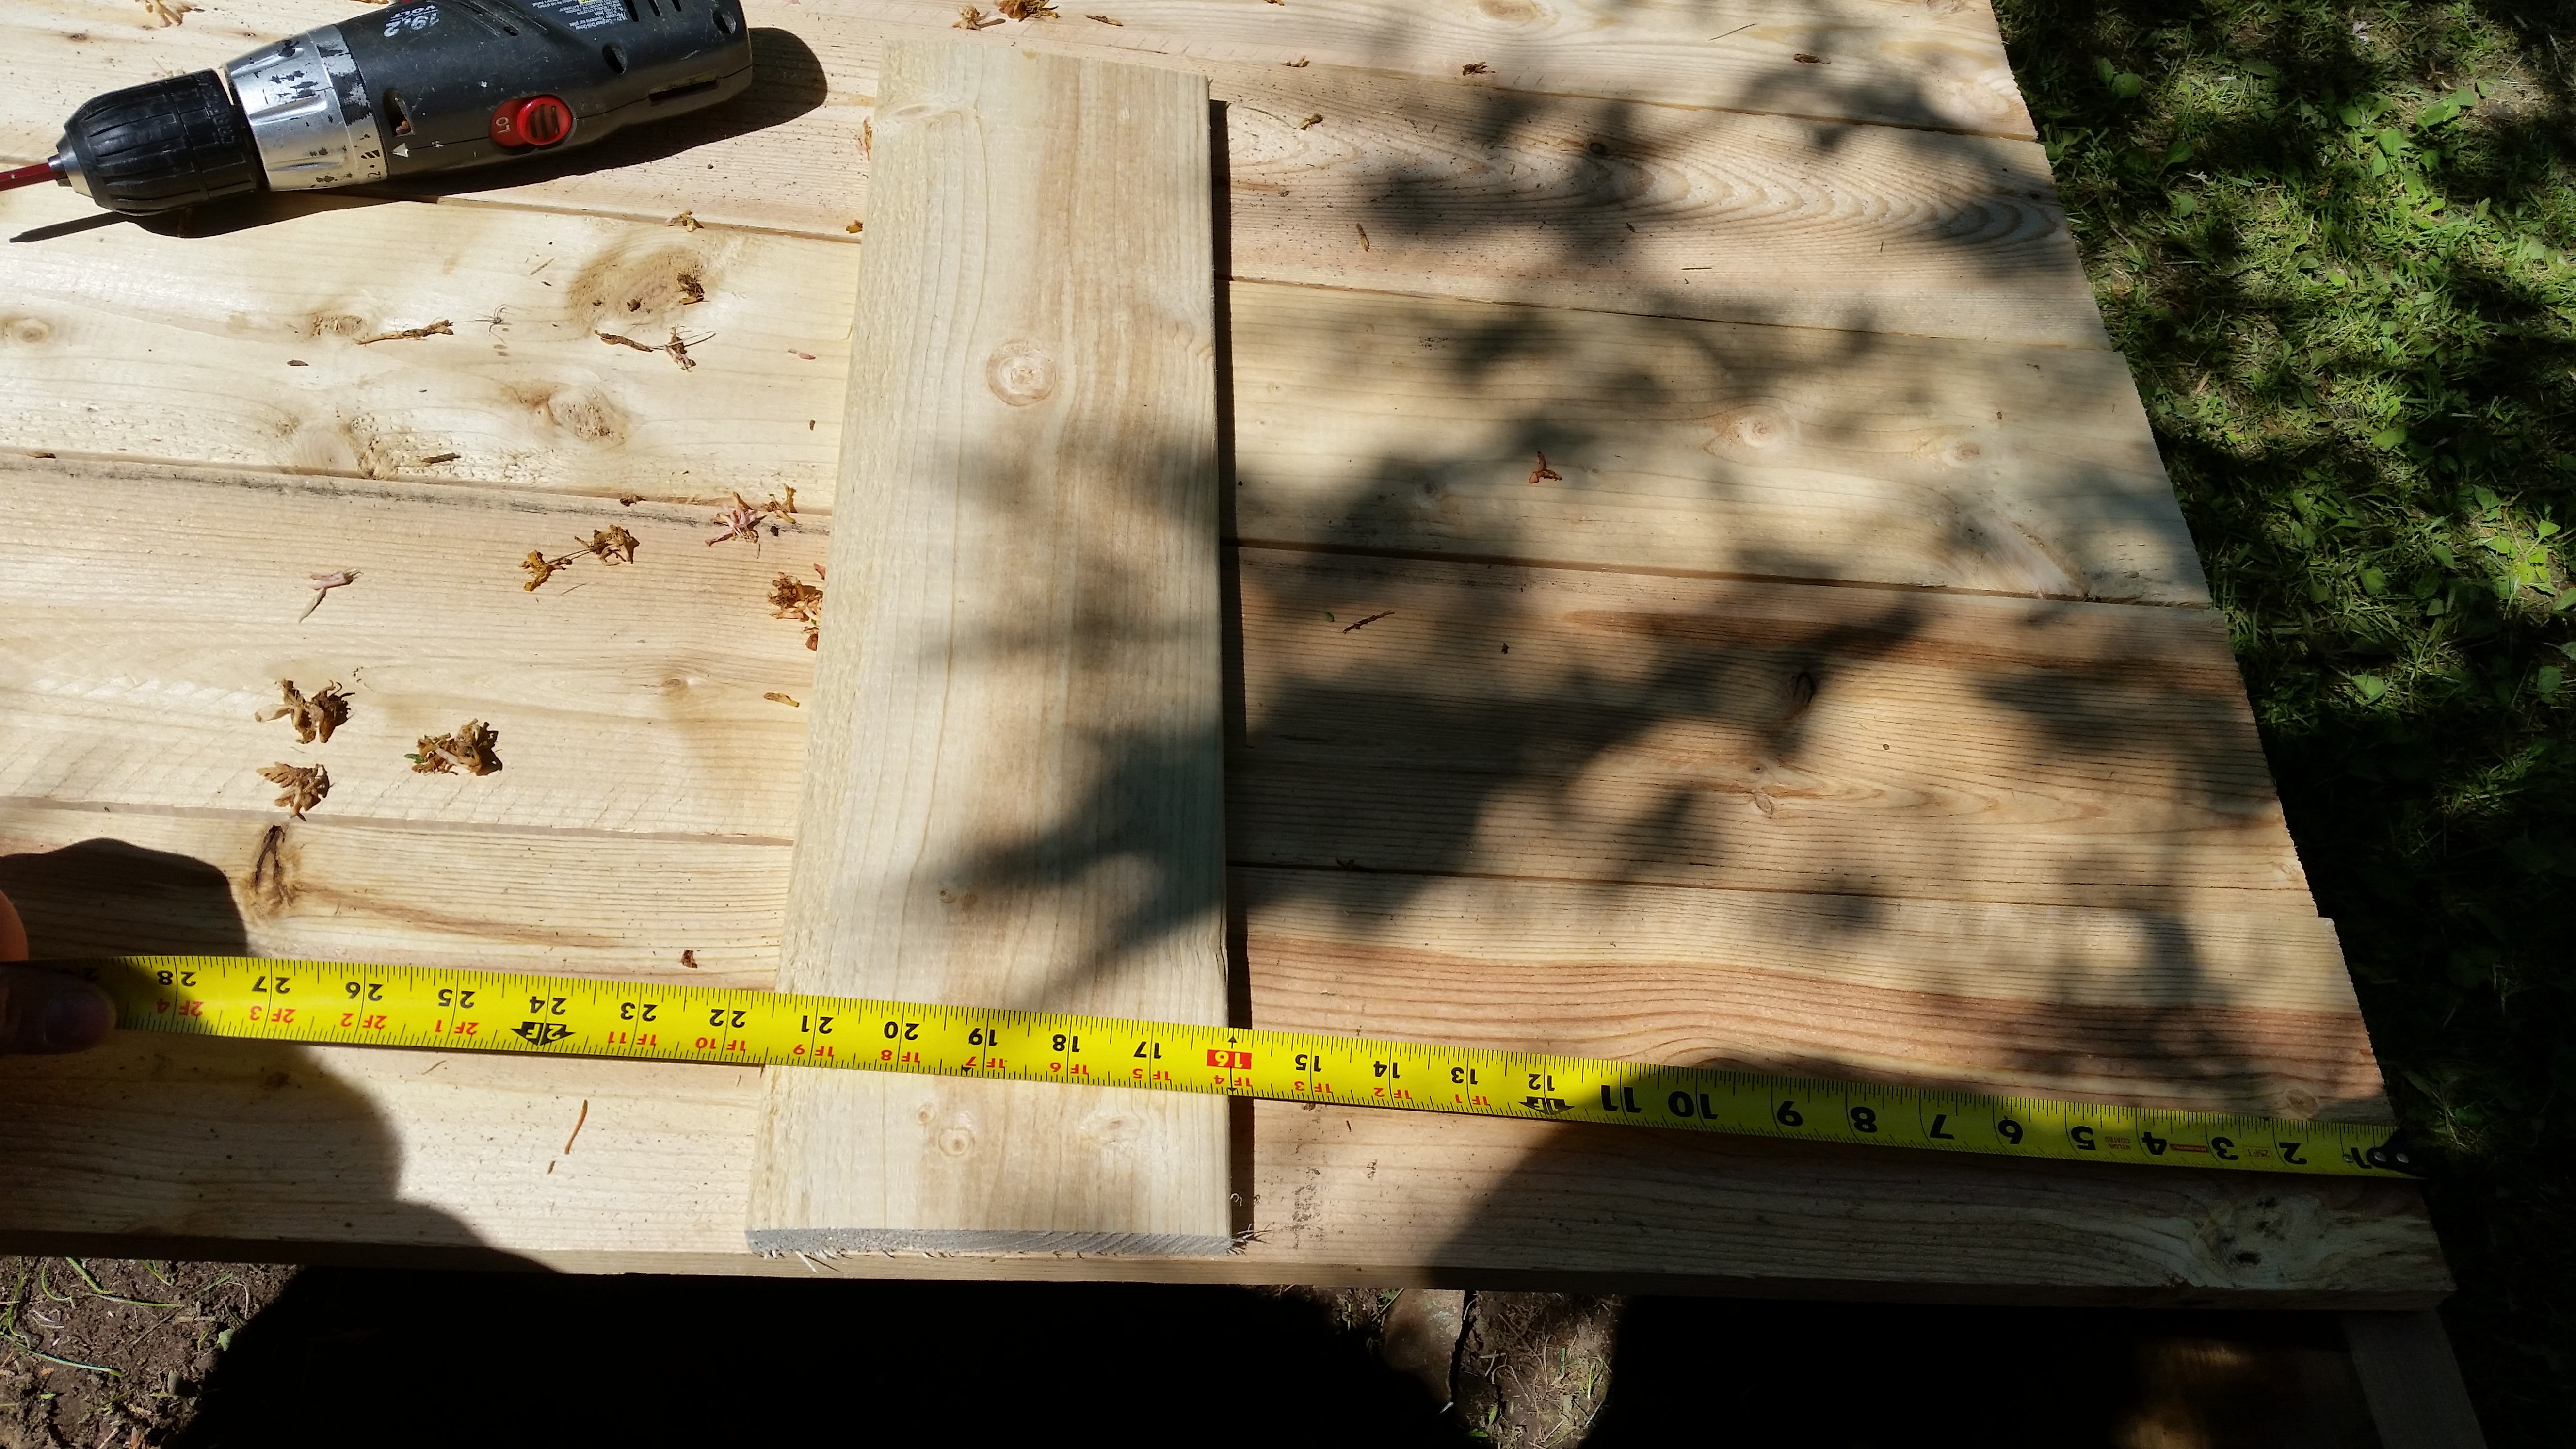
Step 9: Supports
The backrest will need some supports to keep them from falling backwards. Since this plan is an enlarged version of the smaller ones these supports will need to be added as the seat portion hangs out over the end of the box. Another set of 1×6 is screwed beside the board holding the 4 boards together. It will be a custom length as it will reach all the way to the ground. The below pieces are what the 1×6 will push against to keep from sliding out.

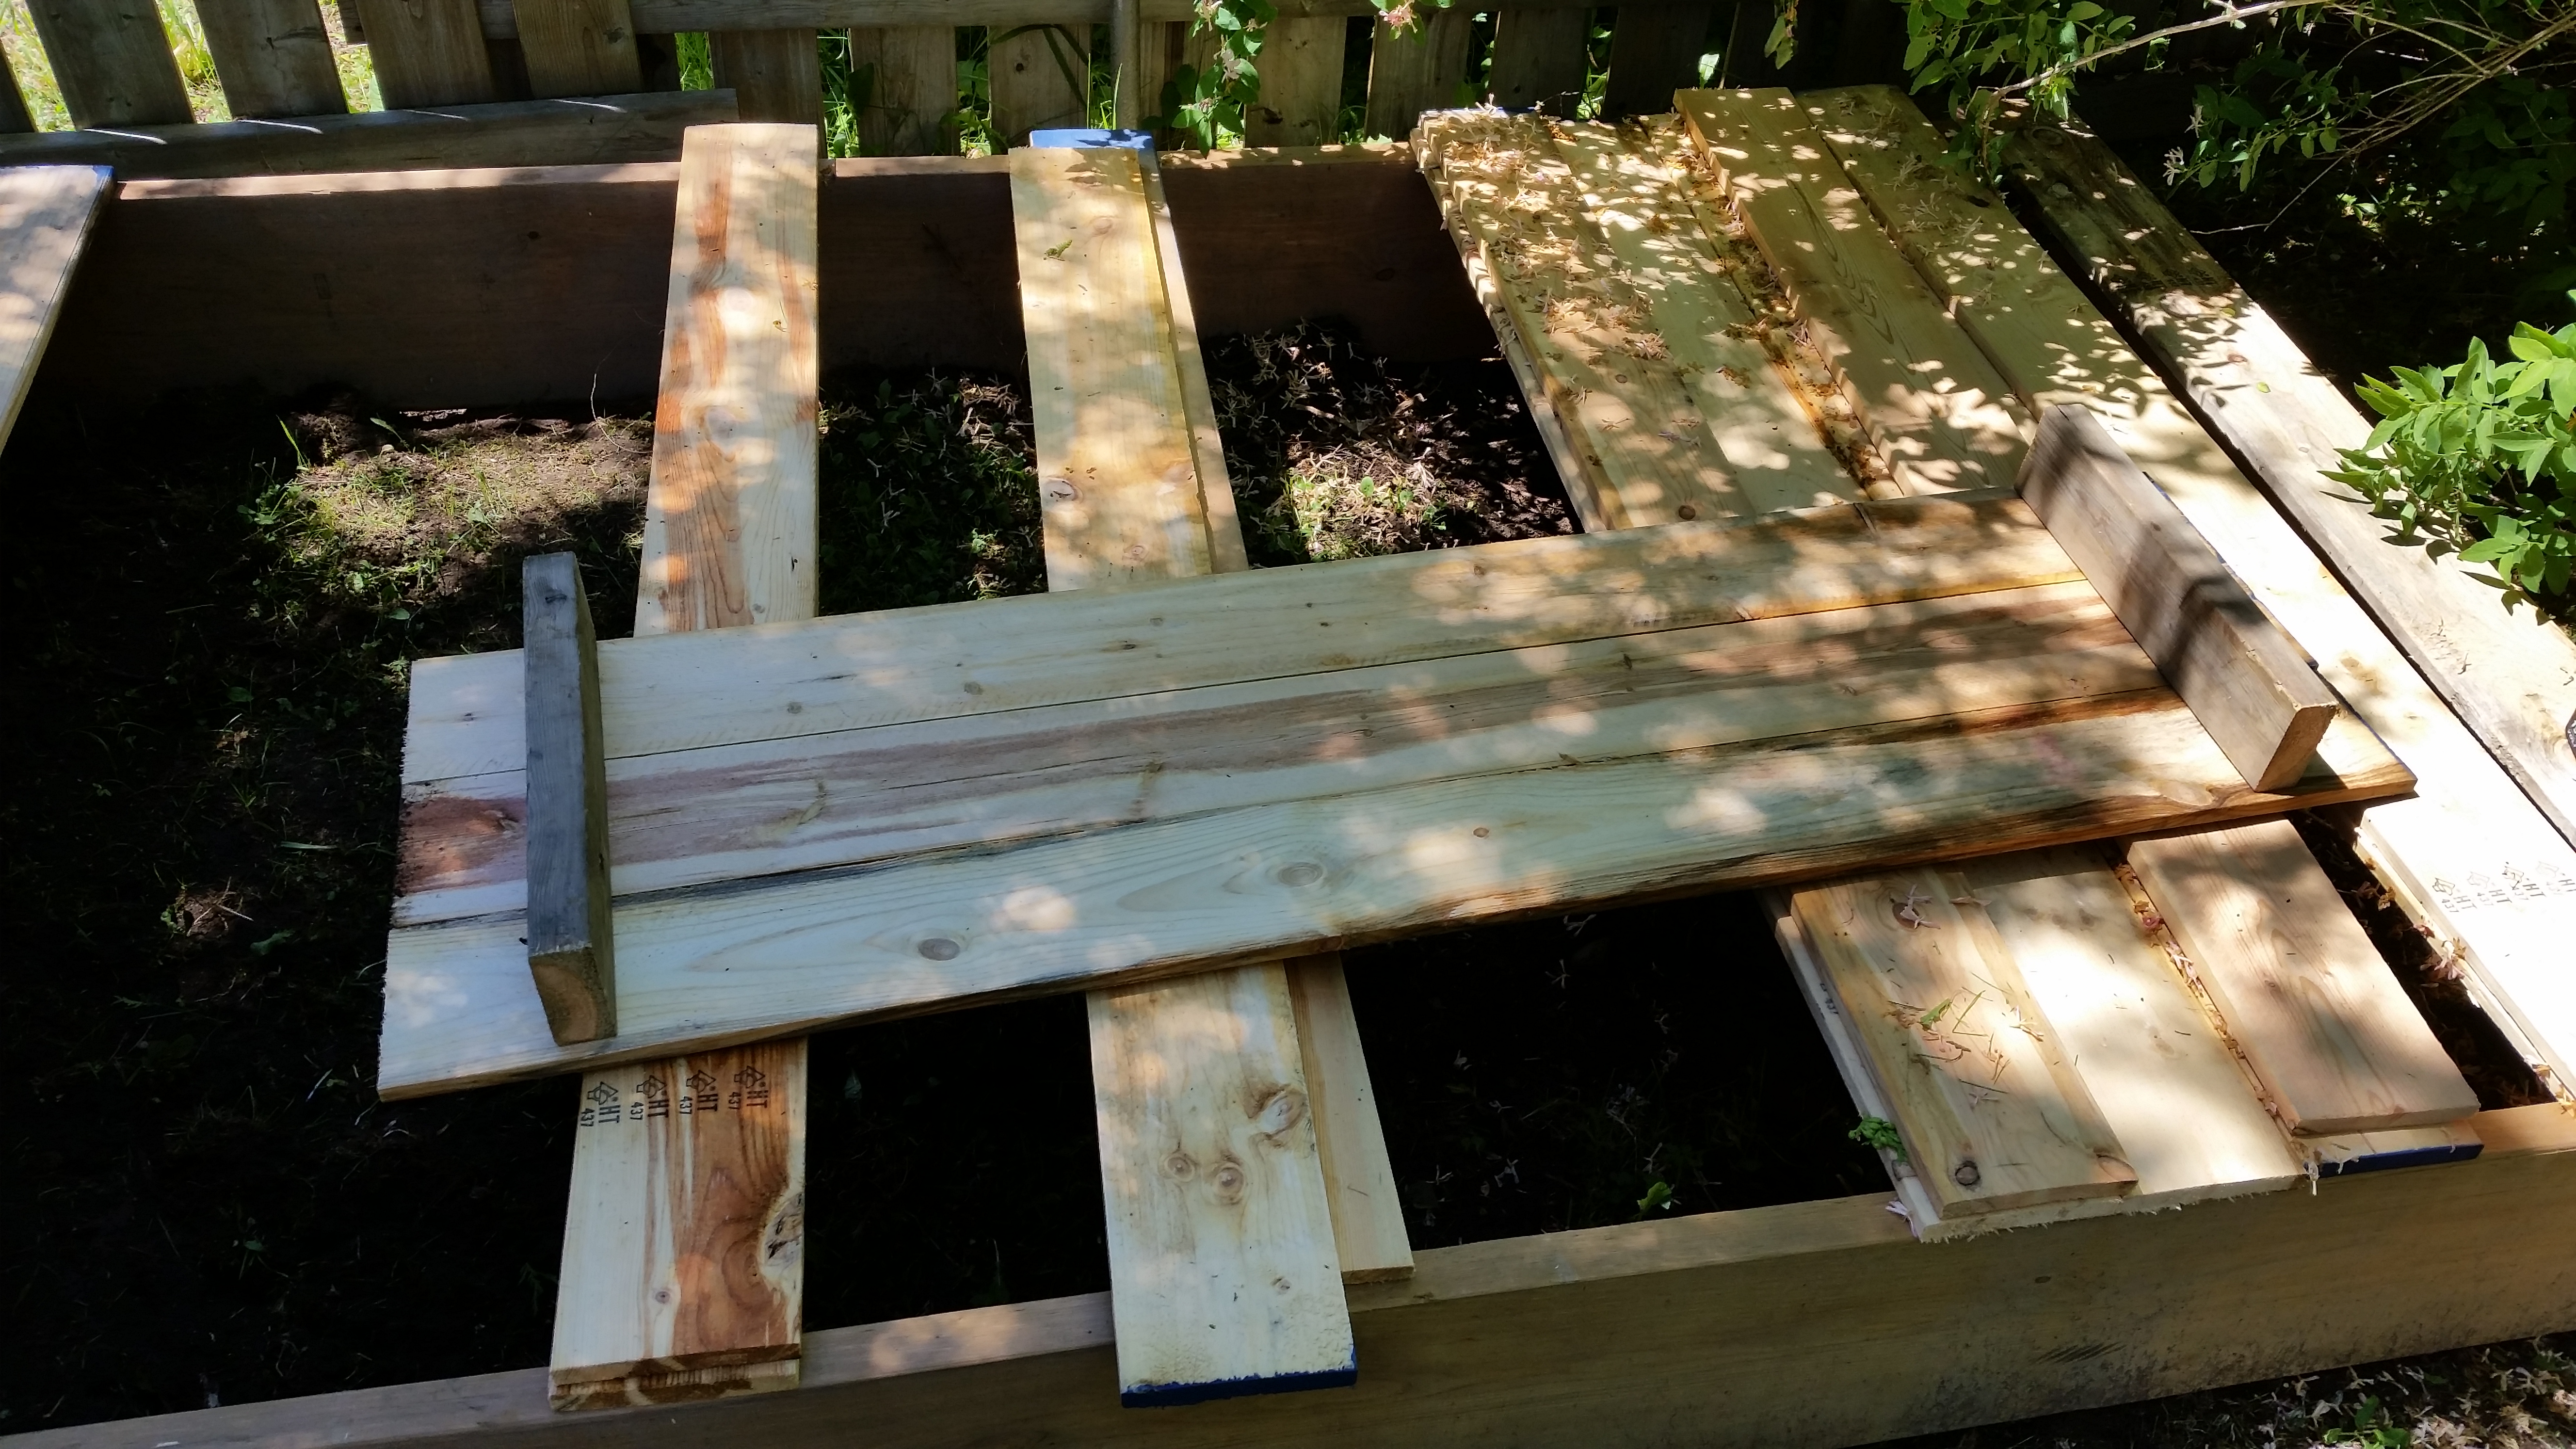
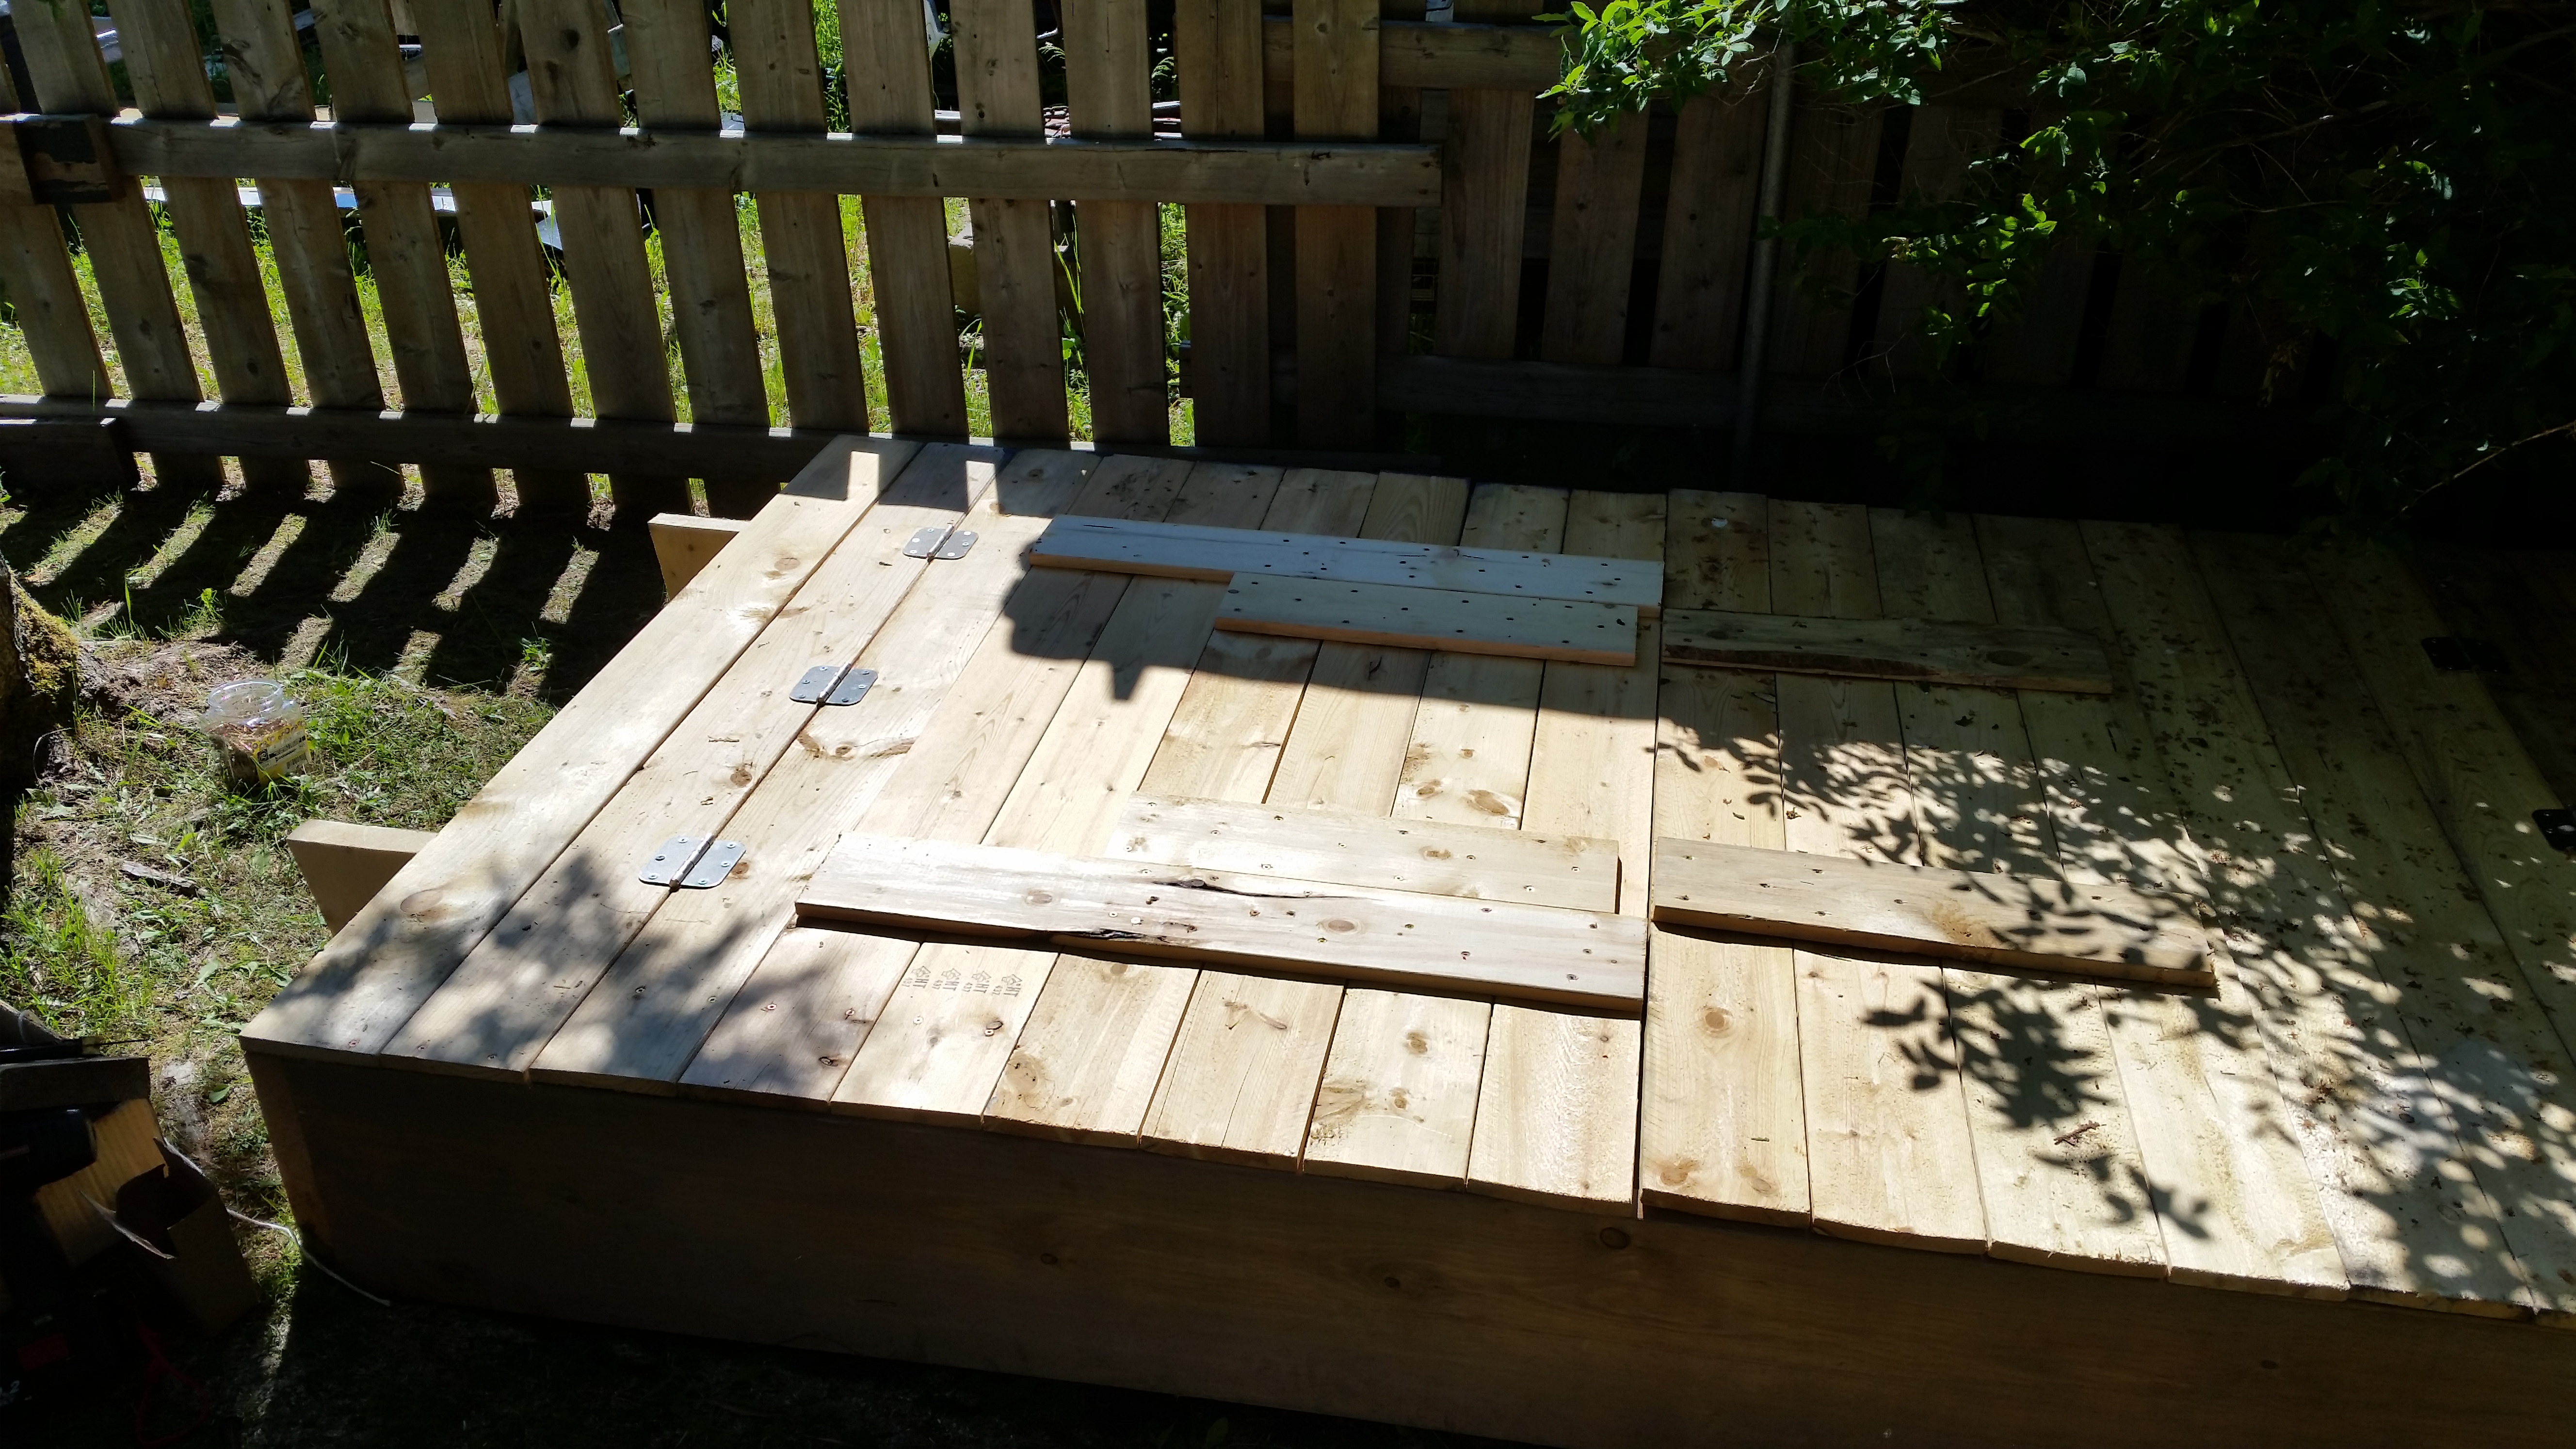
Step 10: Final Layout
Here is the final layout. Notice 1×6 are longer than the the backrest. These rest against the angled boards on the ends of the box to keep them from sliding. The hinges for the backrest are on the inside of the sandbox. Longer screws can be used if you insure that the hinges are lined up with the 1×6 that holds the backrest together.
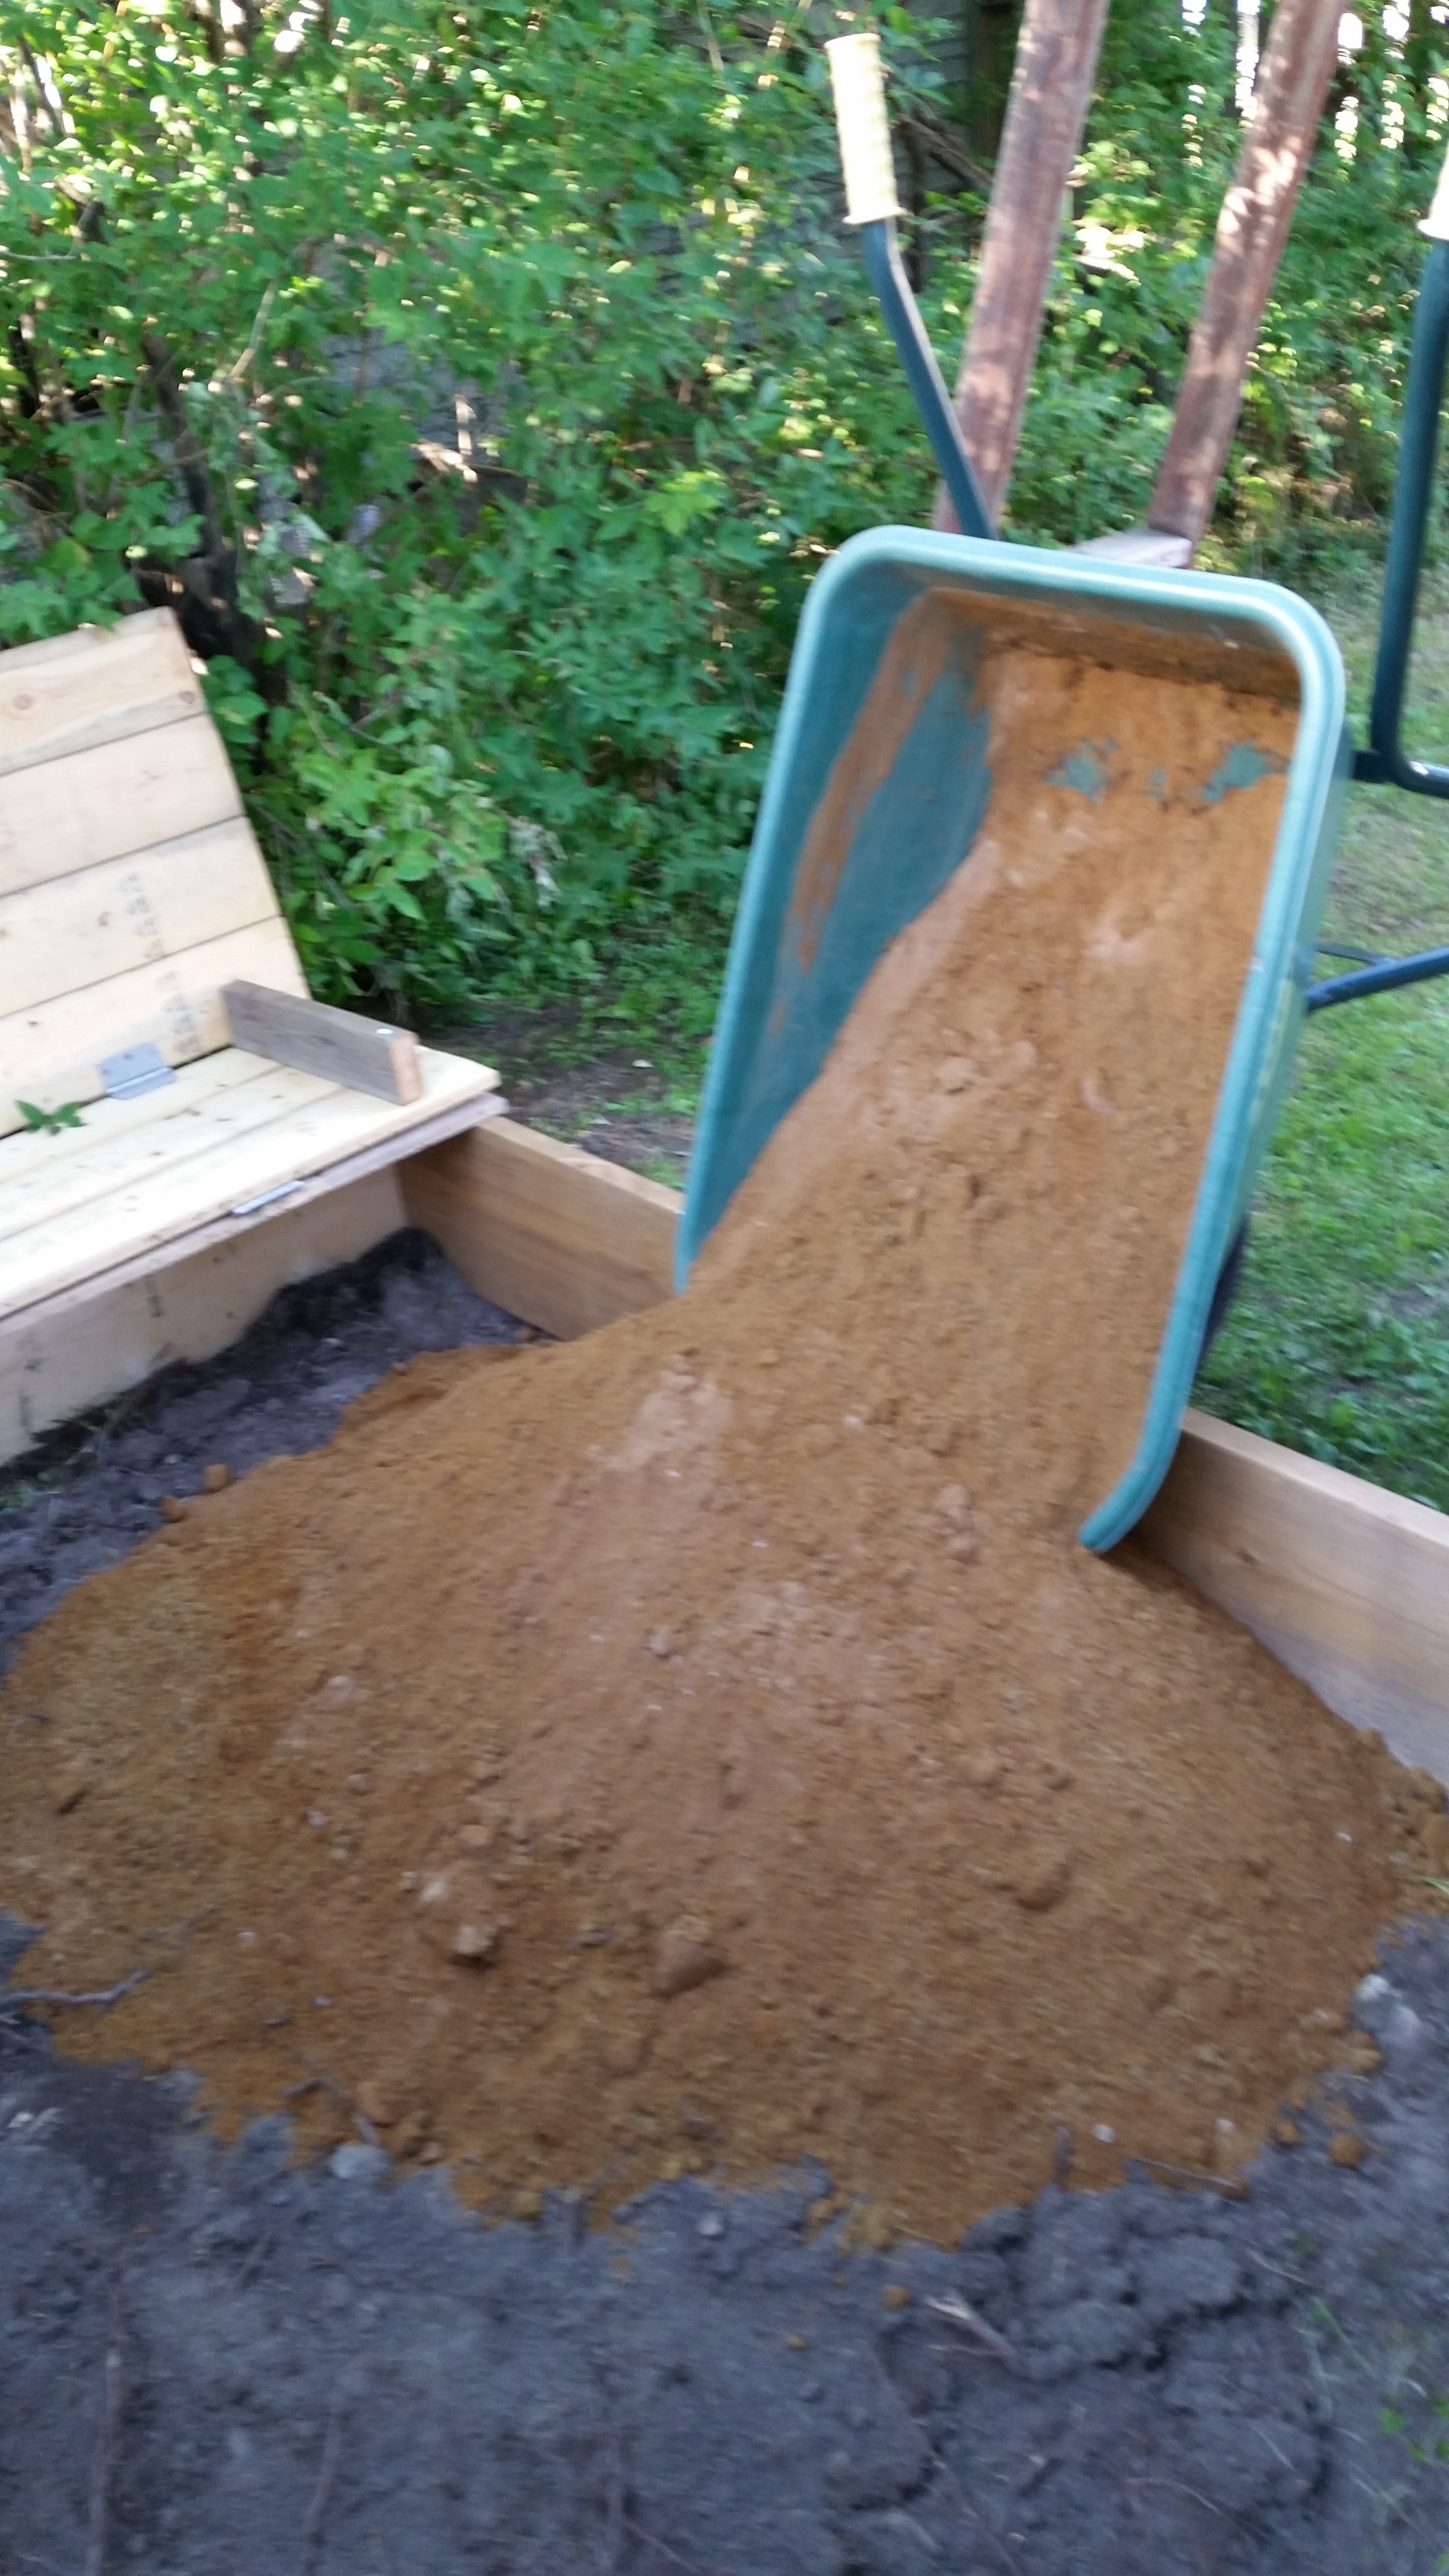
Step 11: Sand
Luckily I have friends in the construction business and was able to get the sand for free. One heaping pickup truck full did the job. Although I think I may have overloaded the truck with this much sand. Sand had to be moved with a wheelbarrow as the sandbox was tucked away in the corner without vehicle access.
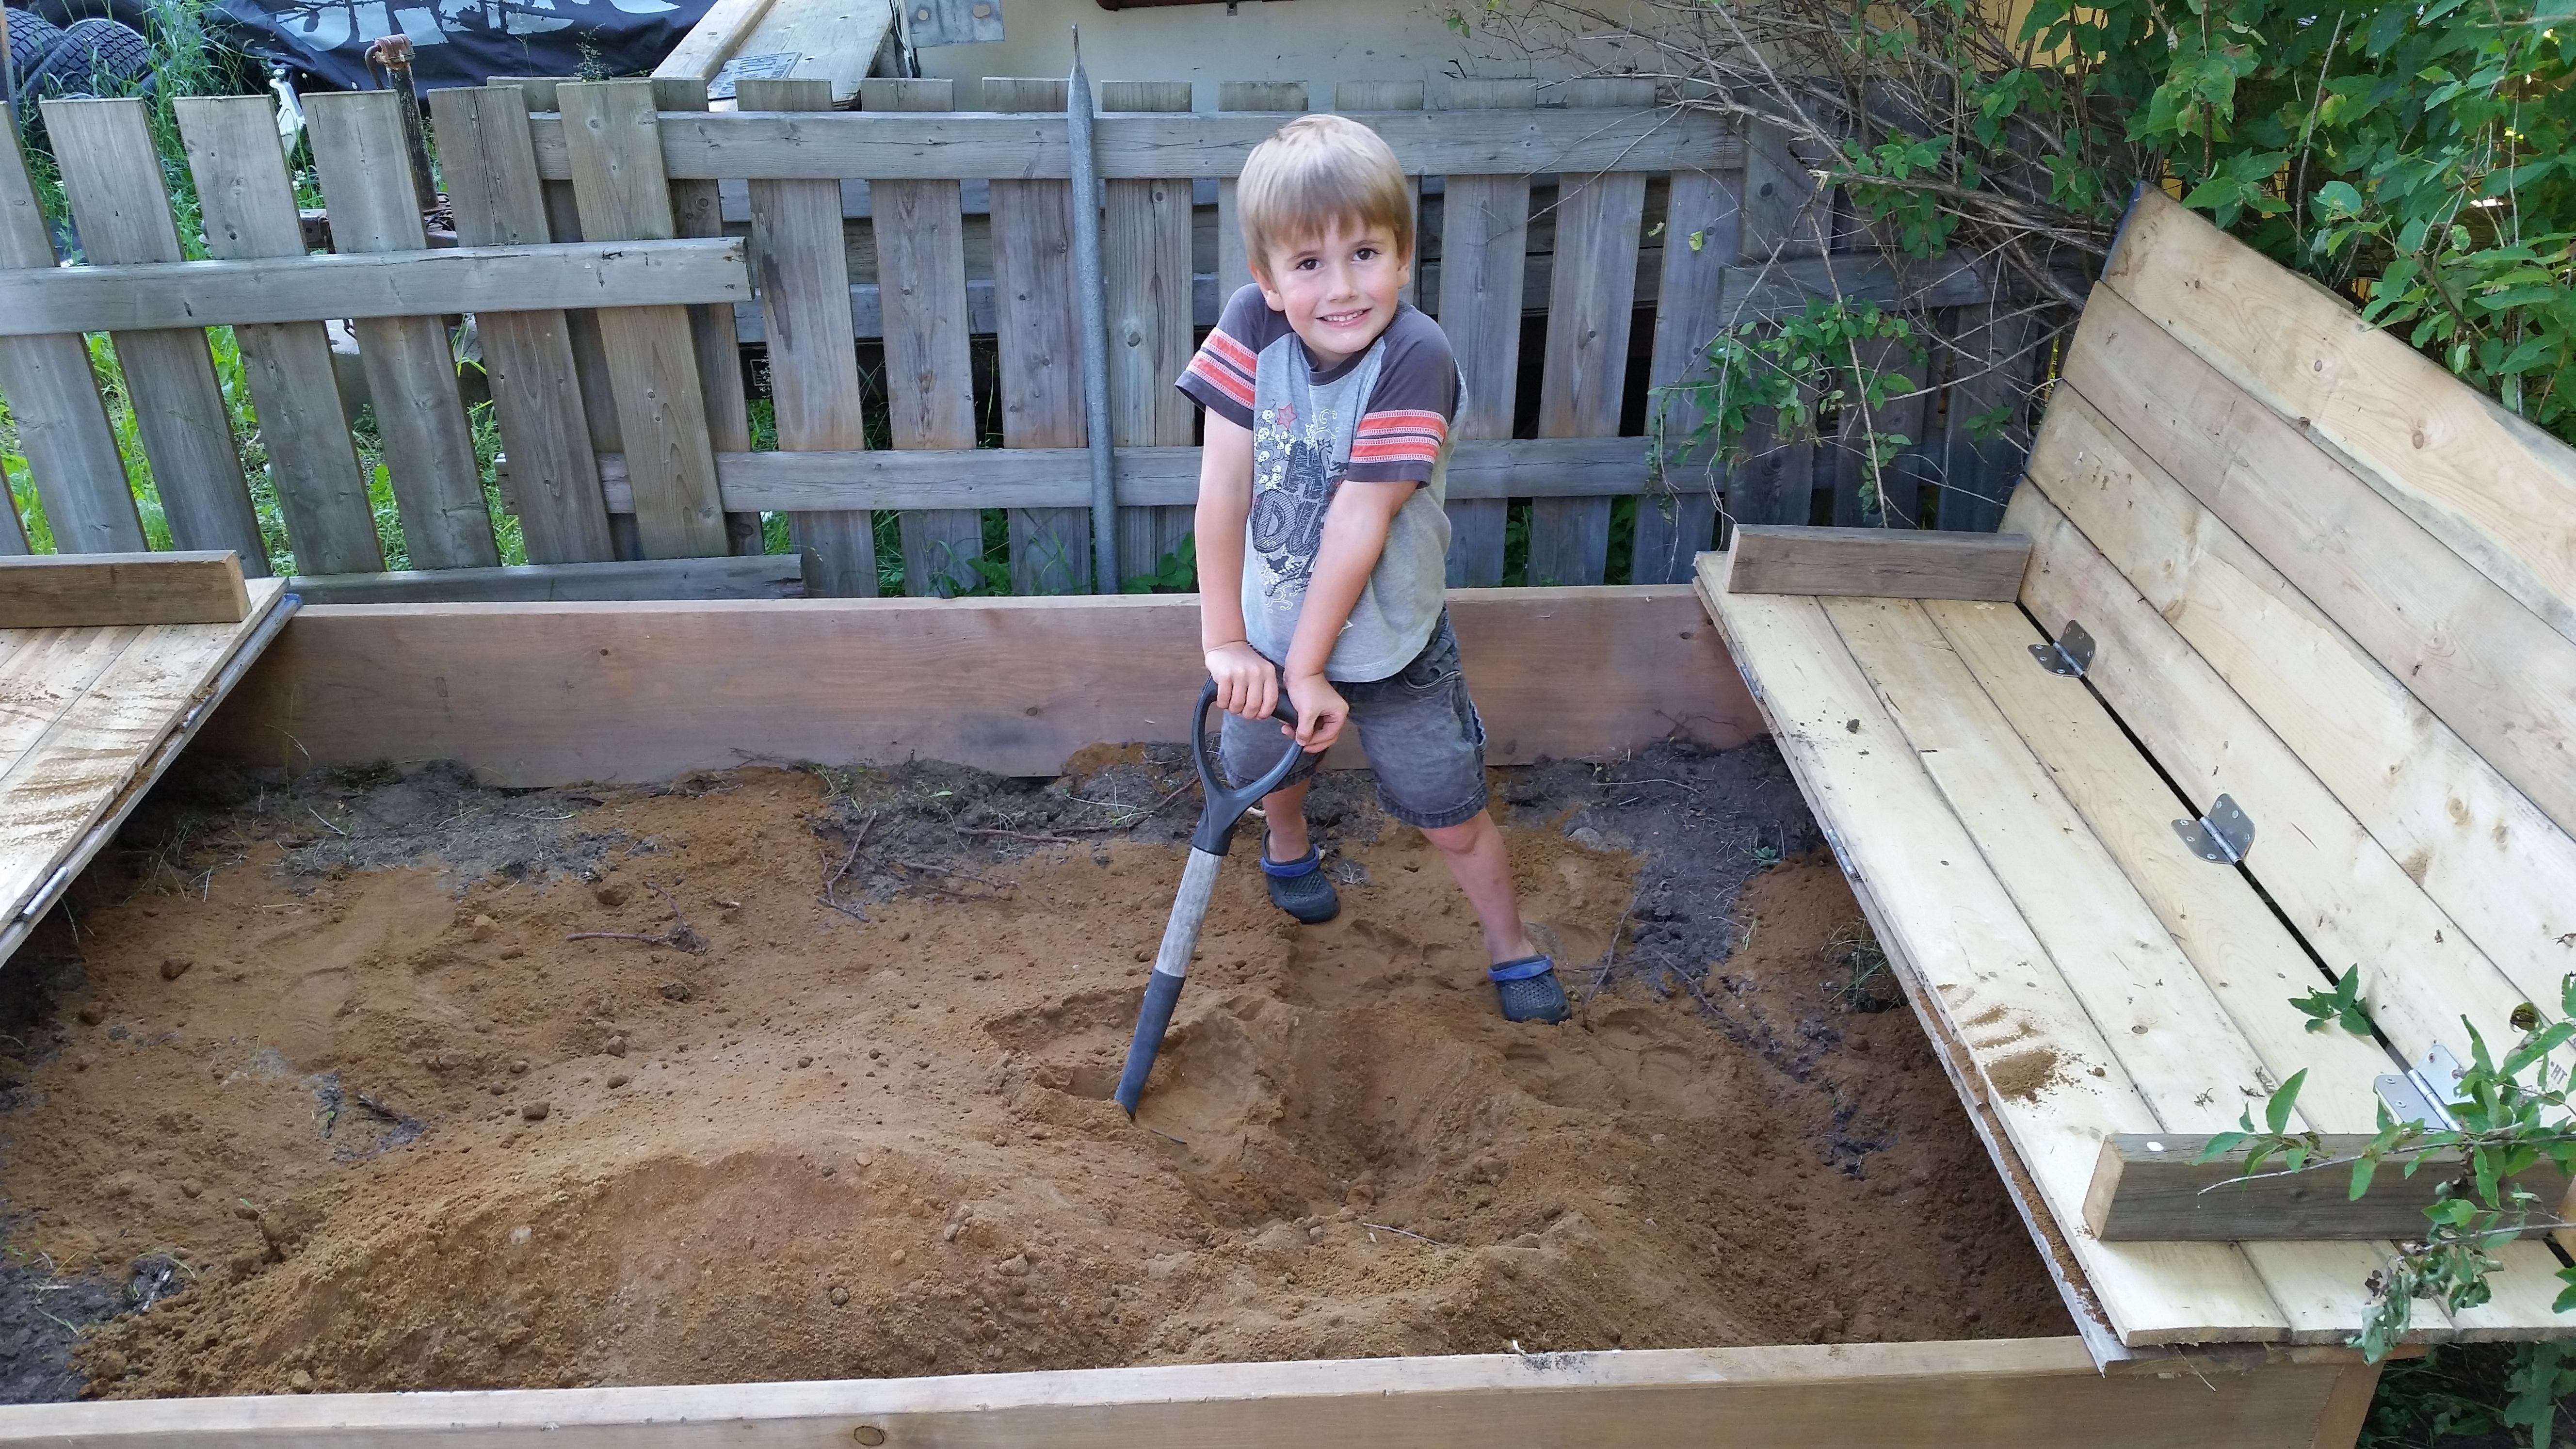
Here are my two helpers spreading the sand.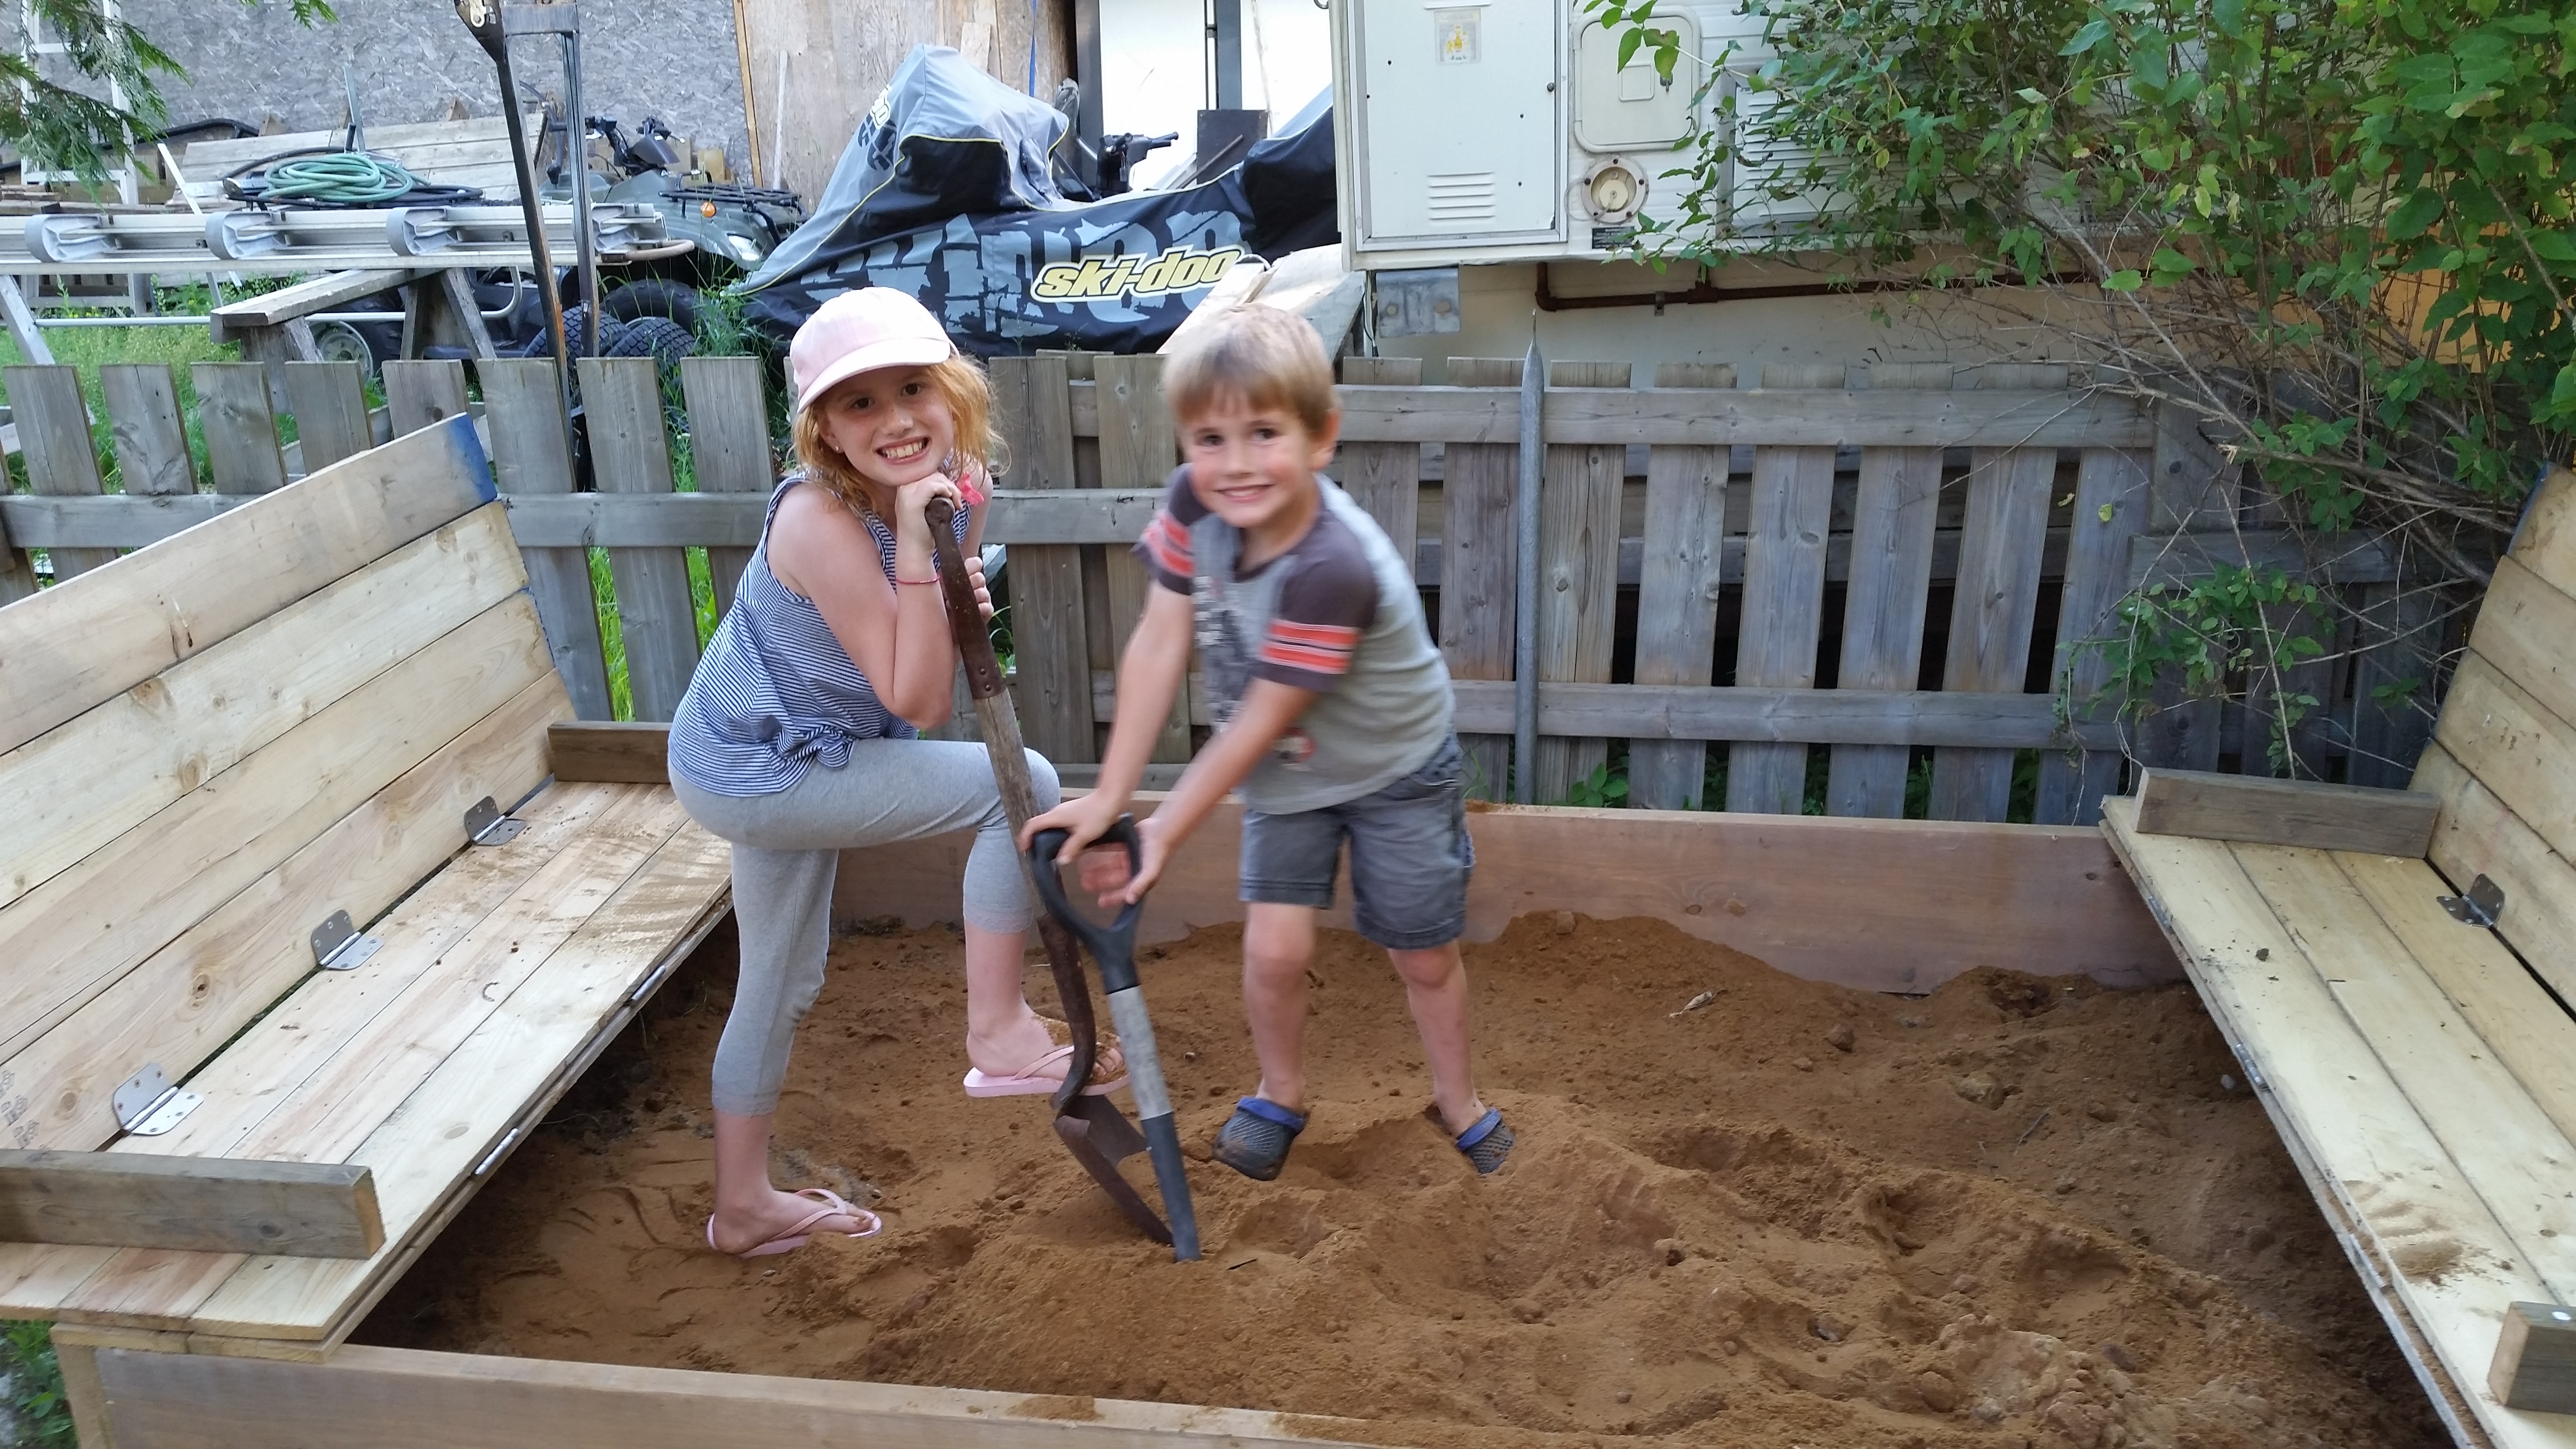
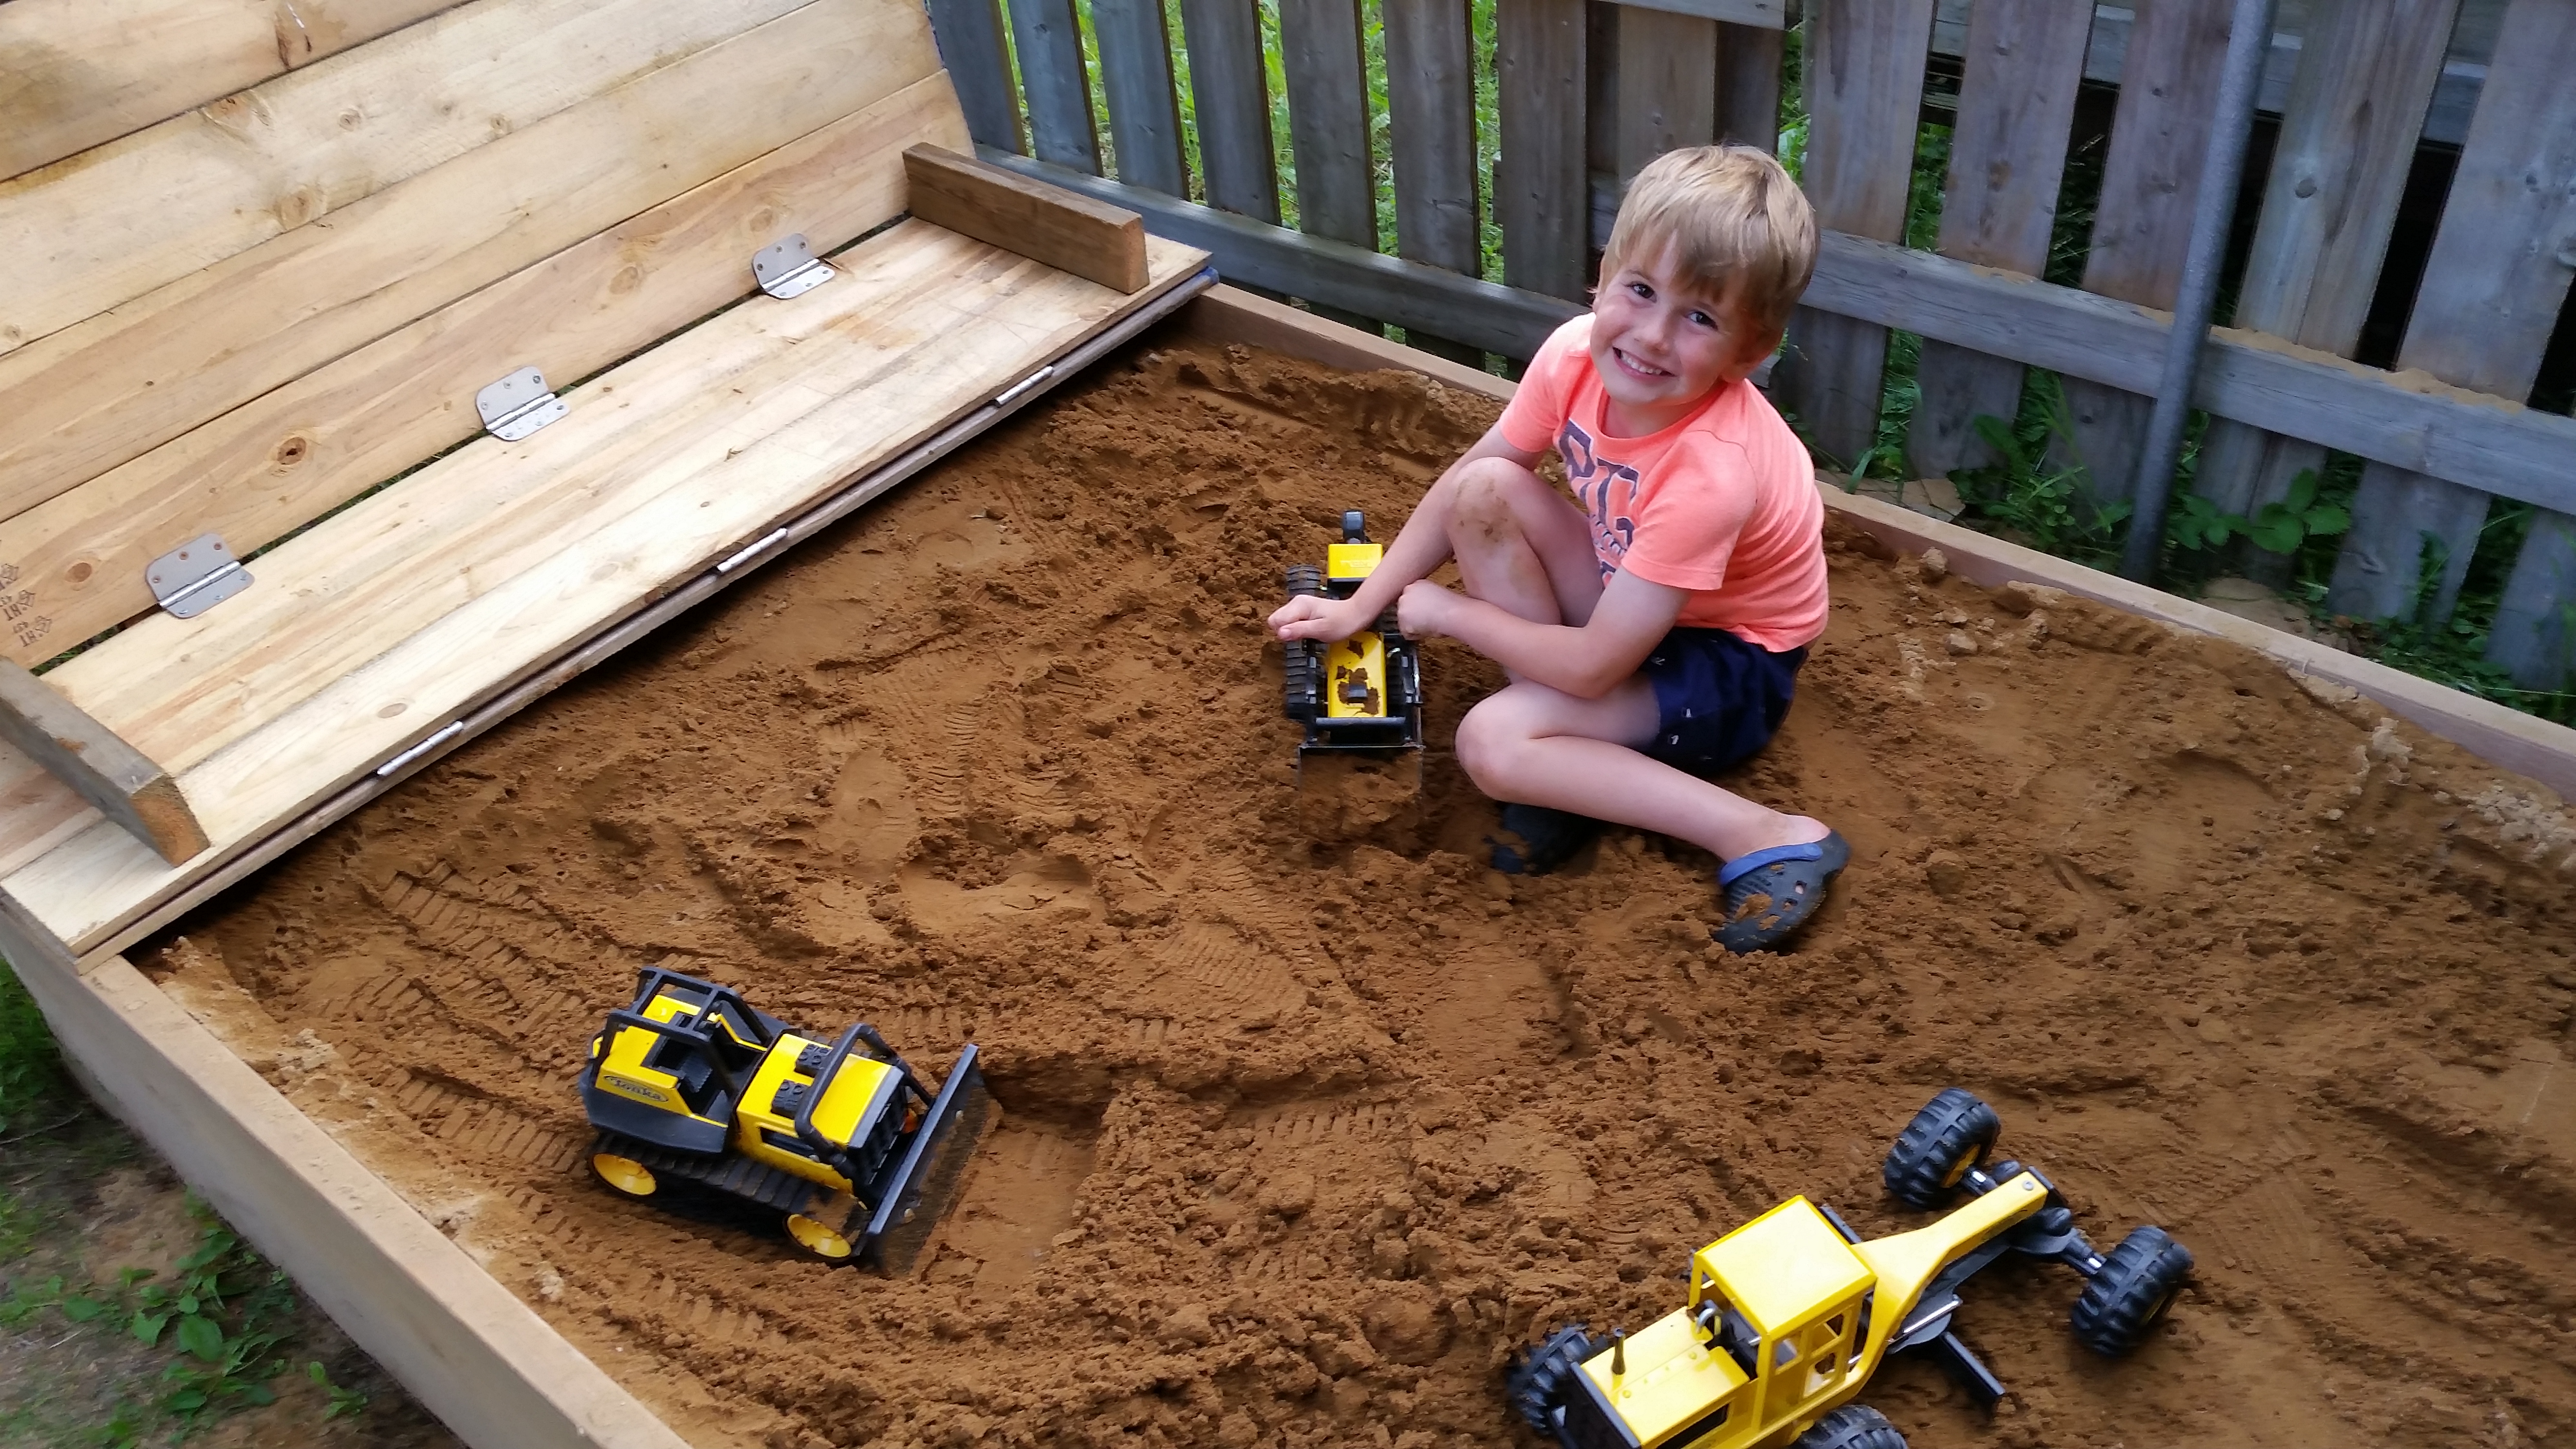
The smile says it all. Here is one happy little boy!! It didn’t even take 10 years to build…just a couple weekends.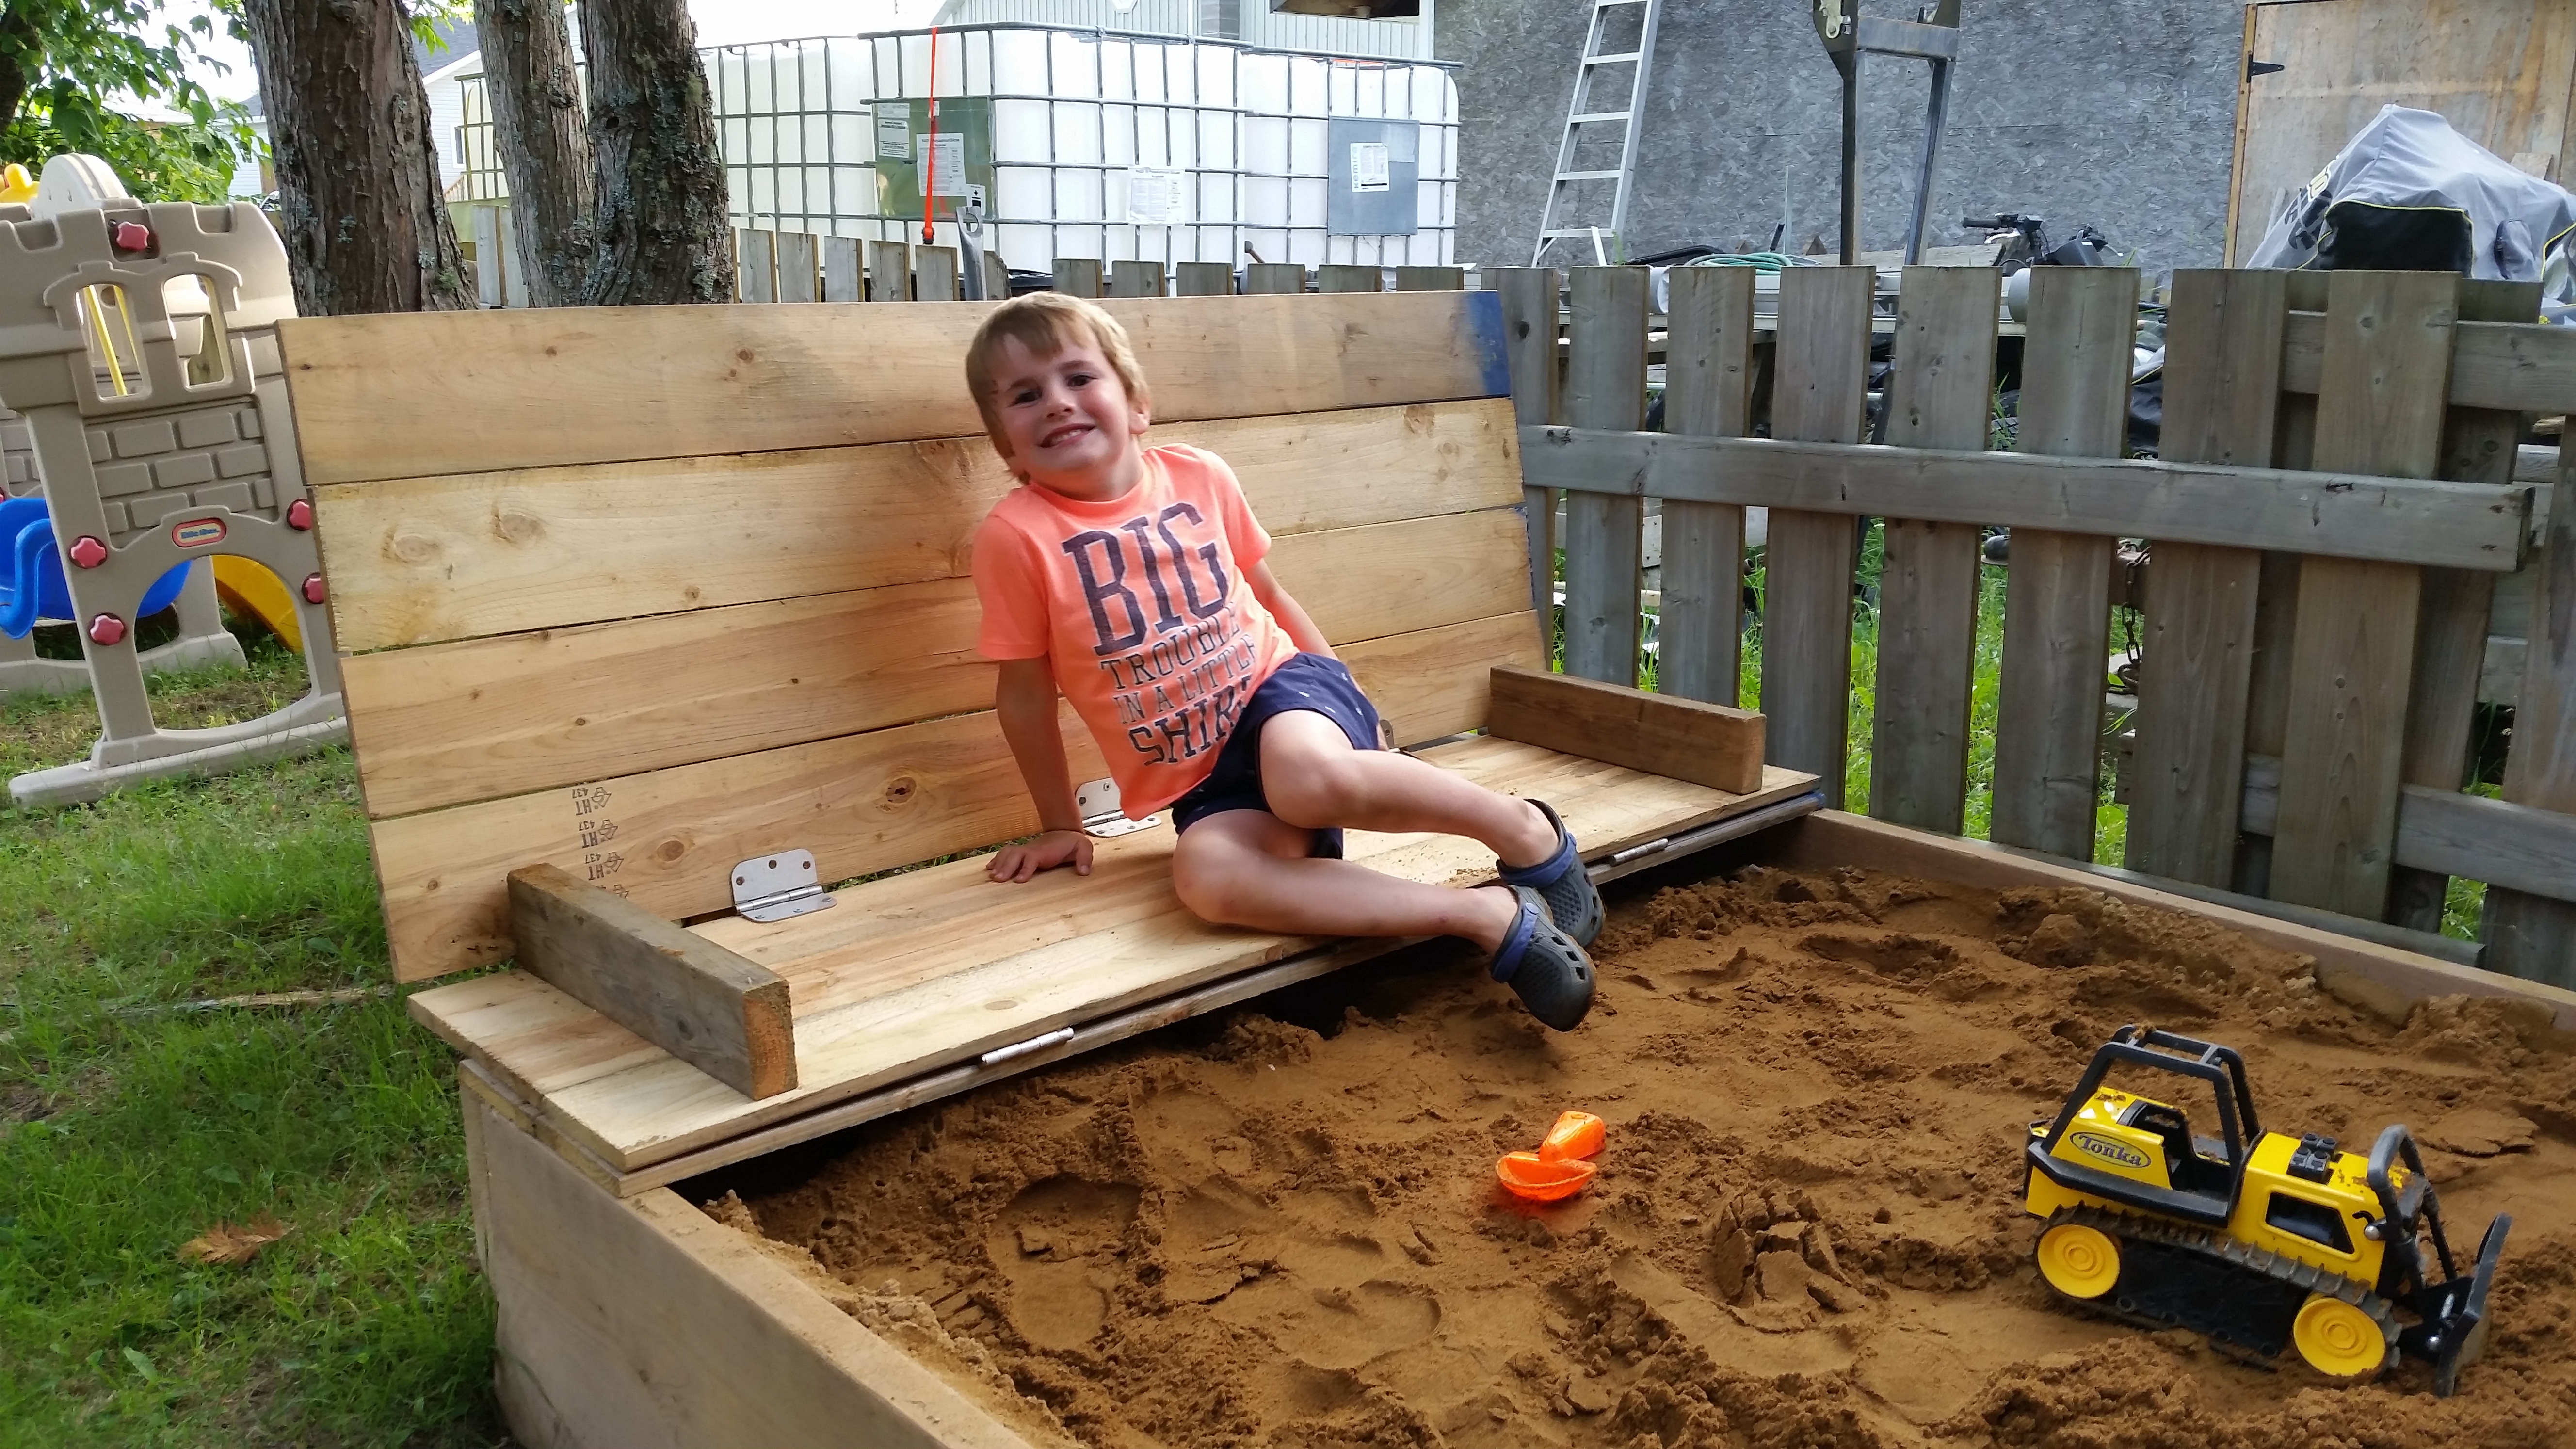
 Challenges:
Some of the challenges building this box include the size, strength, and screw length. Building a bigger sandbox means the seats are heavier. This presents challenges with the strength of the benches as short screws do not hold as well and long screws will poke through the wood. Other online plans show spacing between the 1 x 6. Mine are built tight together. The boards are beginning to swell slightly with the damp weather. It caused me to have to re-adjust so the lid closes properly. Now that fall is here I am beginning to think about winter. There is usually about 6 feet of snow where the sandbox is located. Extra boards may have to be put on top to help with the weight. They will be removed in the spring.
I would love to see what you made. Feel free to share by contacting me.
Save
Save