
Outdoor Fireplace
Who doesn’t love sitting by the fire outside. Roasting marshmallows and hot dogs. I wanted something a little different. Checked out some of the local landscaping stores…they wanted over $10,000 for an outdoor fireplace. Being a handy guy I thought that I can build one. This is still a work in progress. Hoping to have it completed by fall so that we can enjoy family time by the fire on cool evenings.
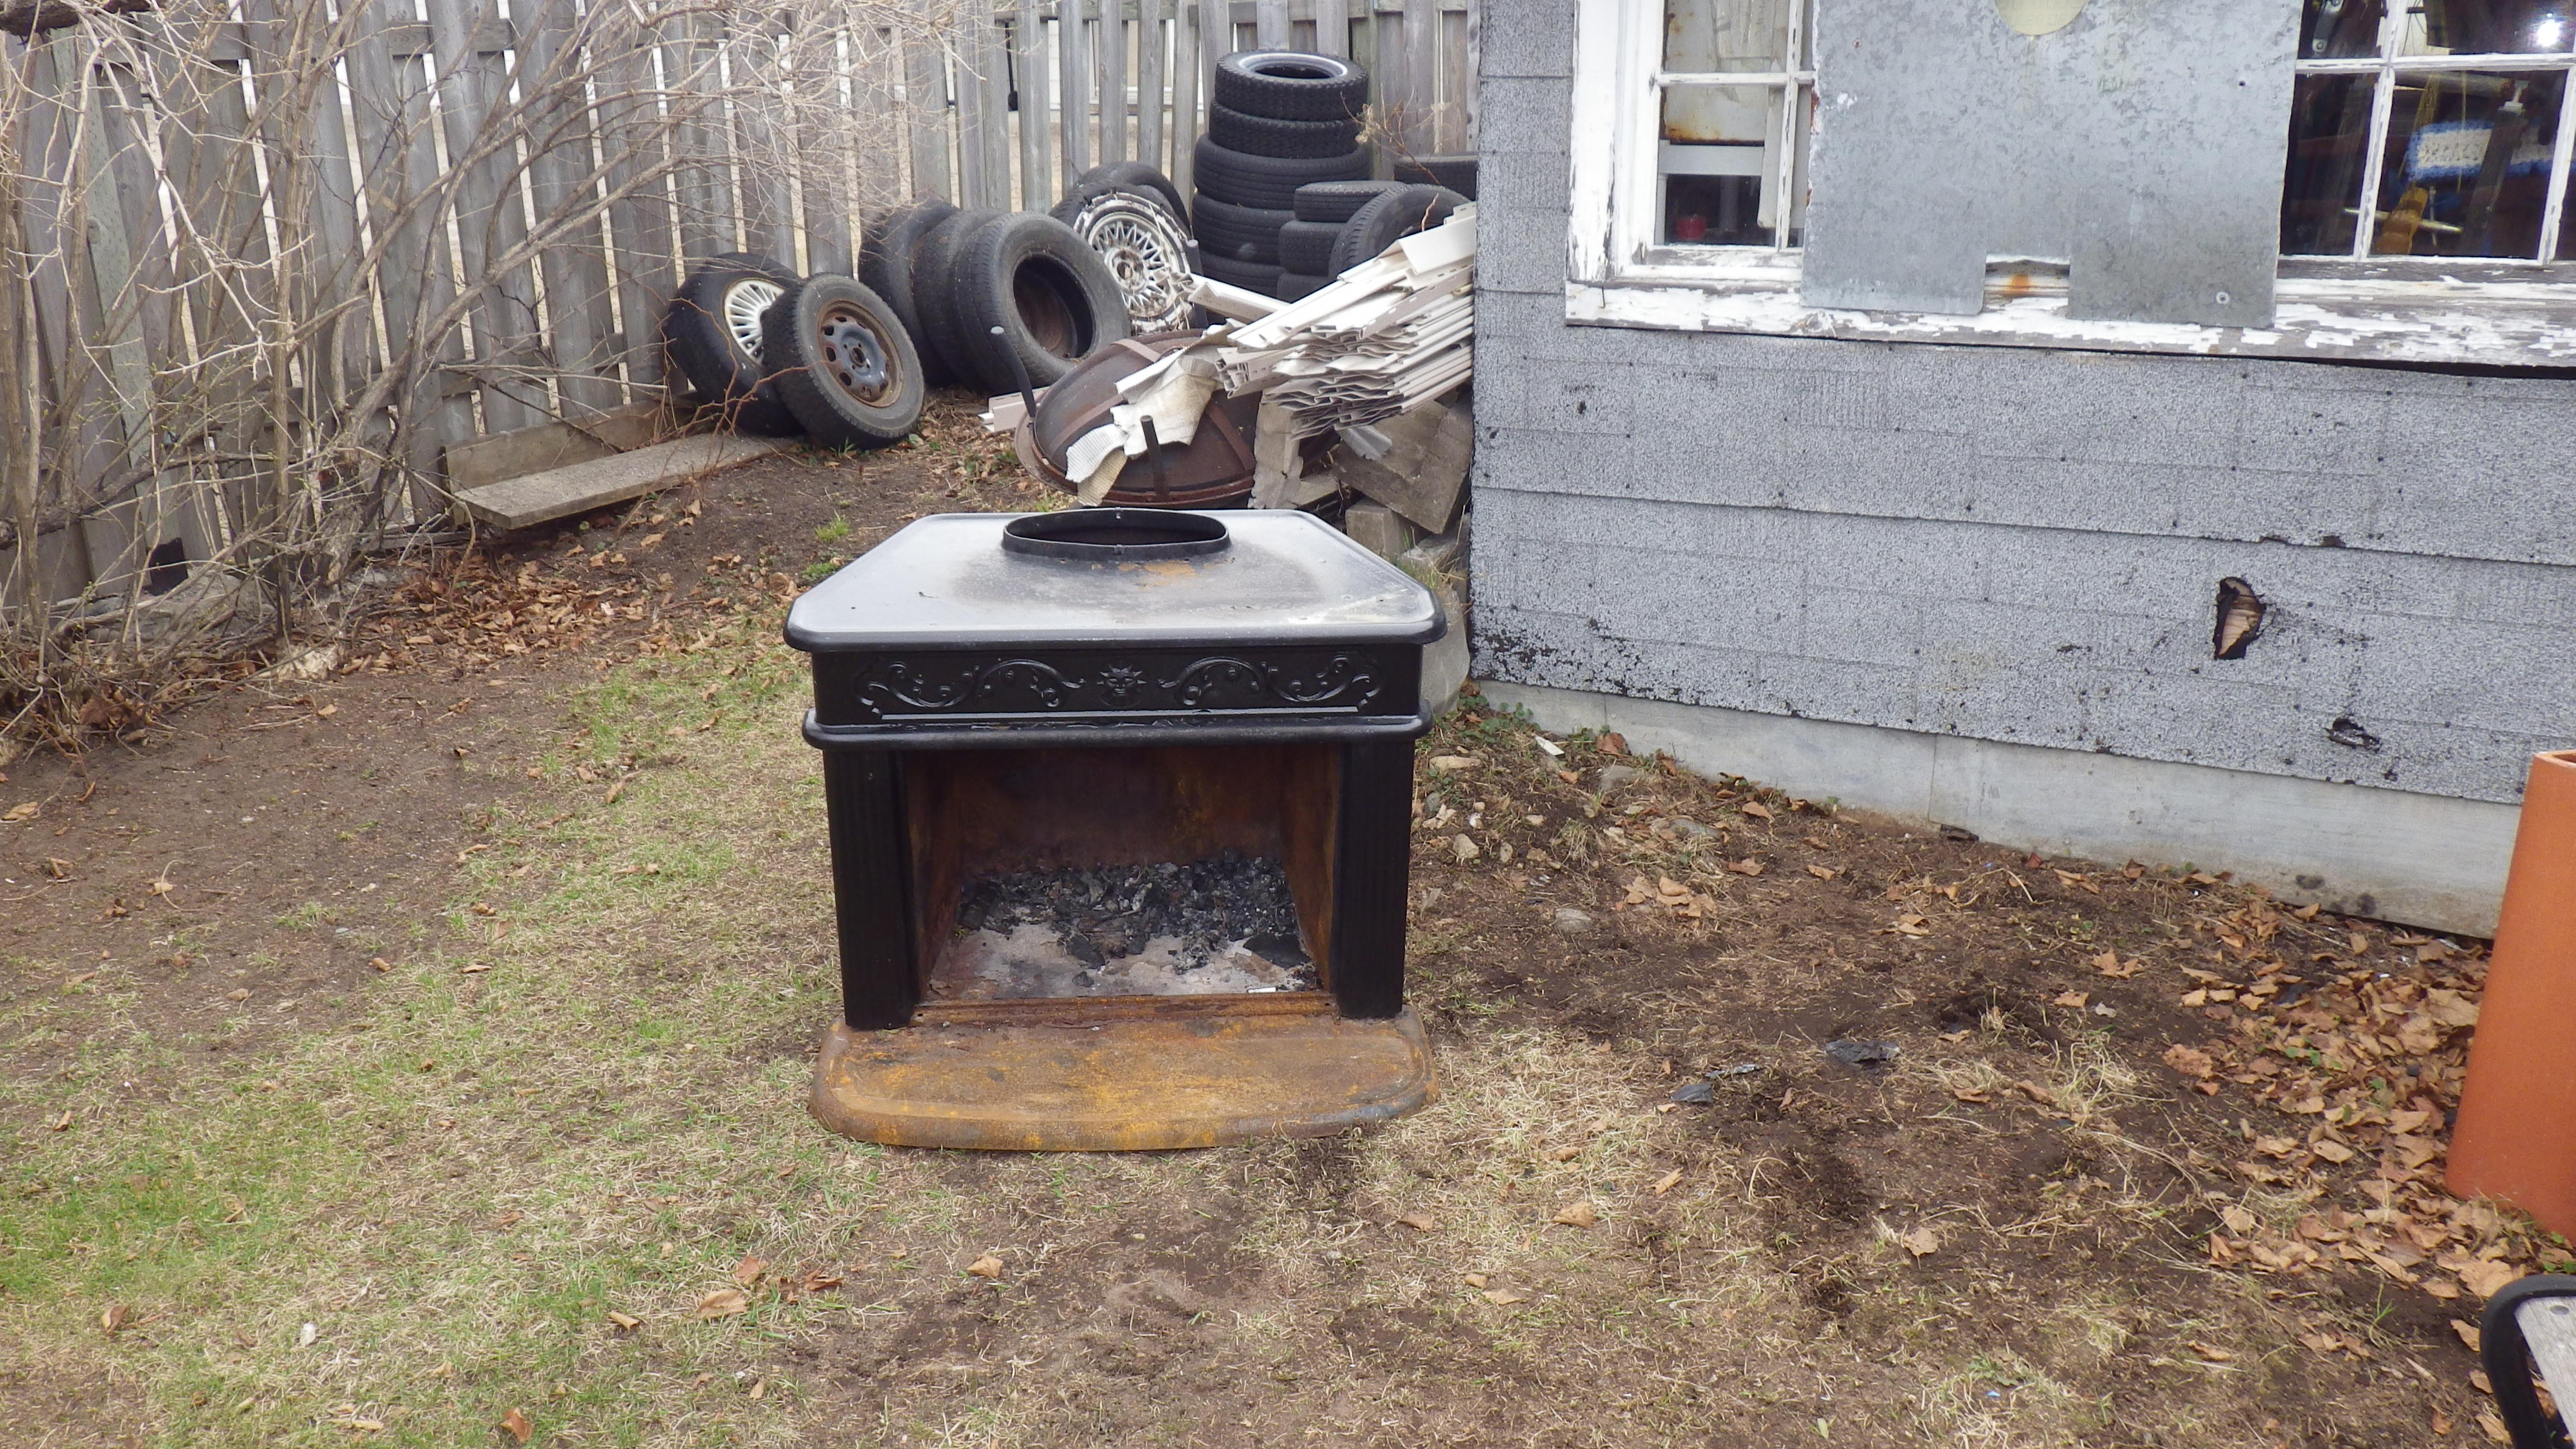
The budget is tight so I purchased as little as possible. The fireplace is salvaged and the stones are free. Here are materials that you can buy/find:
- fireplace
- clay flu pipe
- stones
- 2×4 lumber
- steel mesh reinforcement
- bags of mortar mix
- bags of cement mix
- 24 inch x 24 inch patio stones
- high heat black paint
Here is a list of some tools that you will find helpful.
- drill with wire-brush
- vacuum
- paint brush
- cement trowel, brick laying trowel
- bucket for water with rags
- wheelbarrow
- shovel
- rake
- level
- hammer, nails
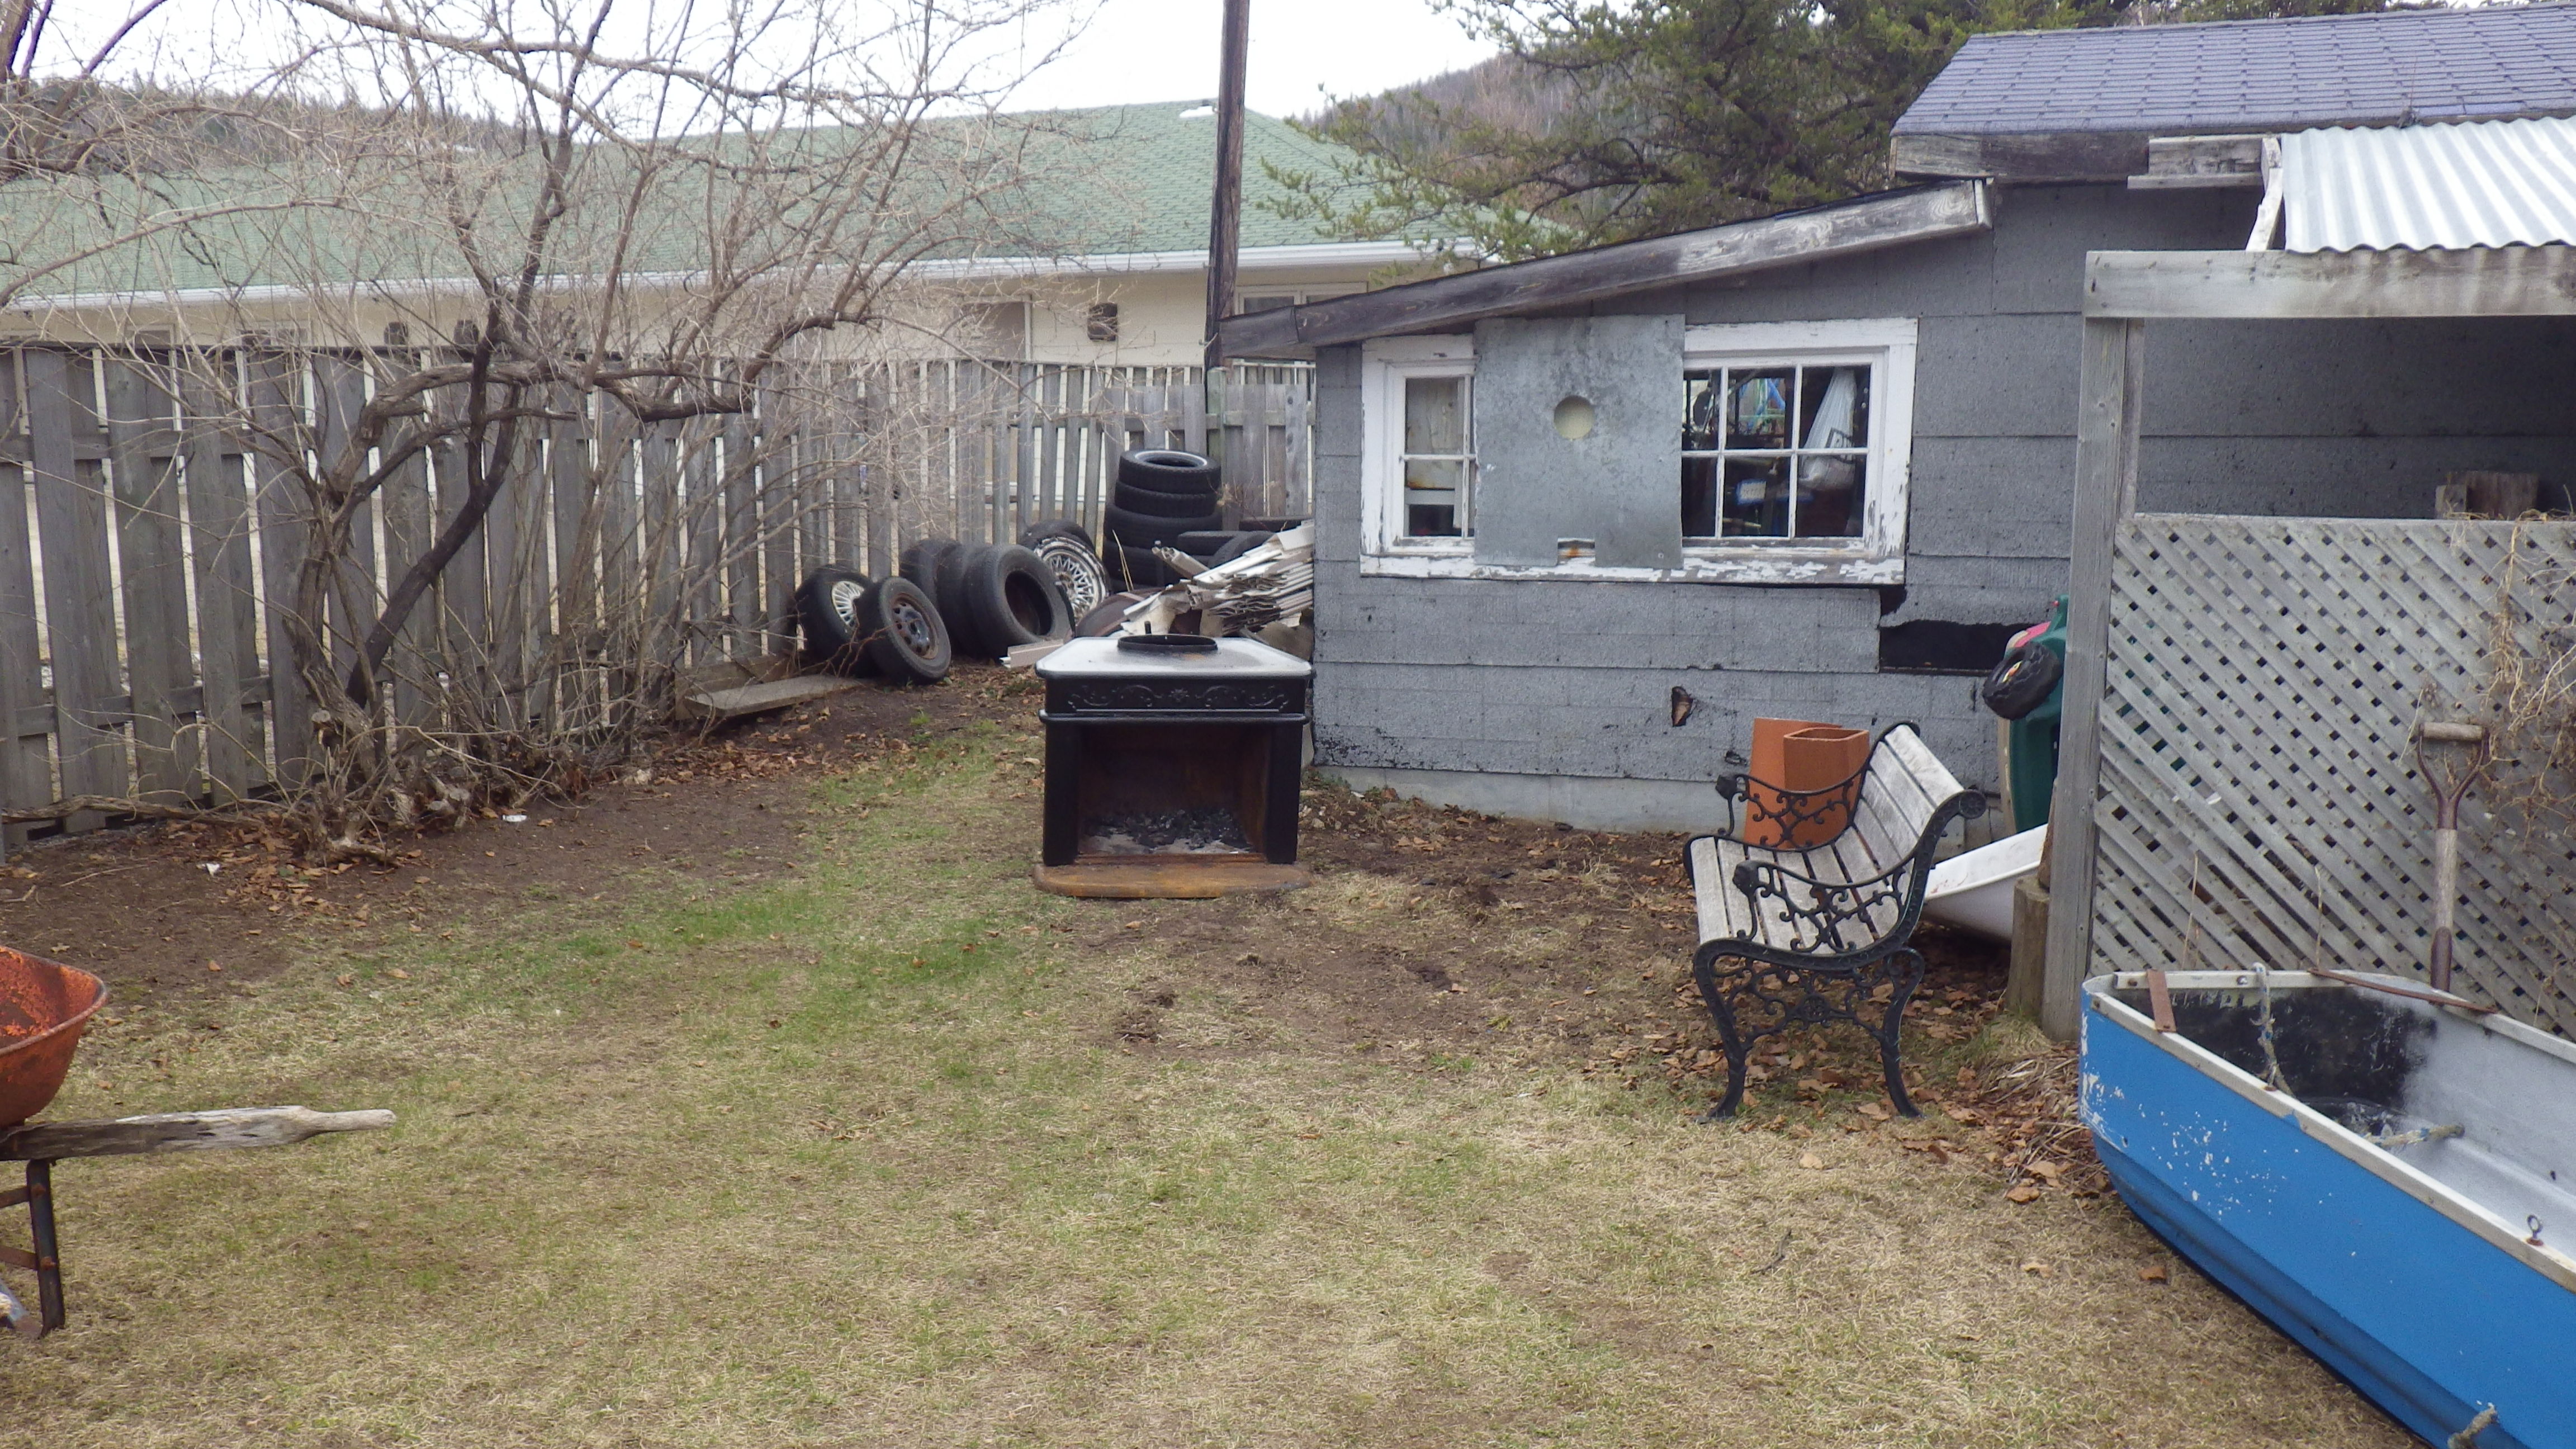
First I had to find a spot where I wanted to place the fireplace keeping in mind the footprint of the entire stone fireplace.
Then I dug out the lawn and built the 2×4 forms for the cement. The steel reinforcing will help keep the cement from cracking. The concrete base will help keep the stones from shifting and cracking as the fireplace will be tall and heavy.
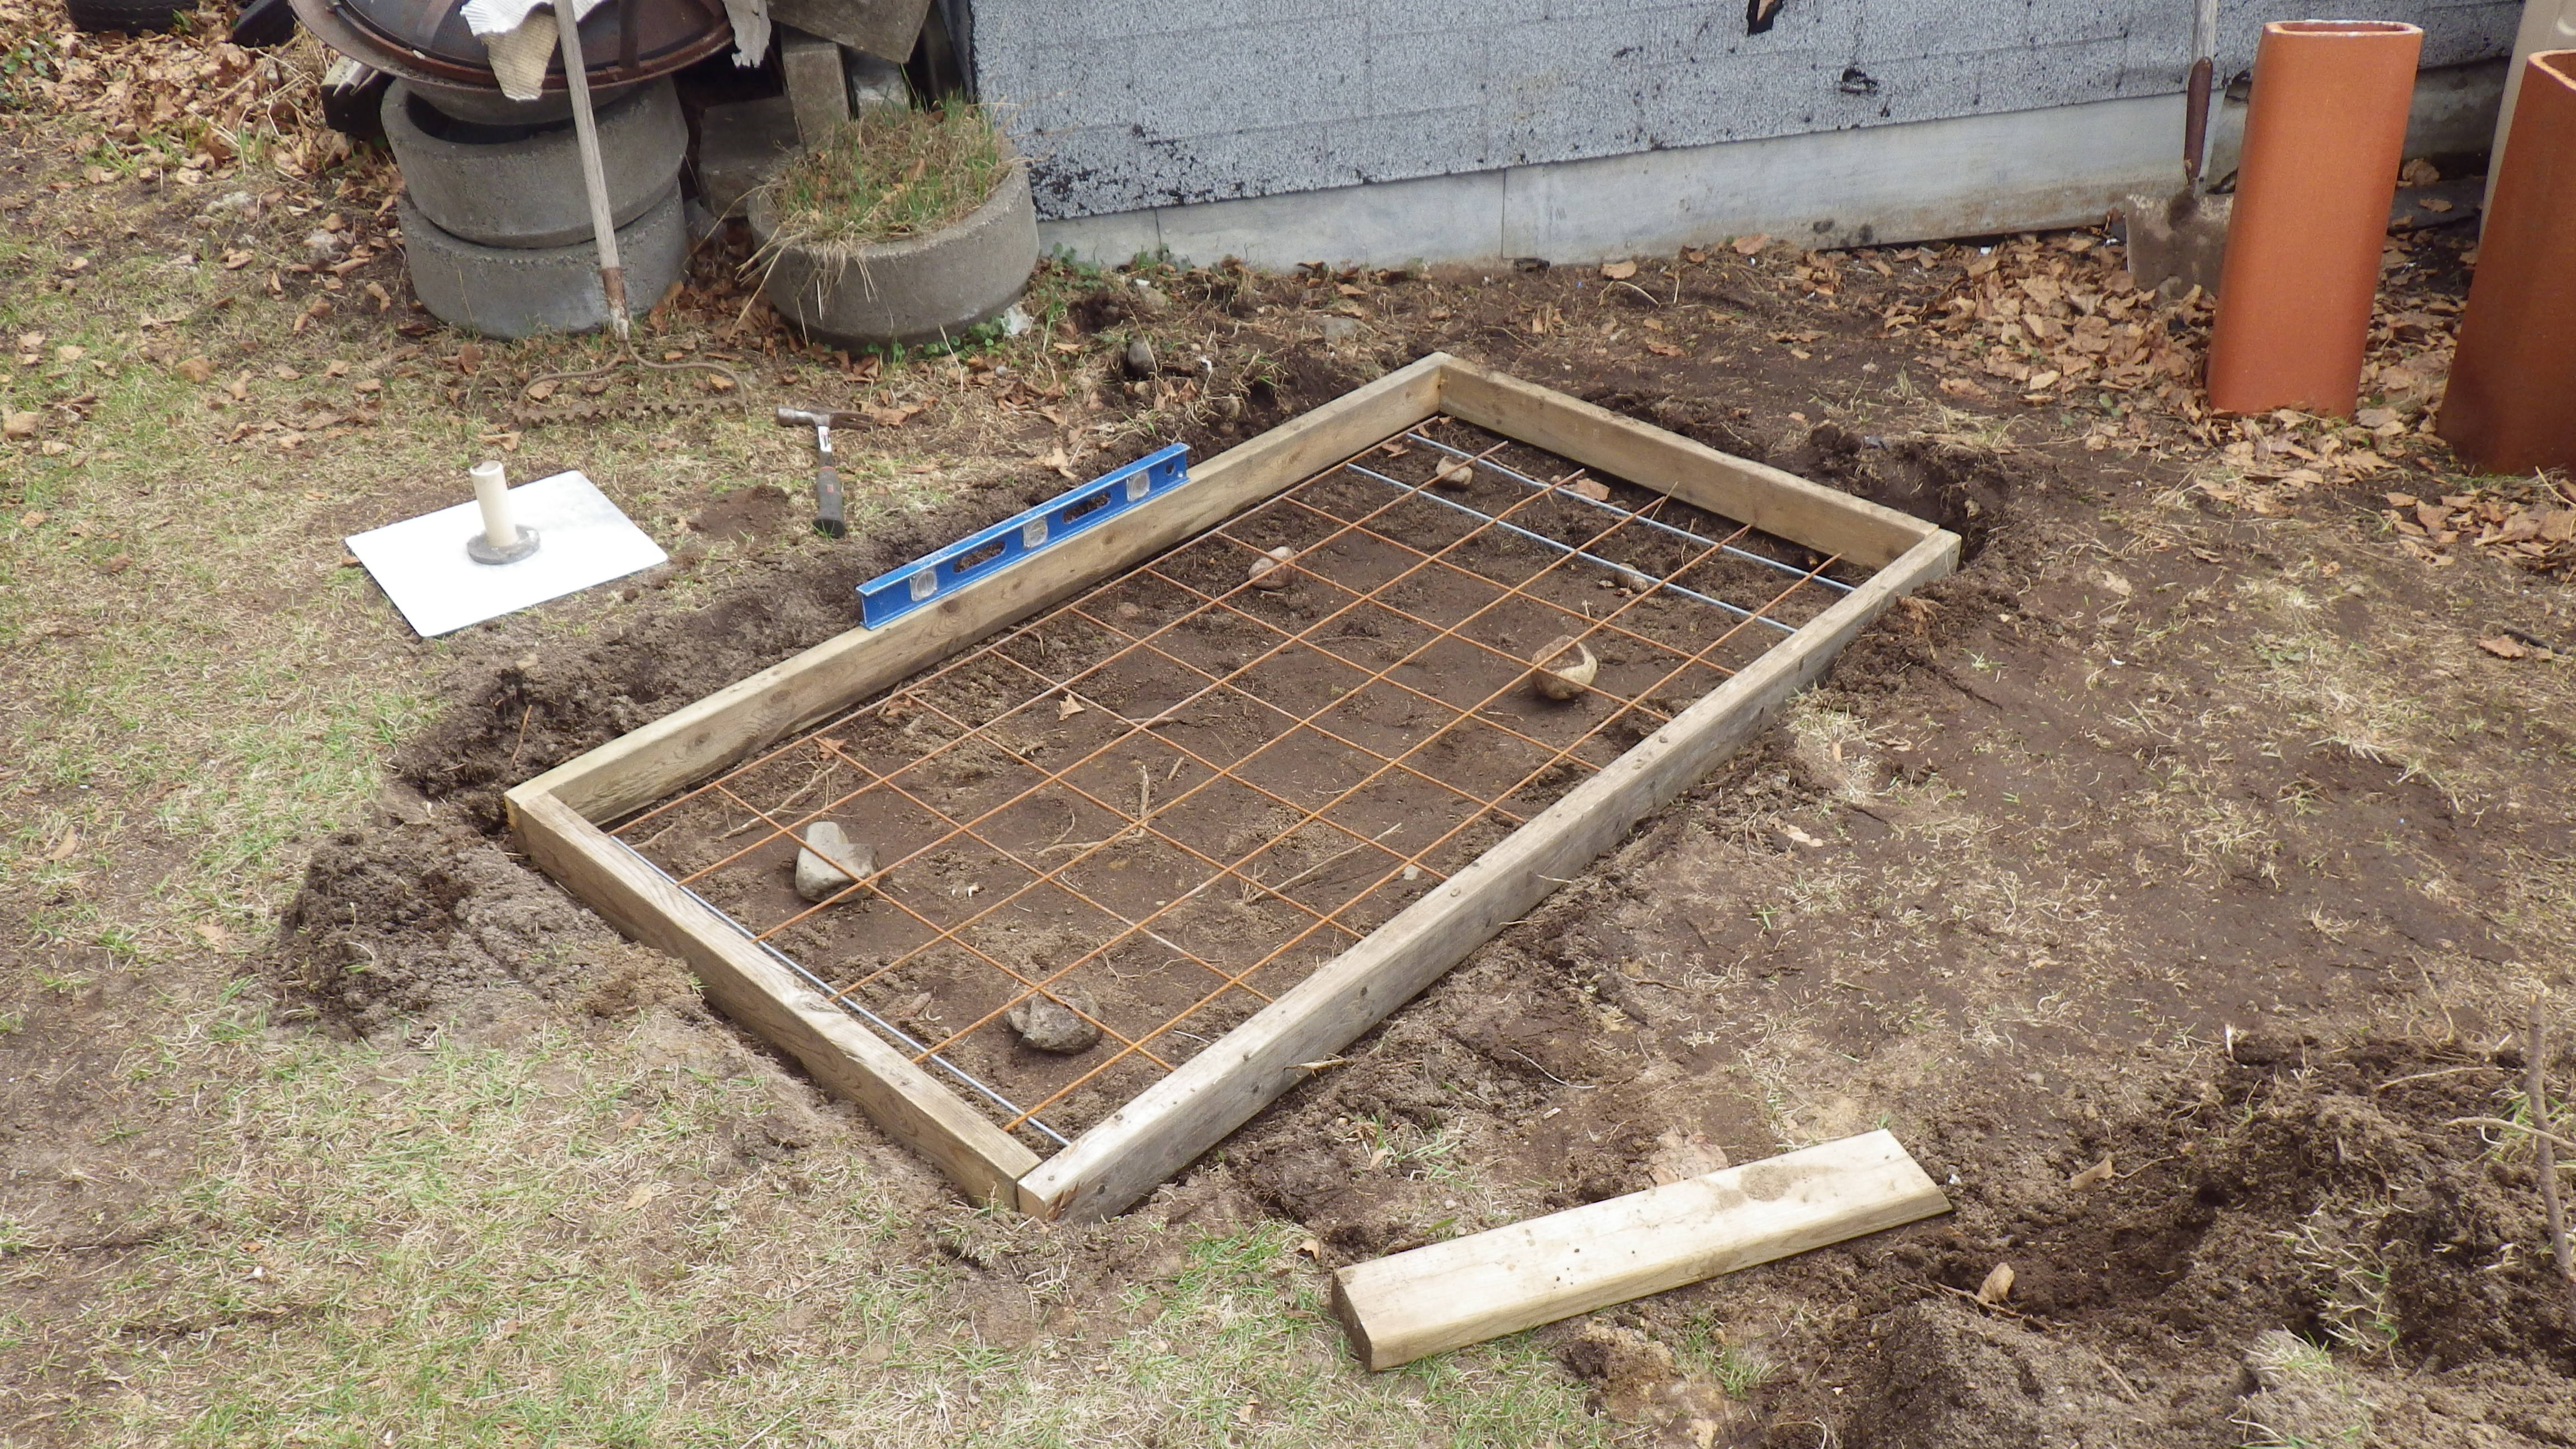
The concrete was mixed by hand in the wheelbarrow and poured into the form.

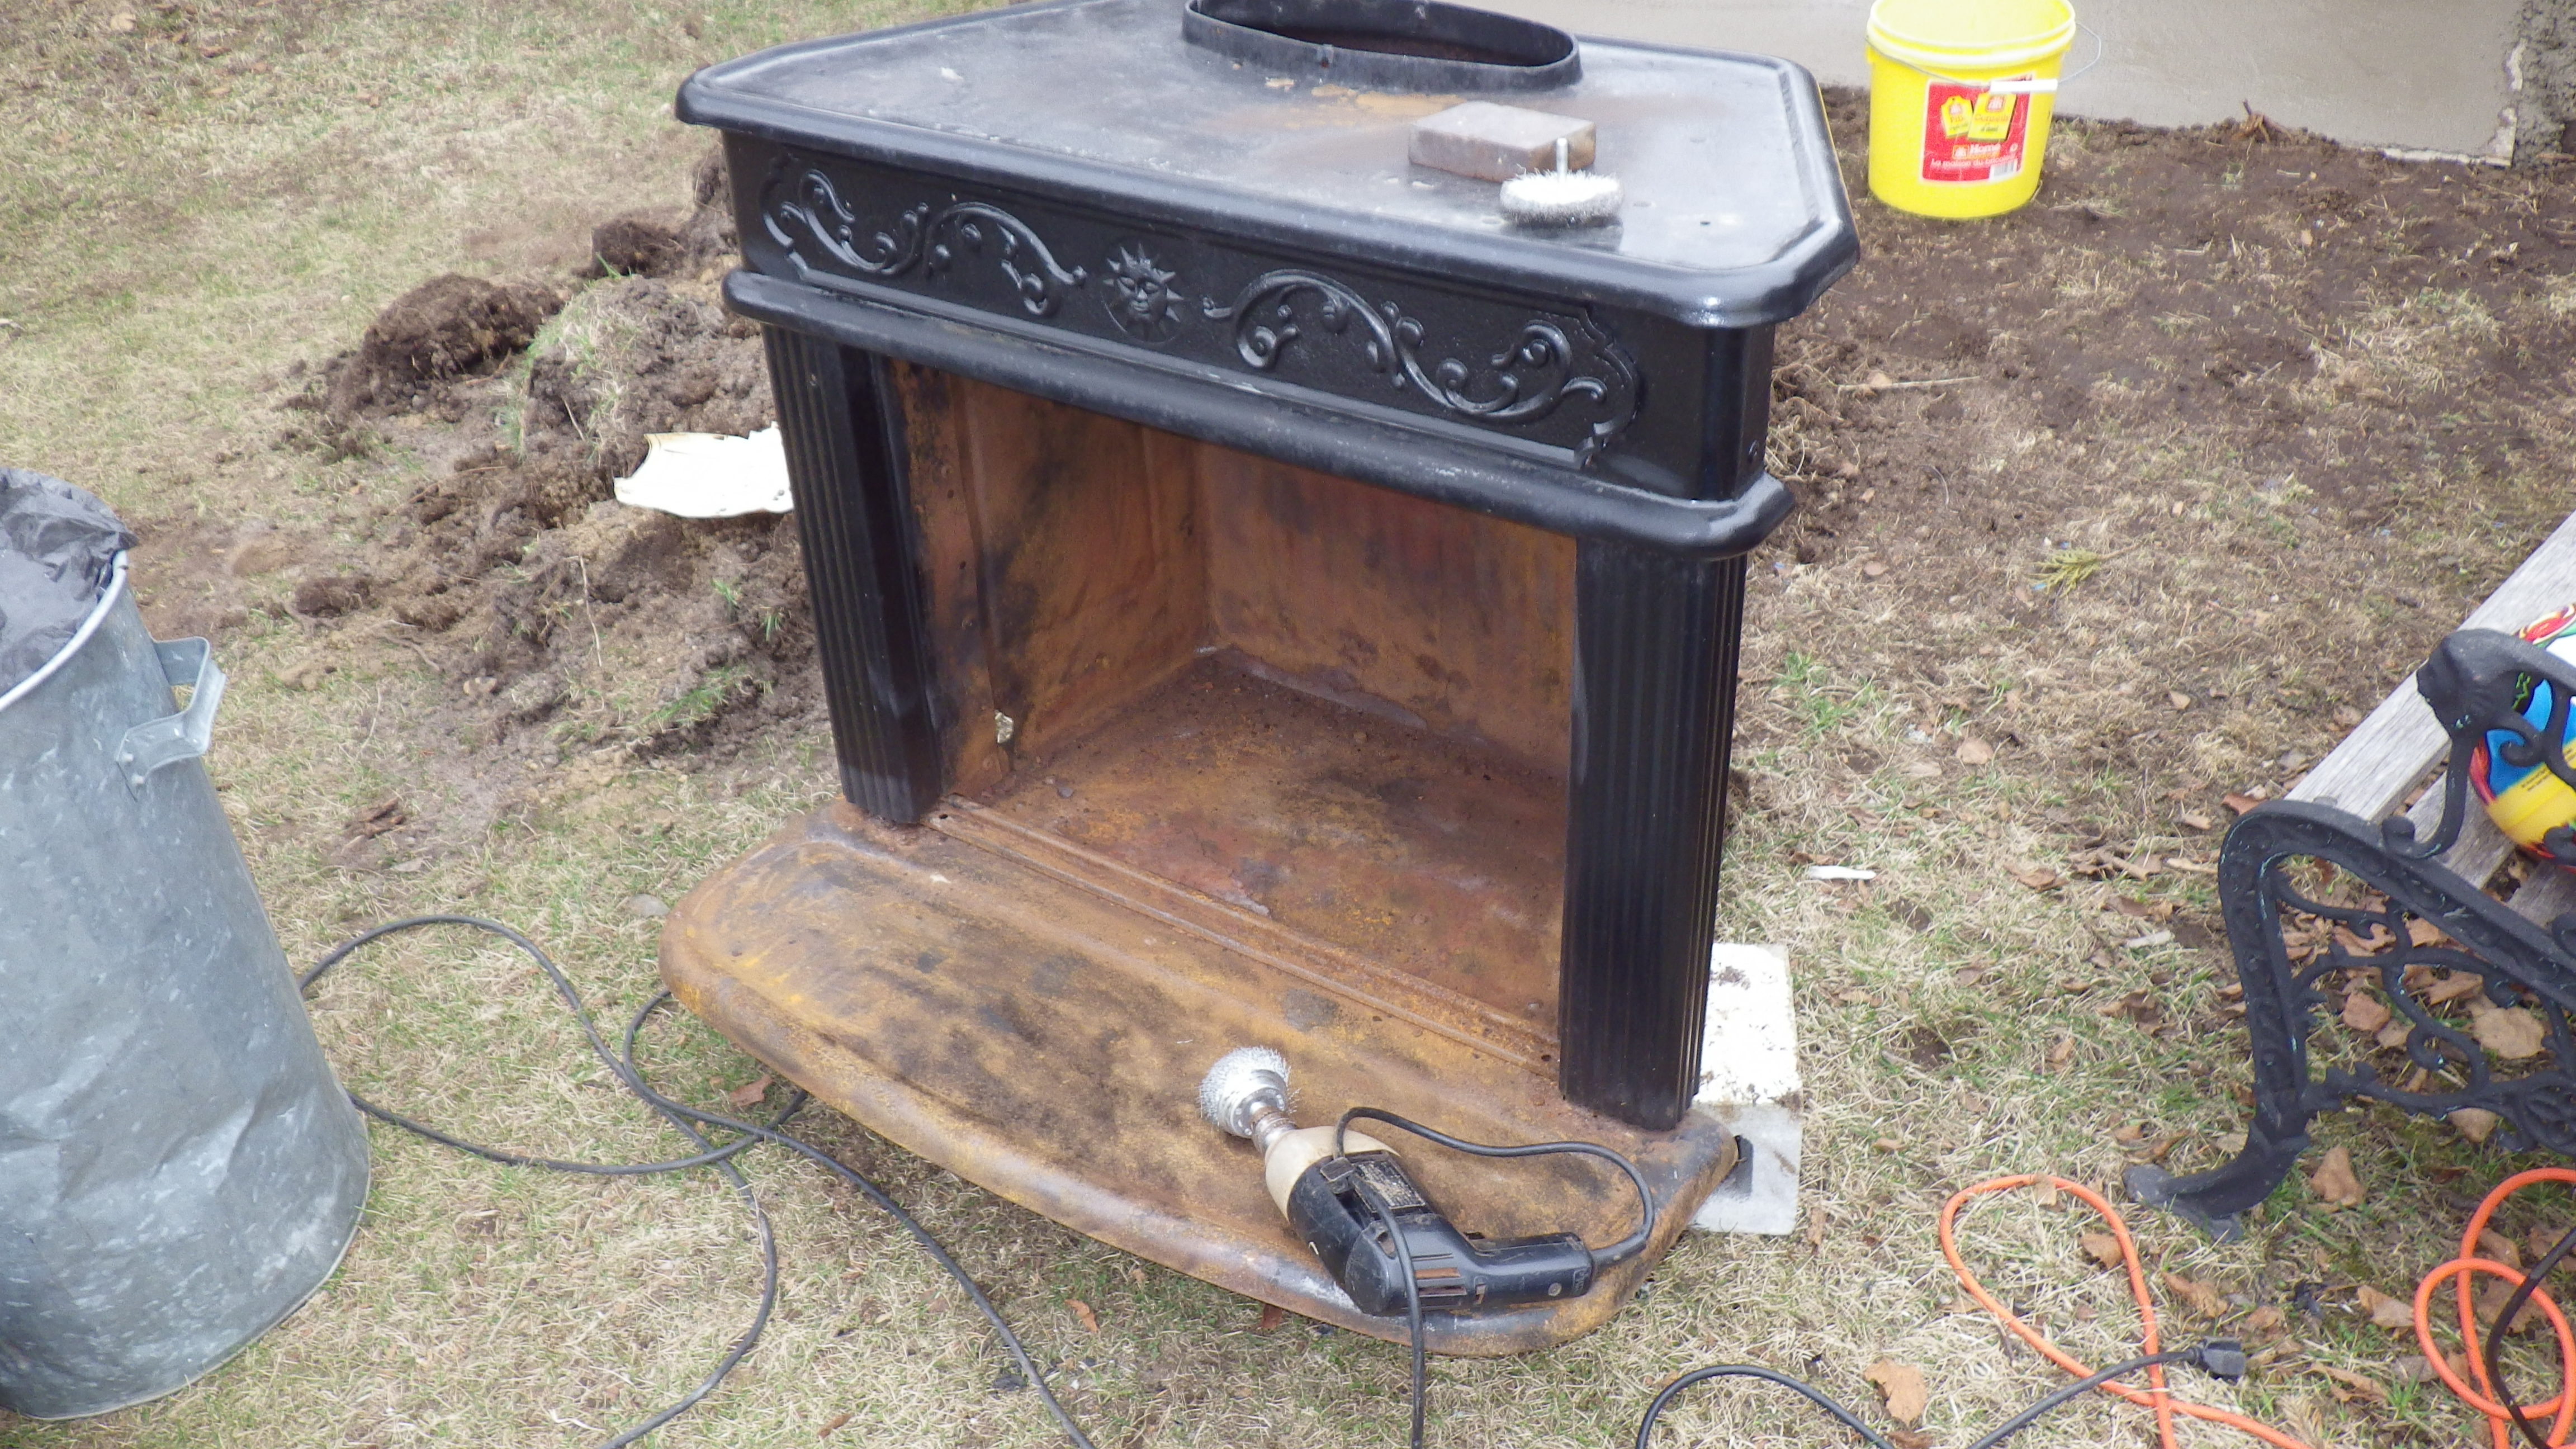
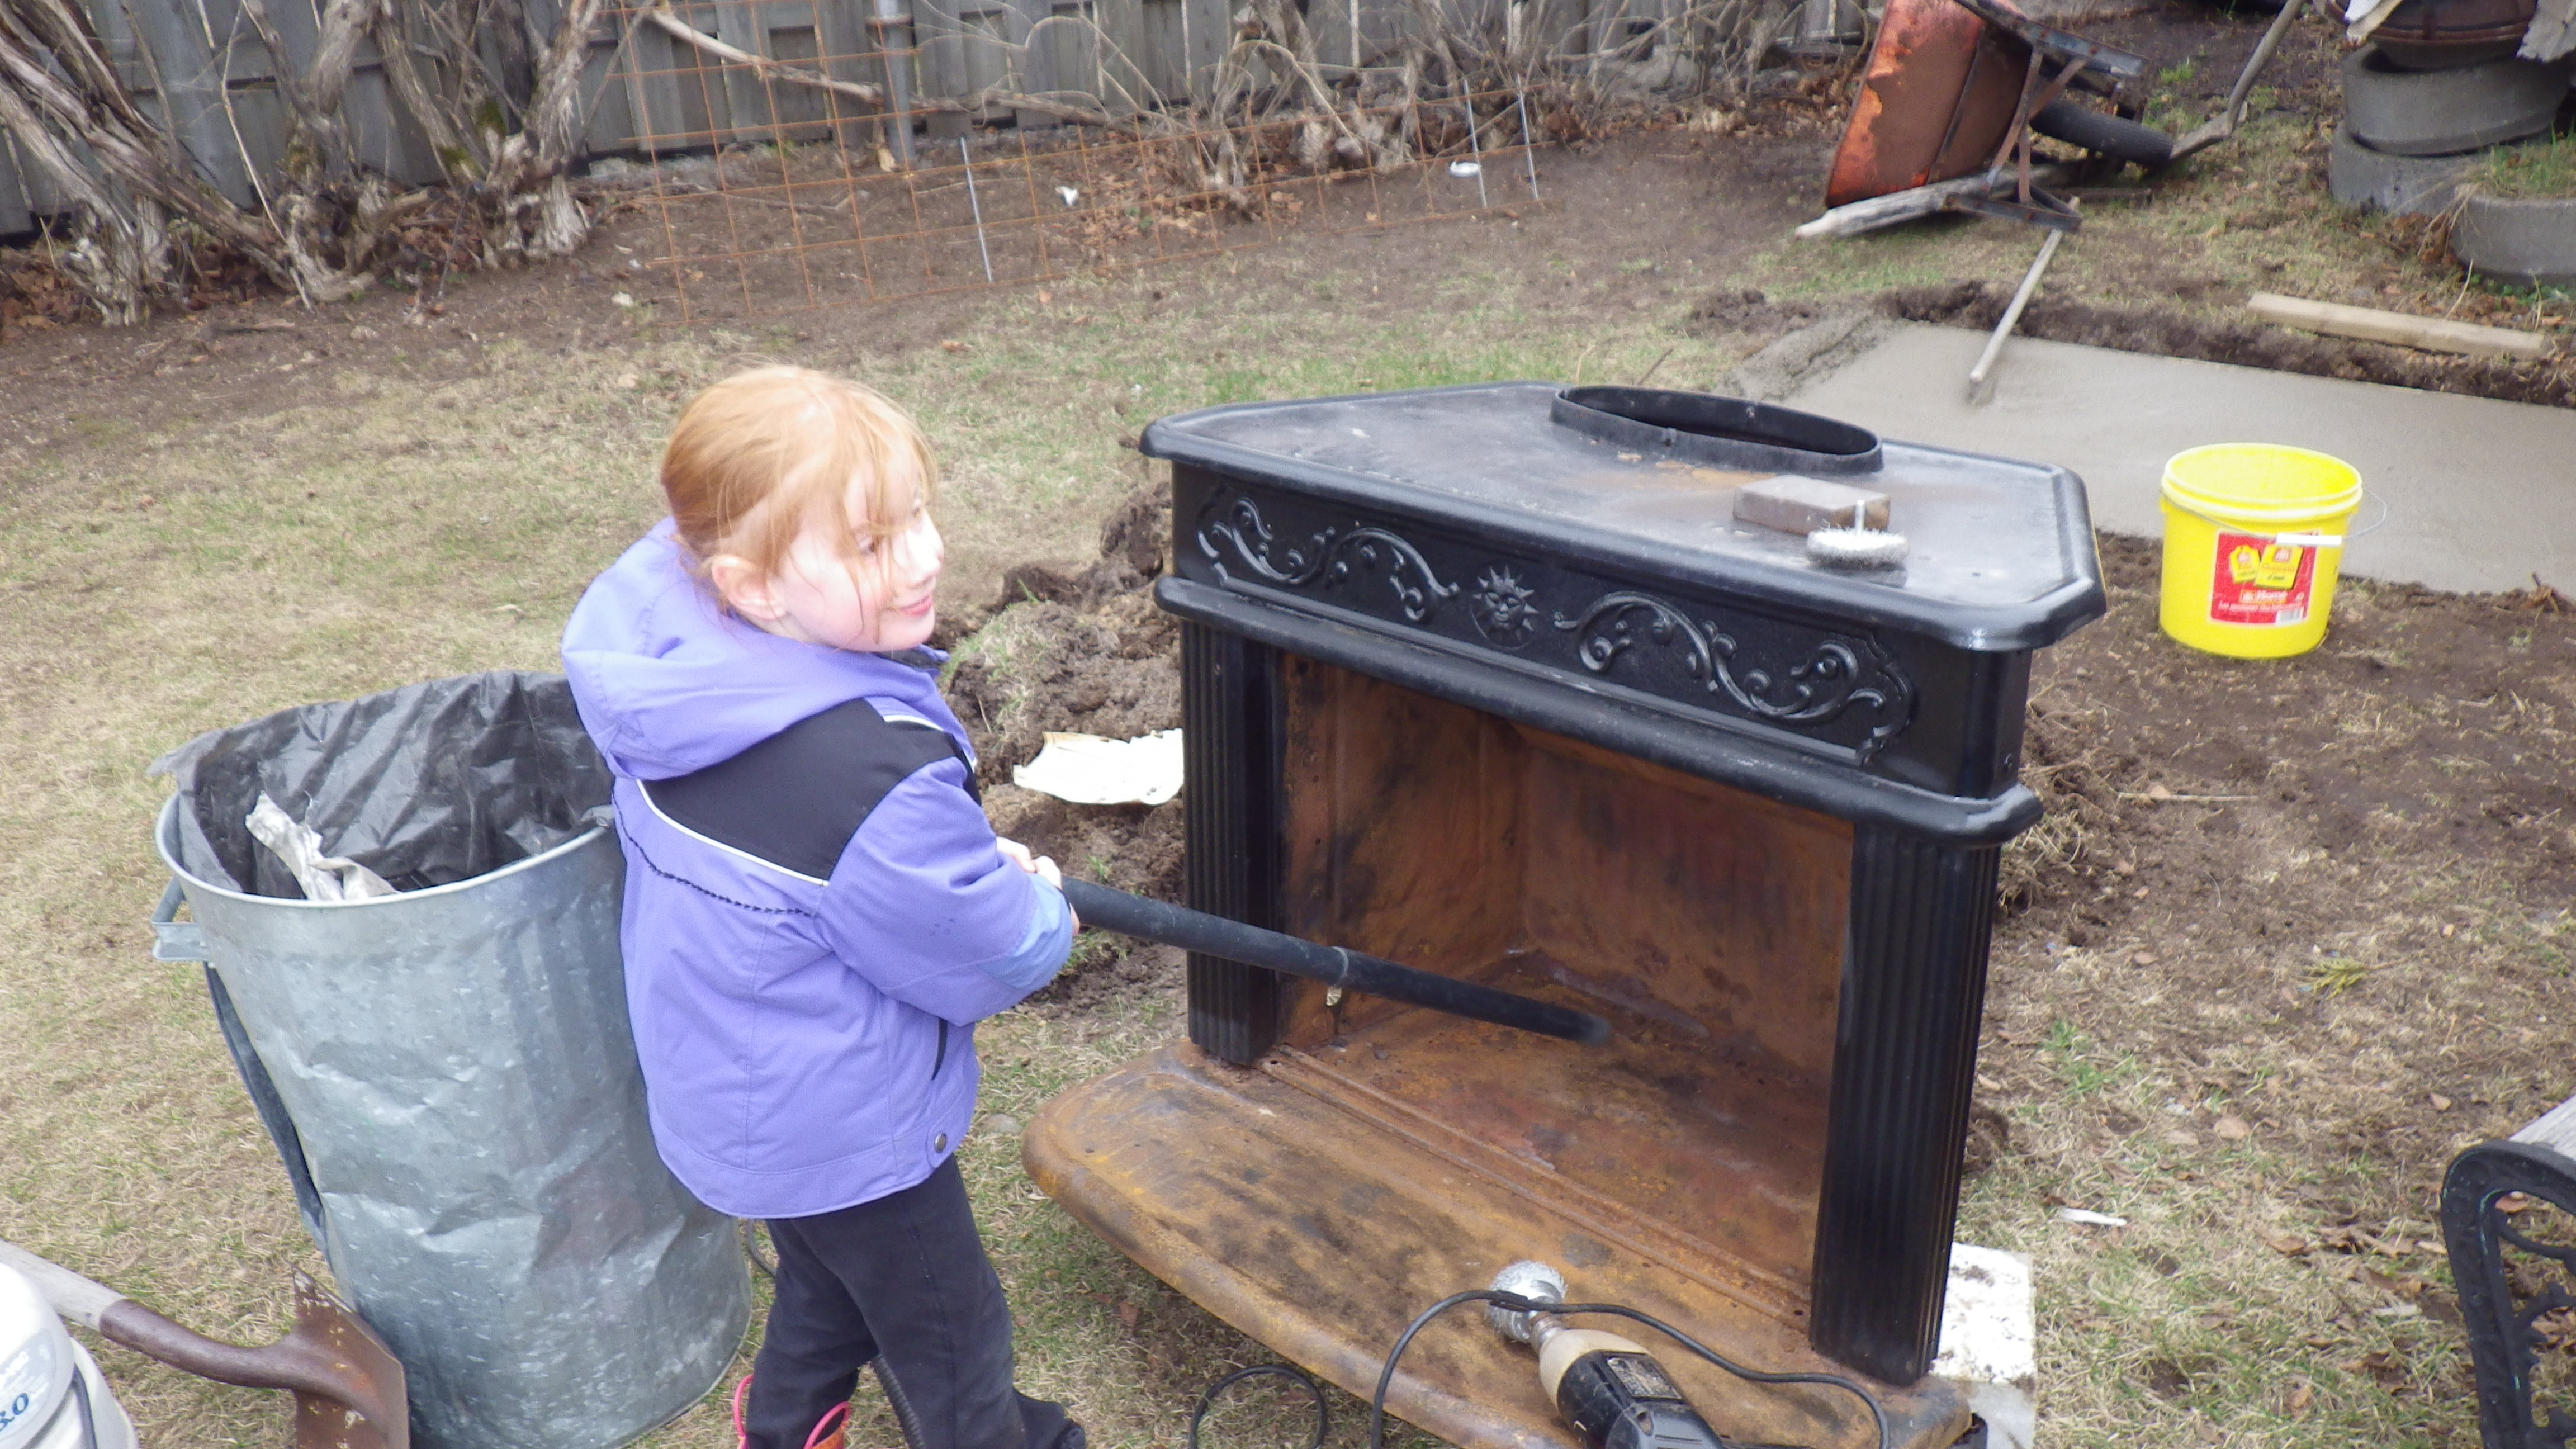
While the cement was drying it was time to grind and wire wheel the rust off the fireplace. My helper loves to vacuum. After the loose bits were scraped and vacuumed away several coats of high heat paint where applied.
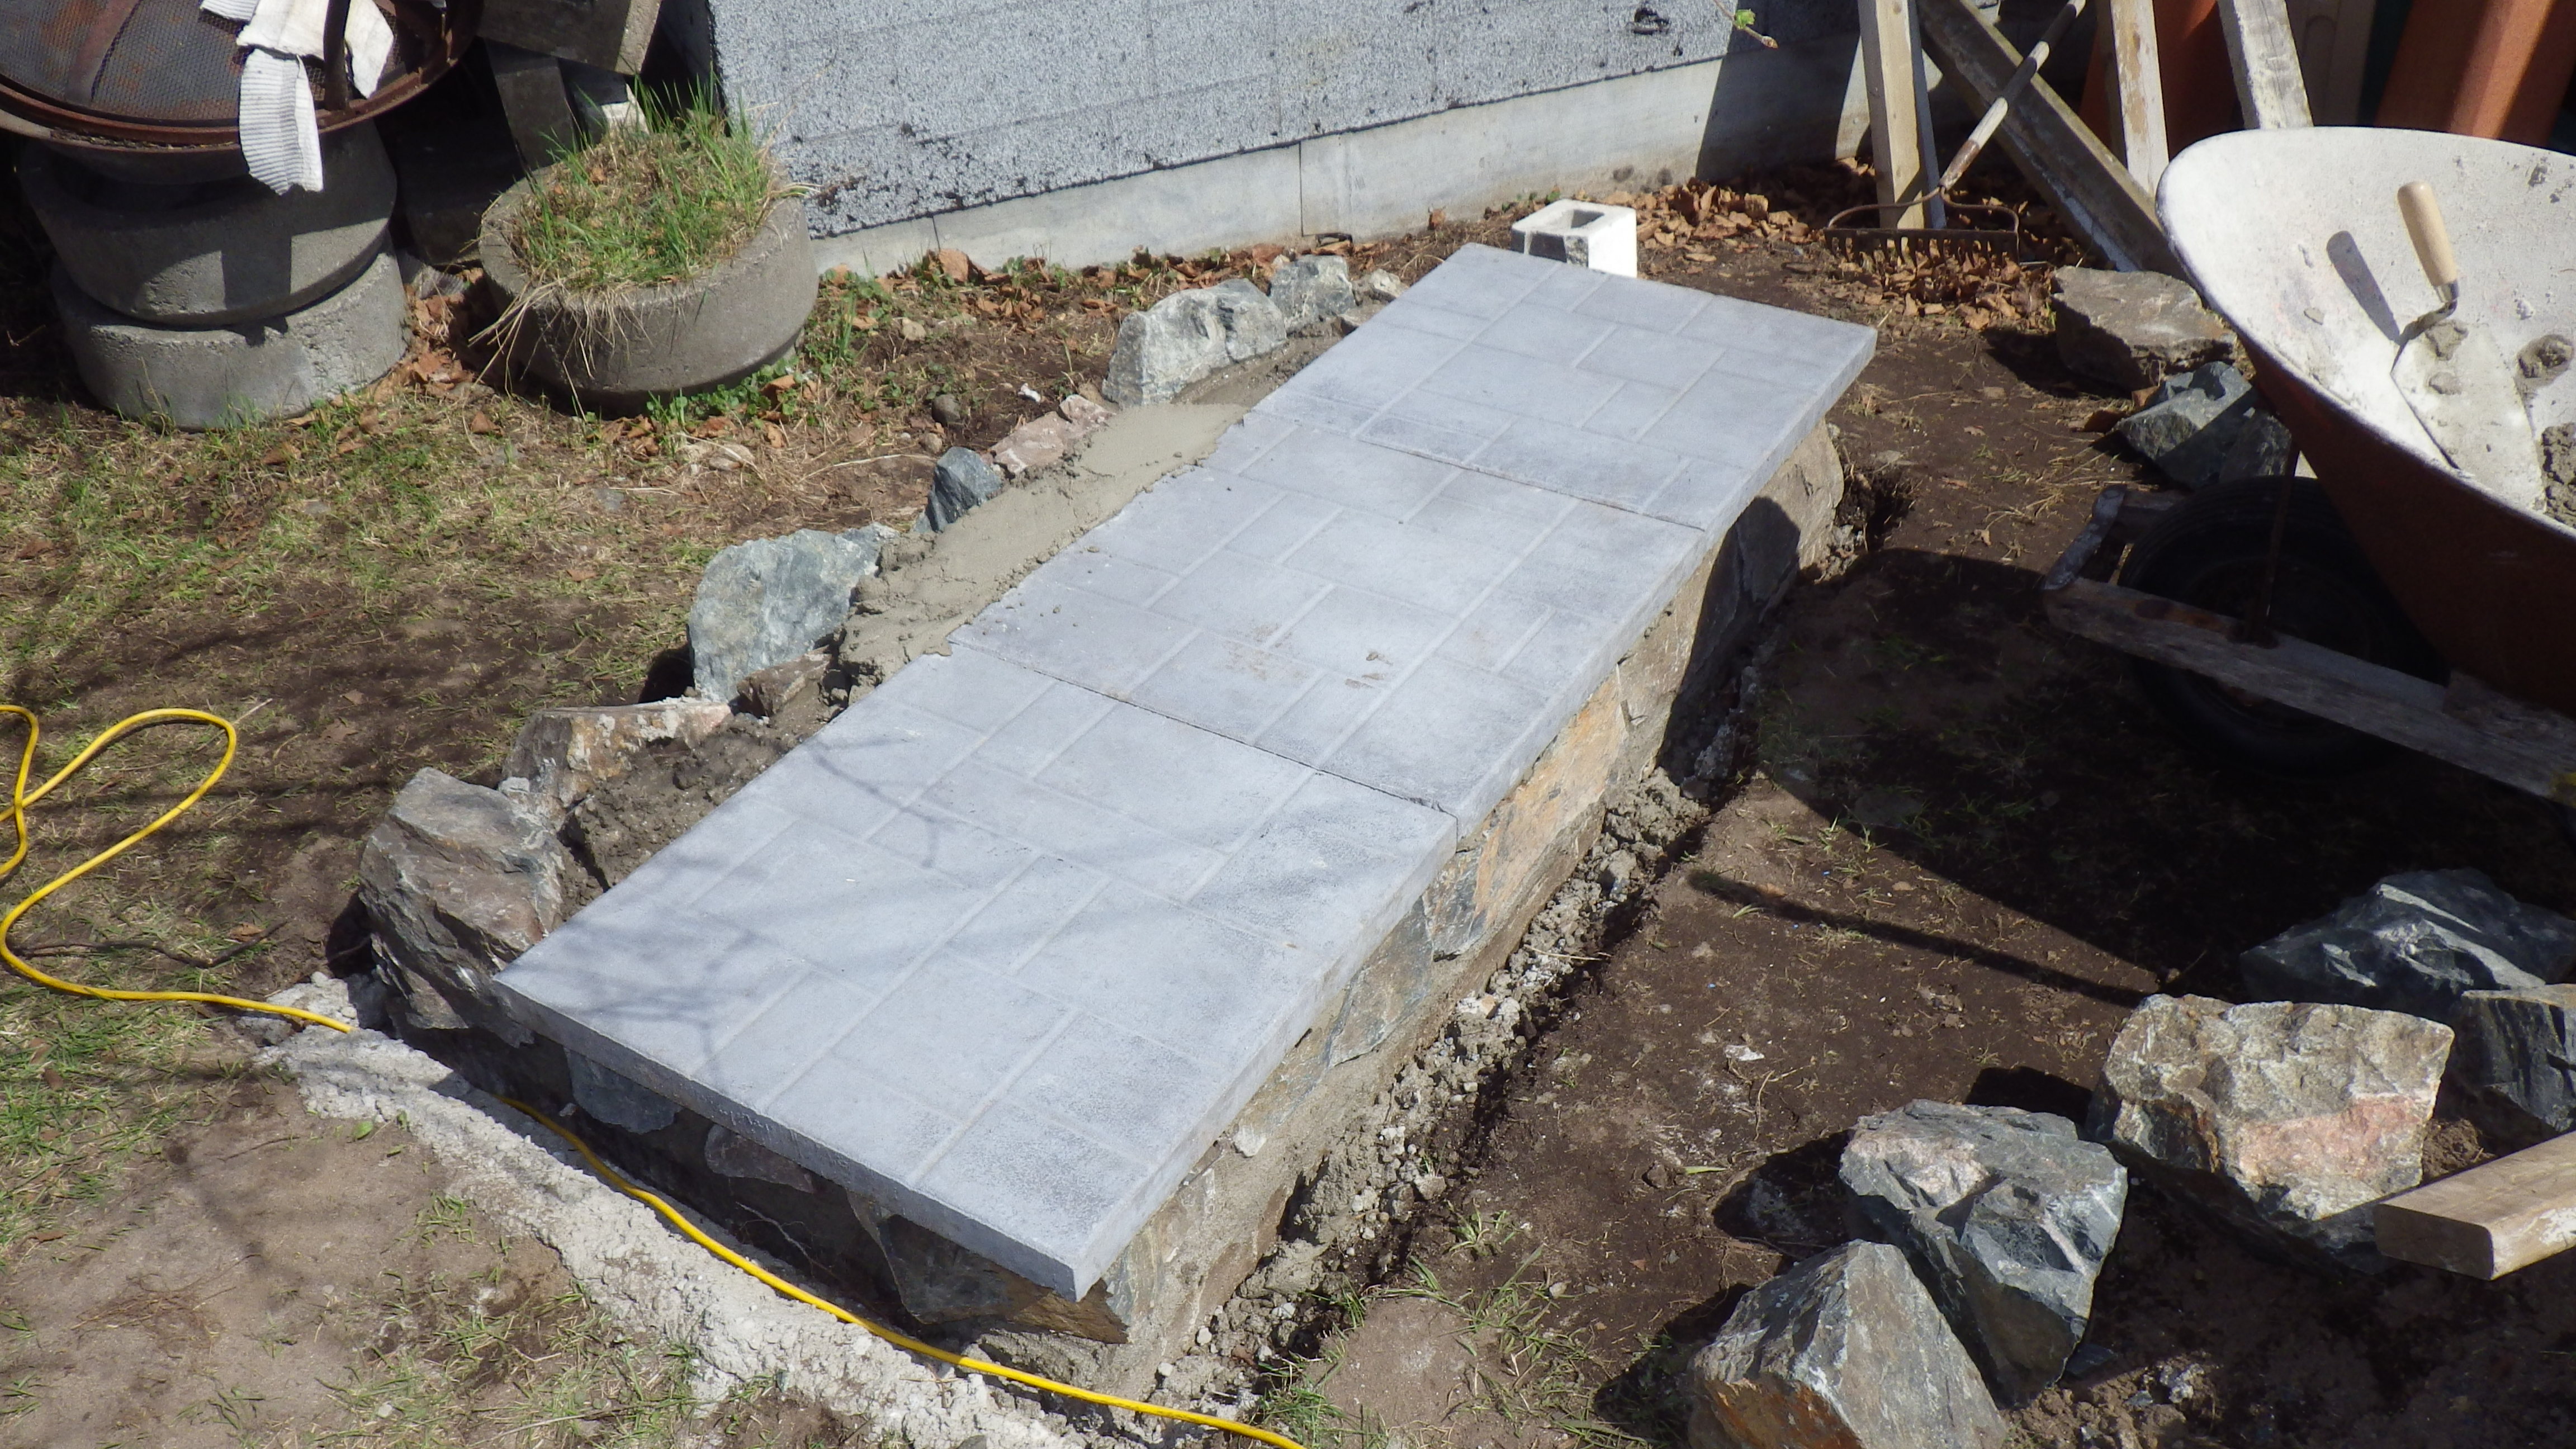
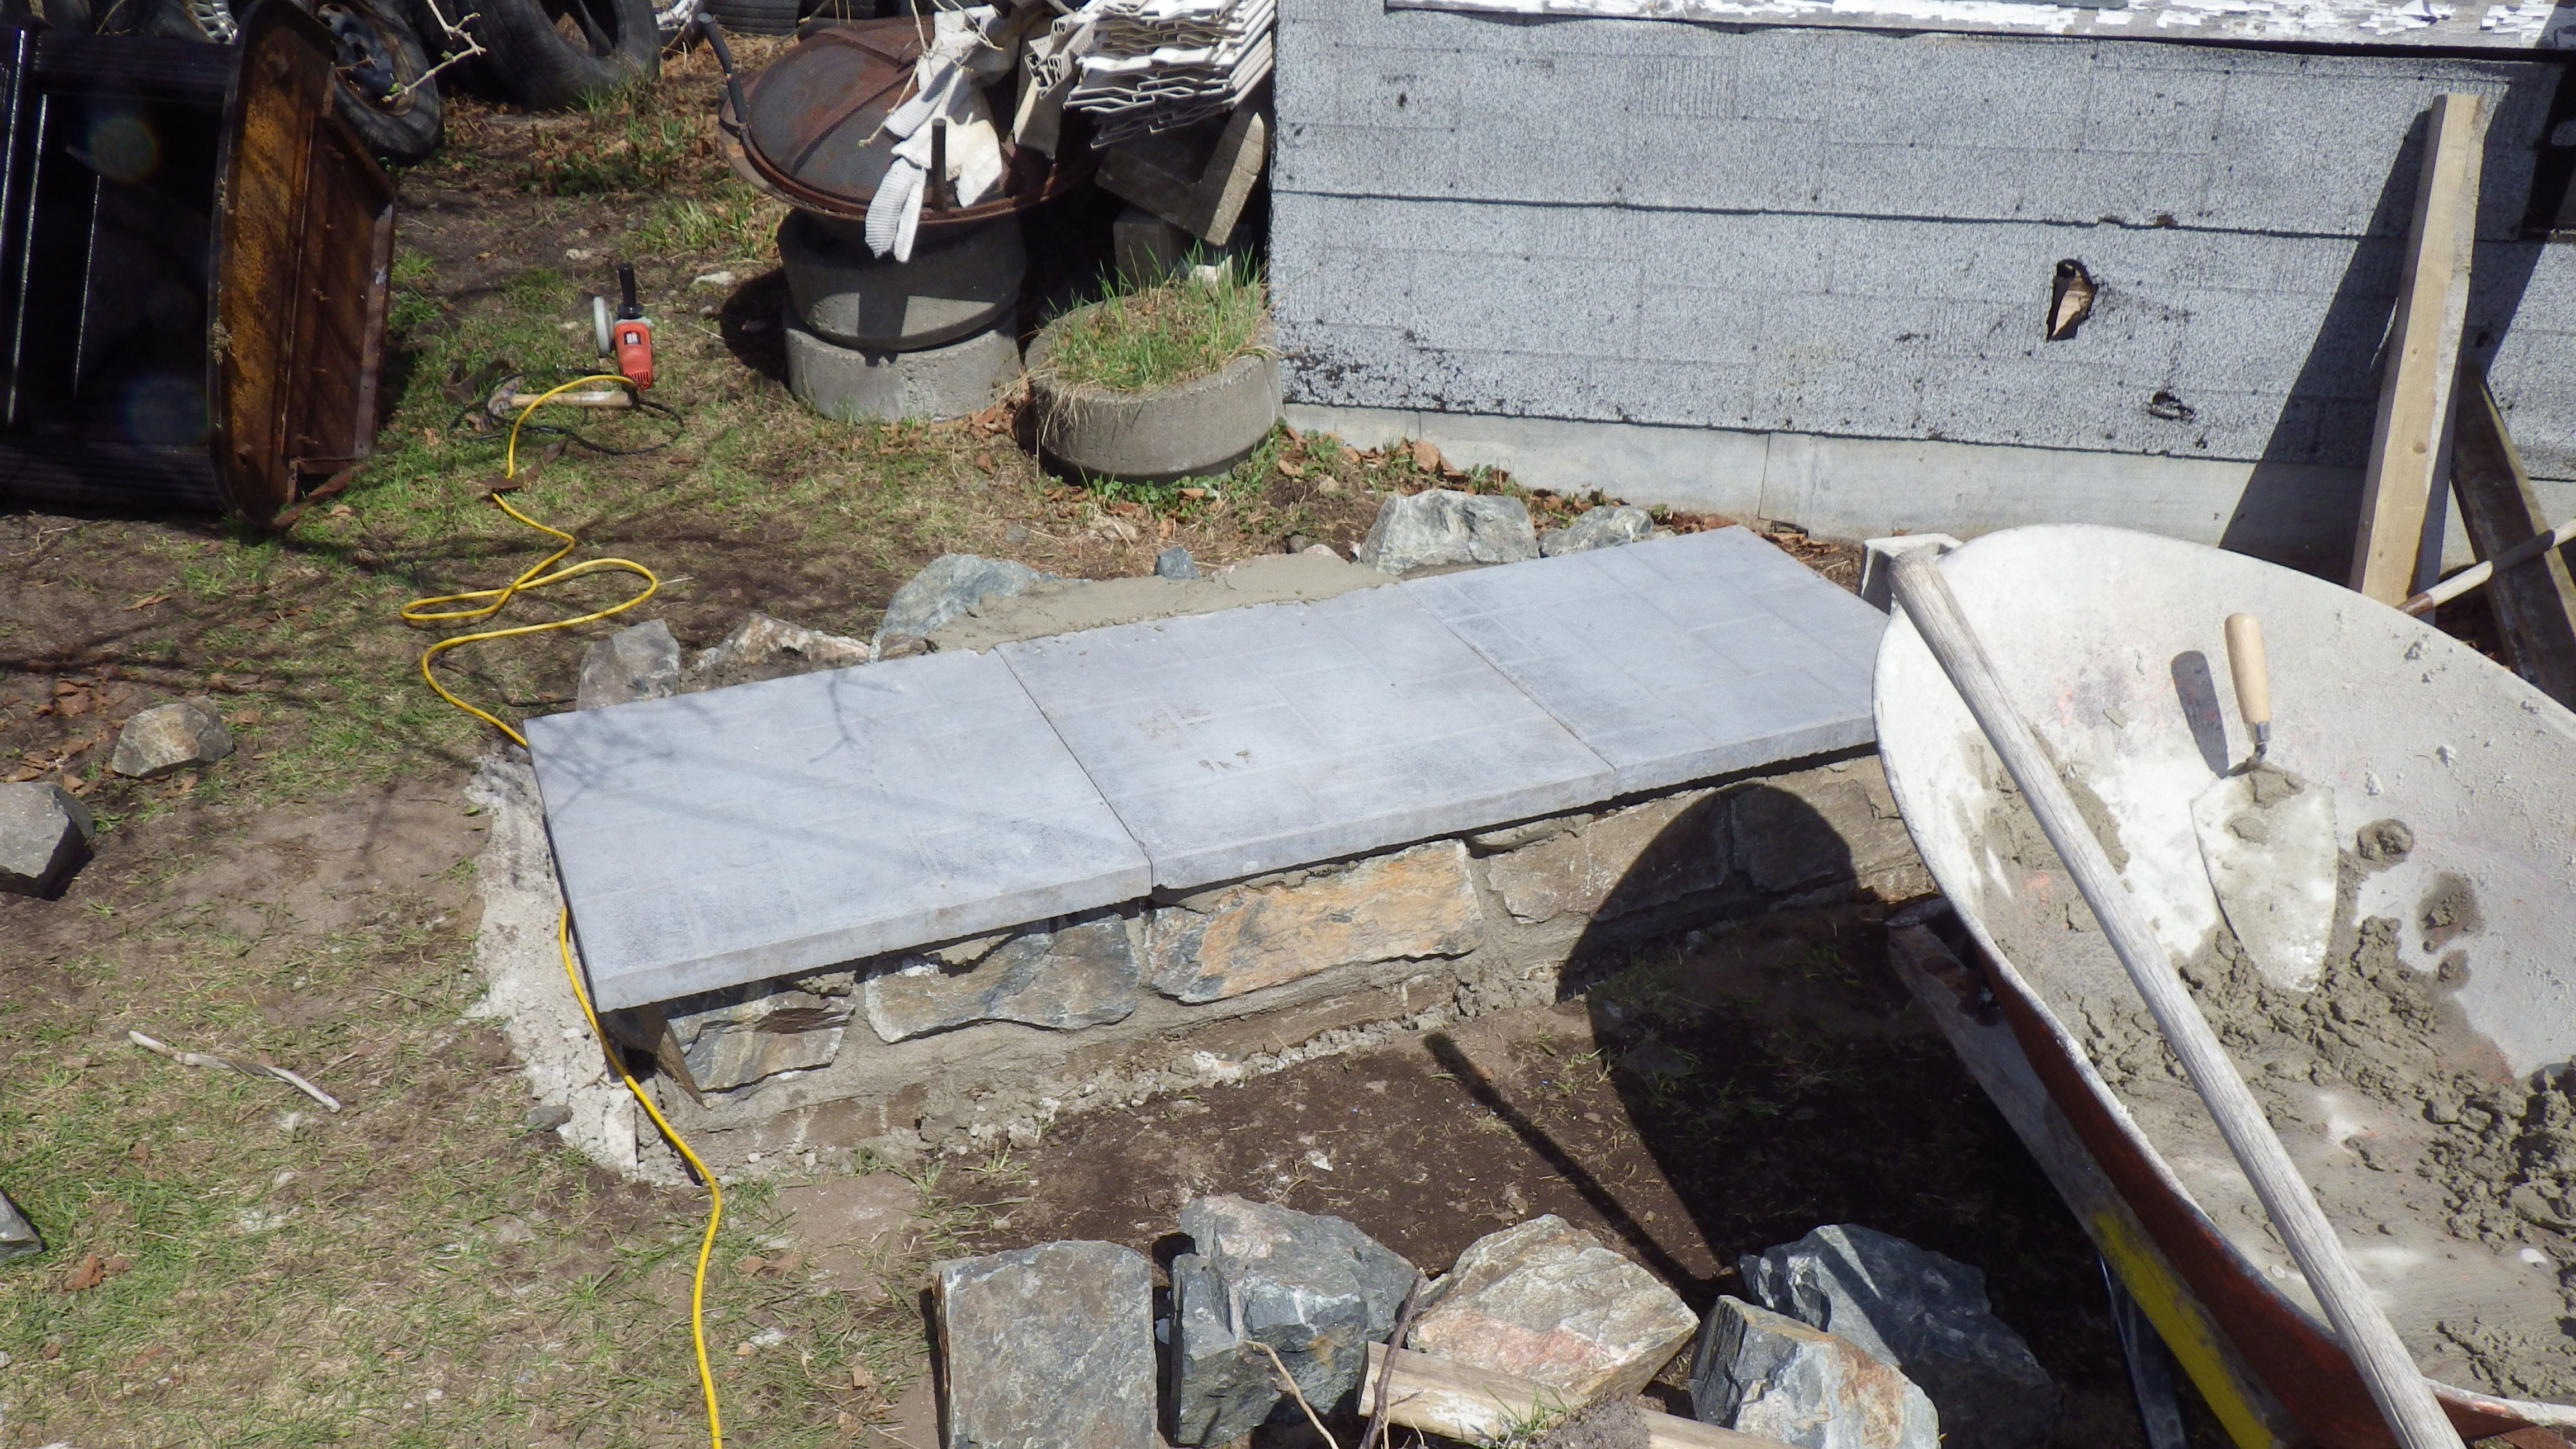
Rectangular stones were used for the first layer. The outside stones were laid first using mortar between the gaps. Remember to wipe the excess mortar off with a wet rag once it has set. Don’t let it set to long or the mortar will be unworkable. Once the outside stones are in place the center is filled with cement and stones. The patio stones are then set into the cement. Remember to leave several inches overhang on the sides and the front for effect. You will need to do some math in the layout stage of the build in order to make sure it works at this stage.


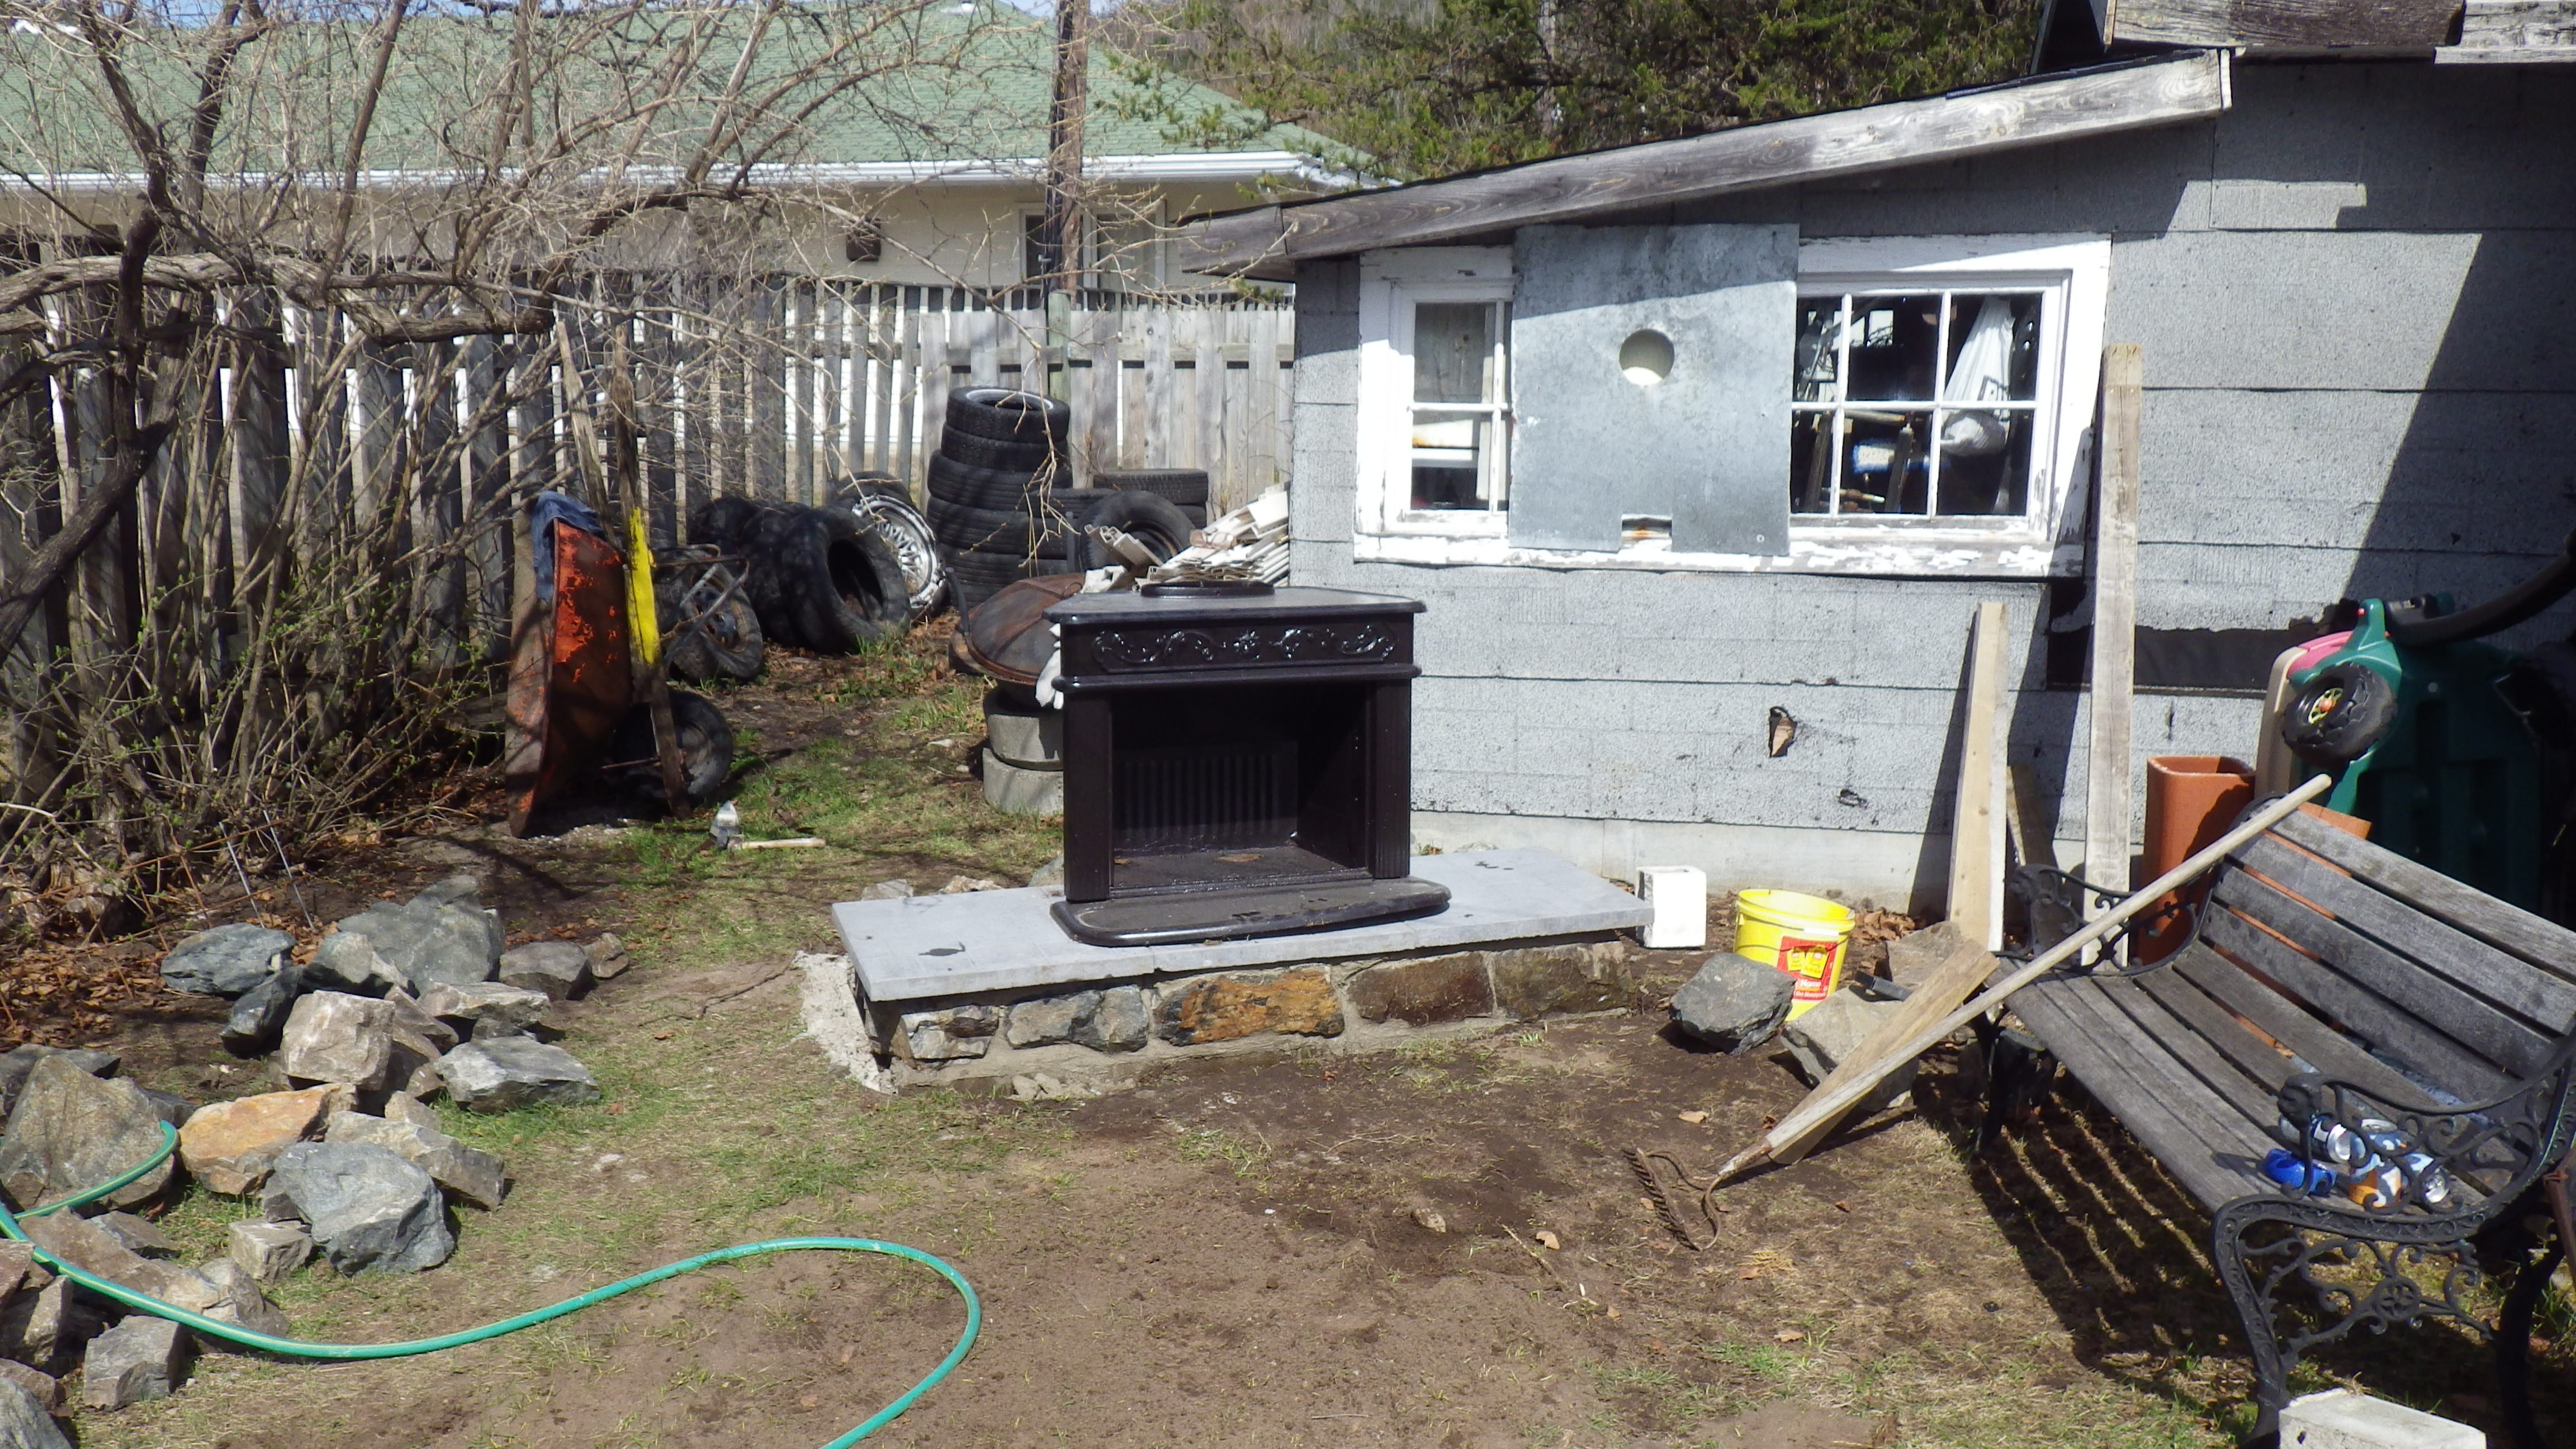
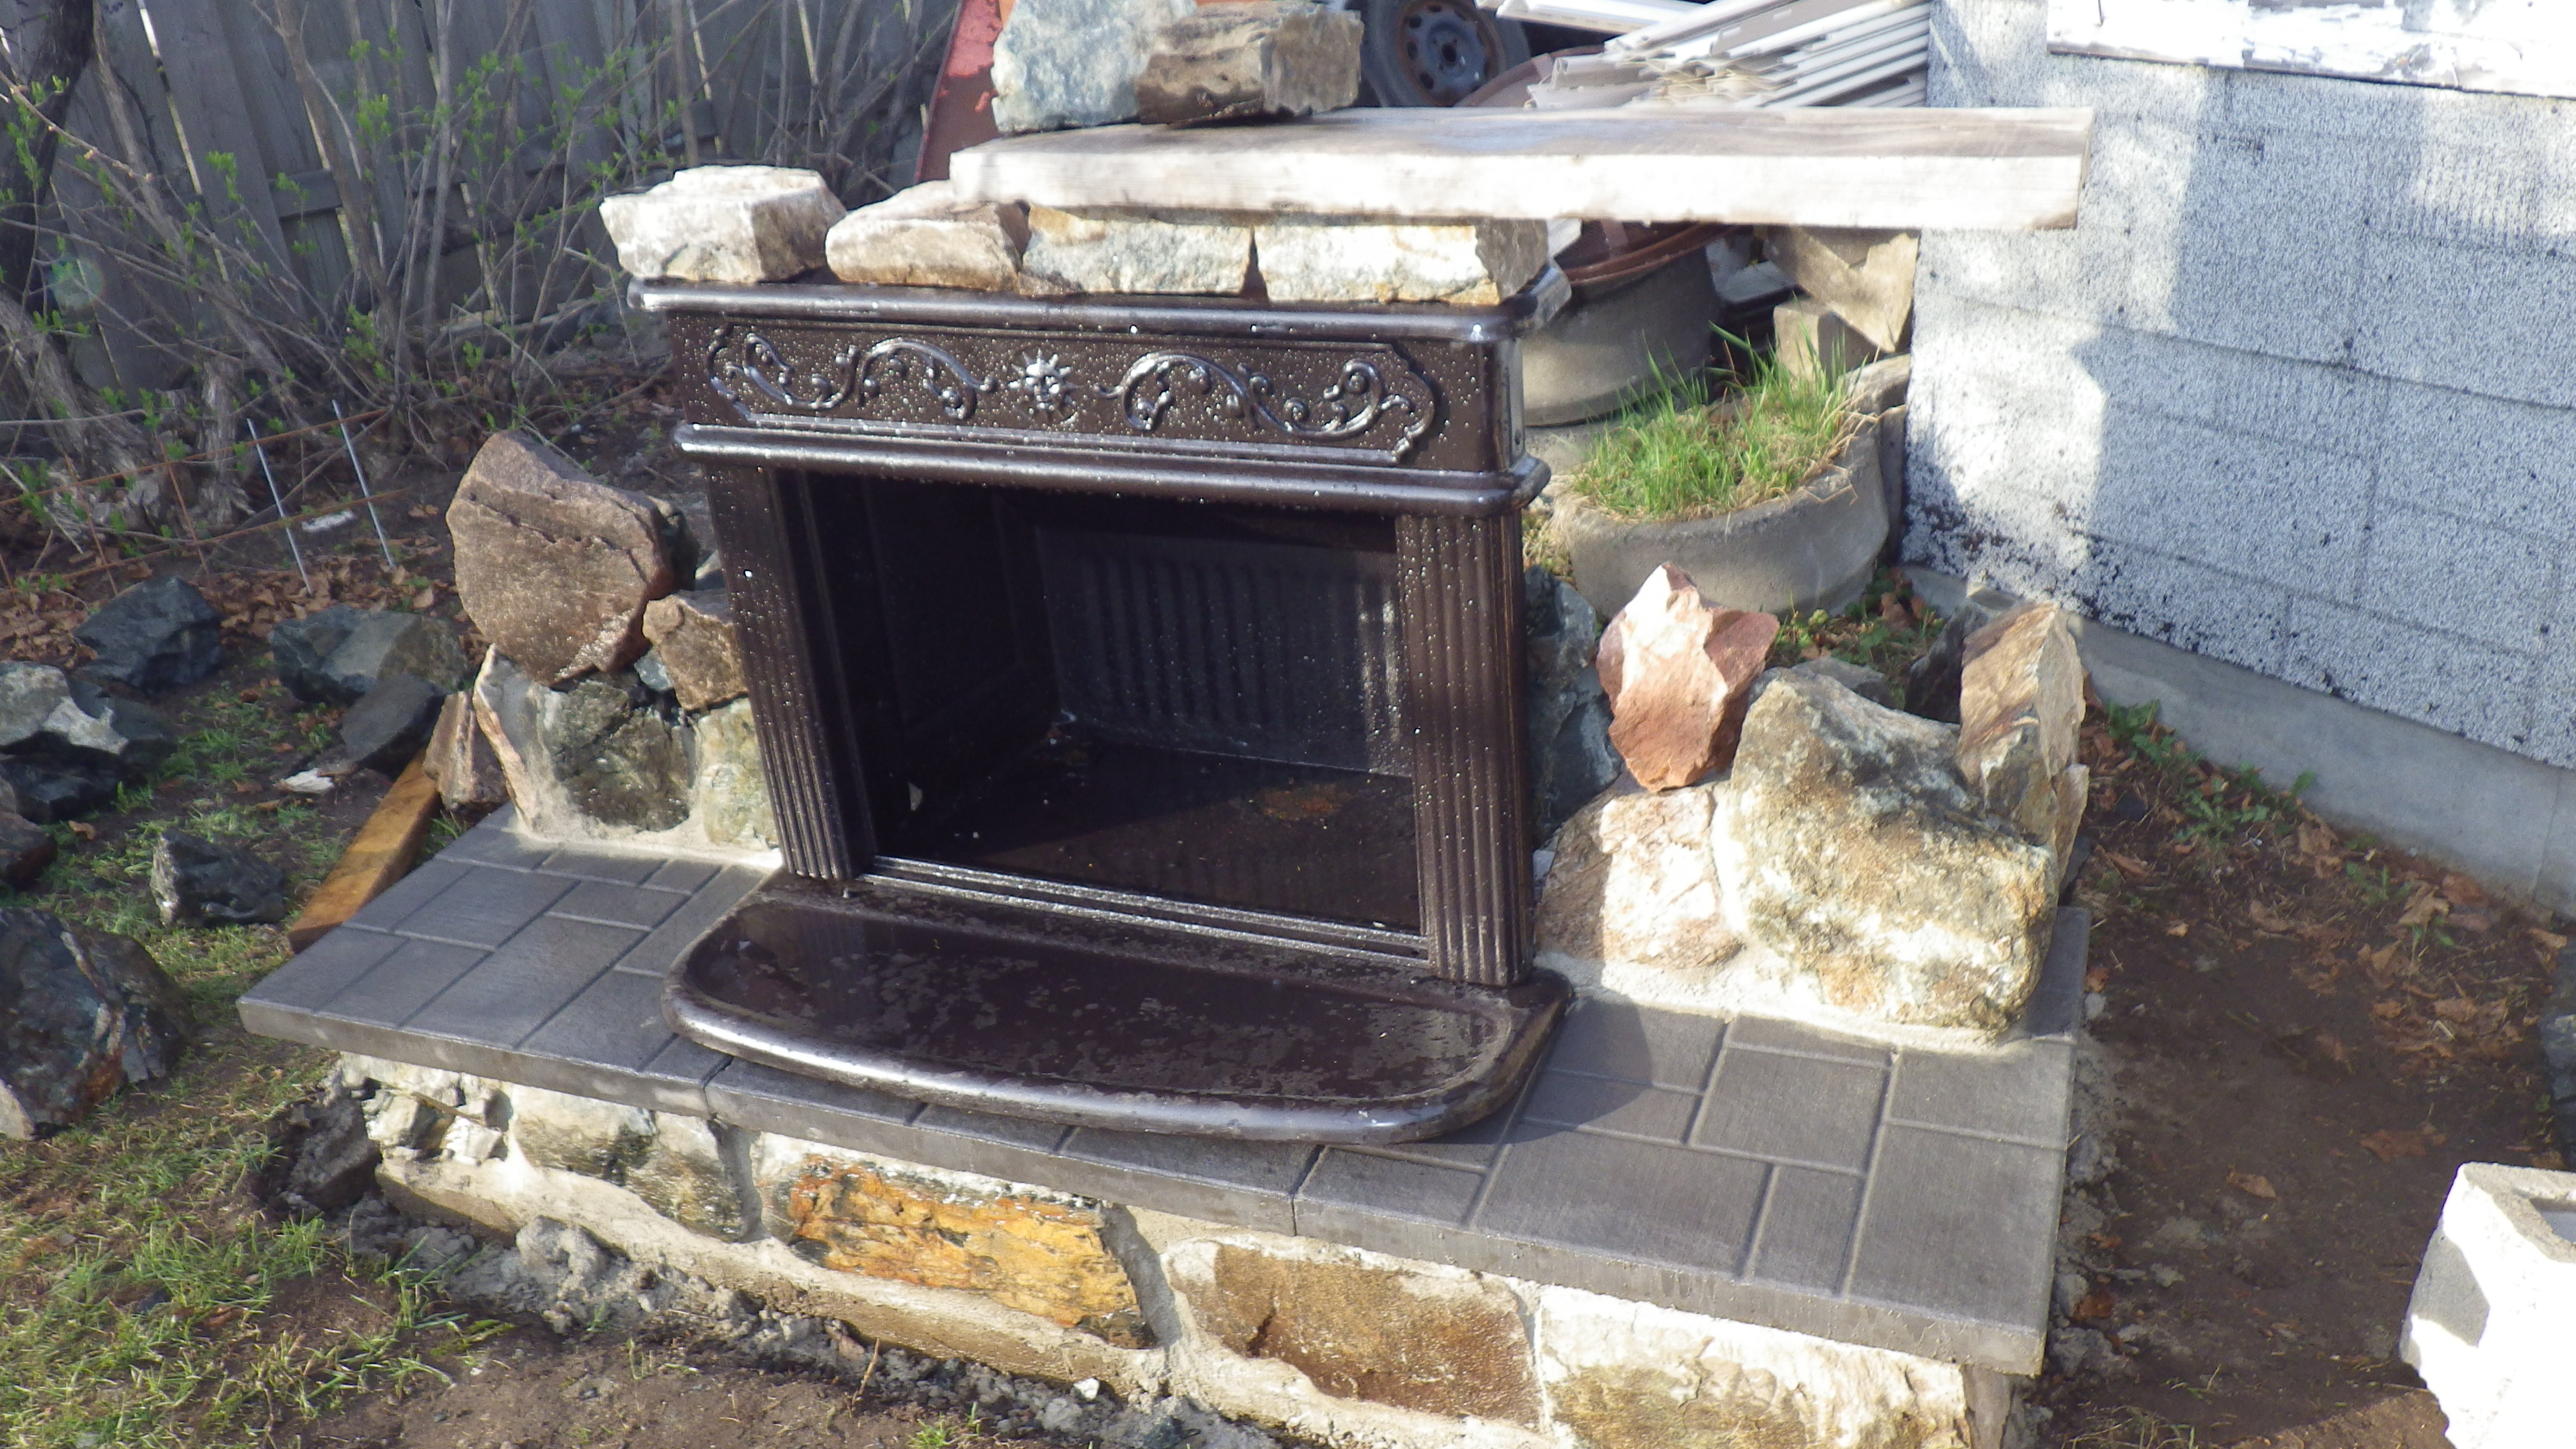
The fireplace is then placed in the center of the patio stones.

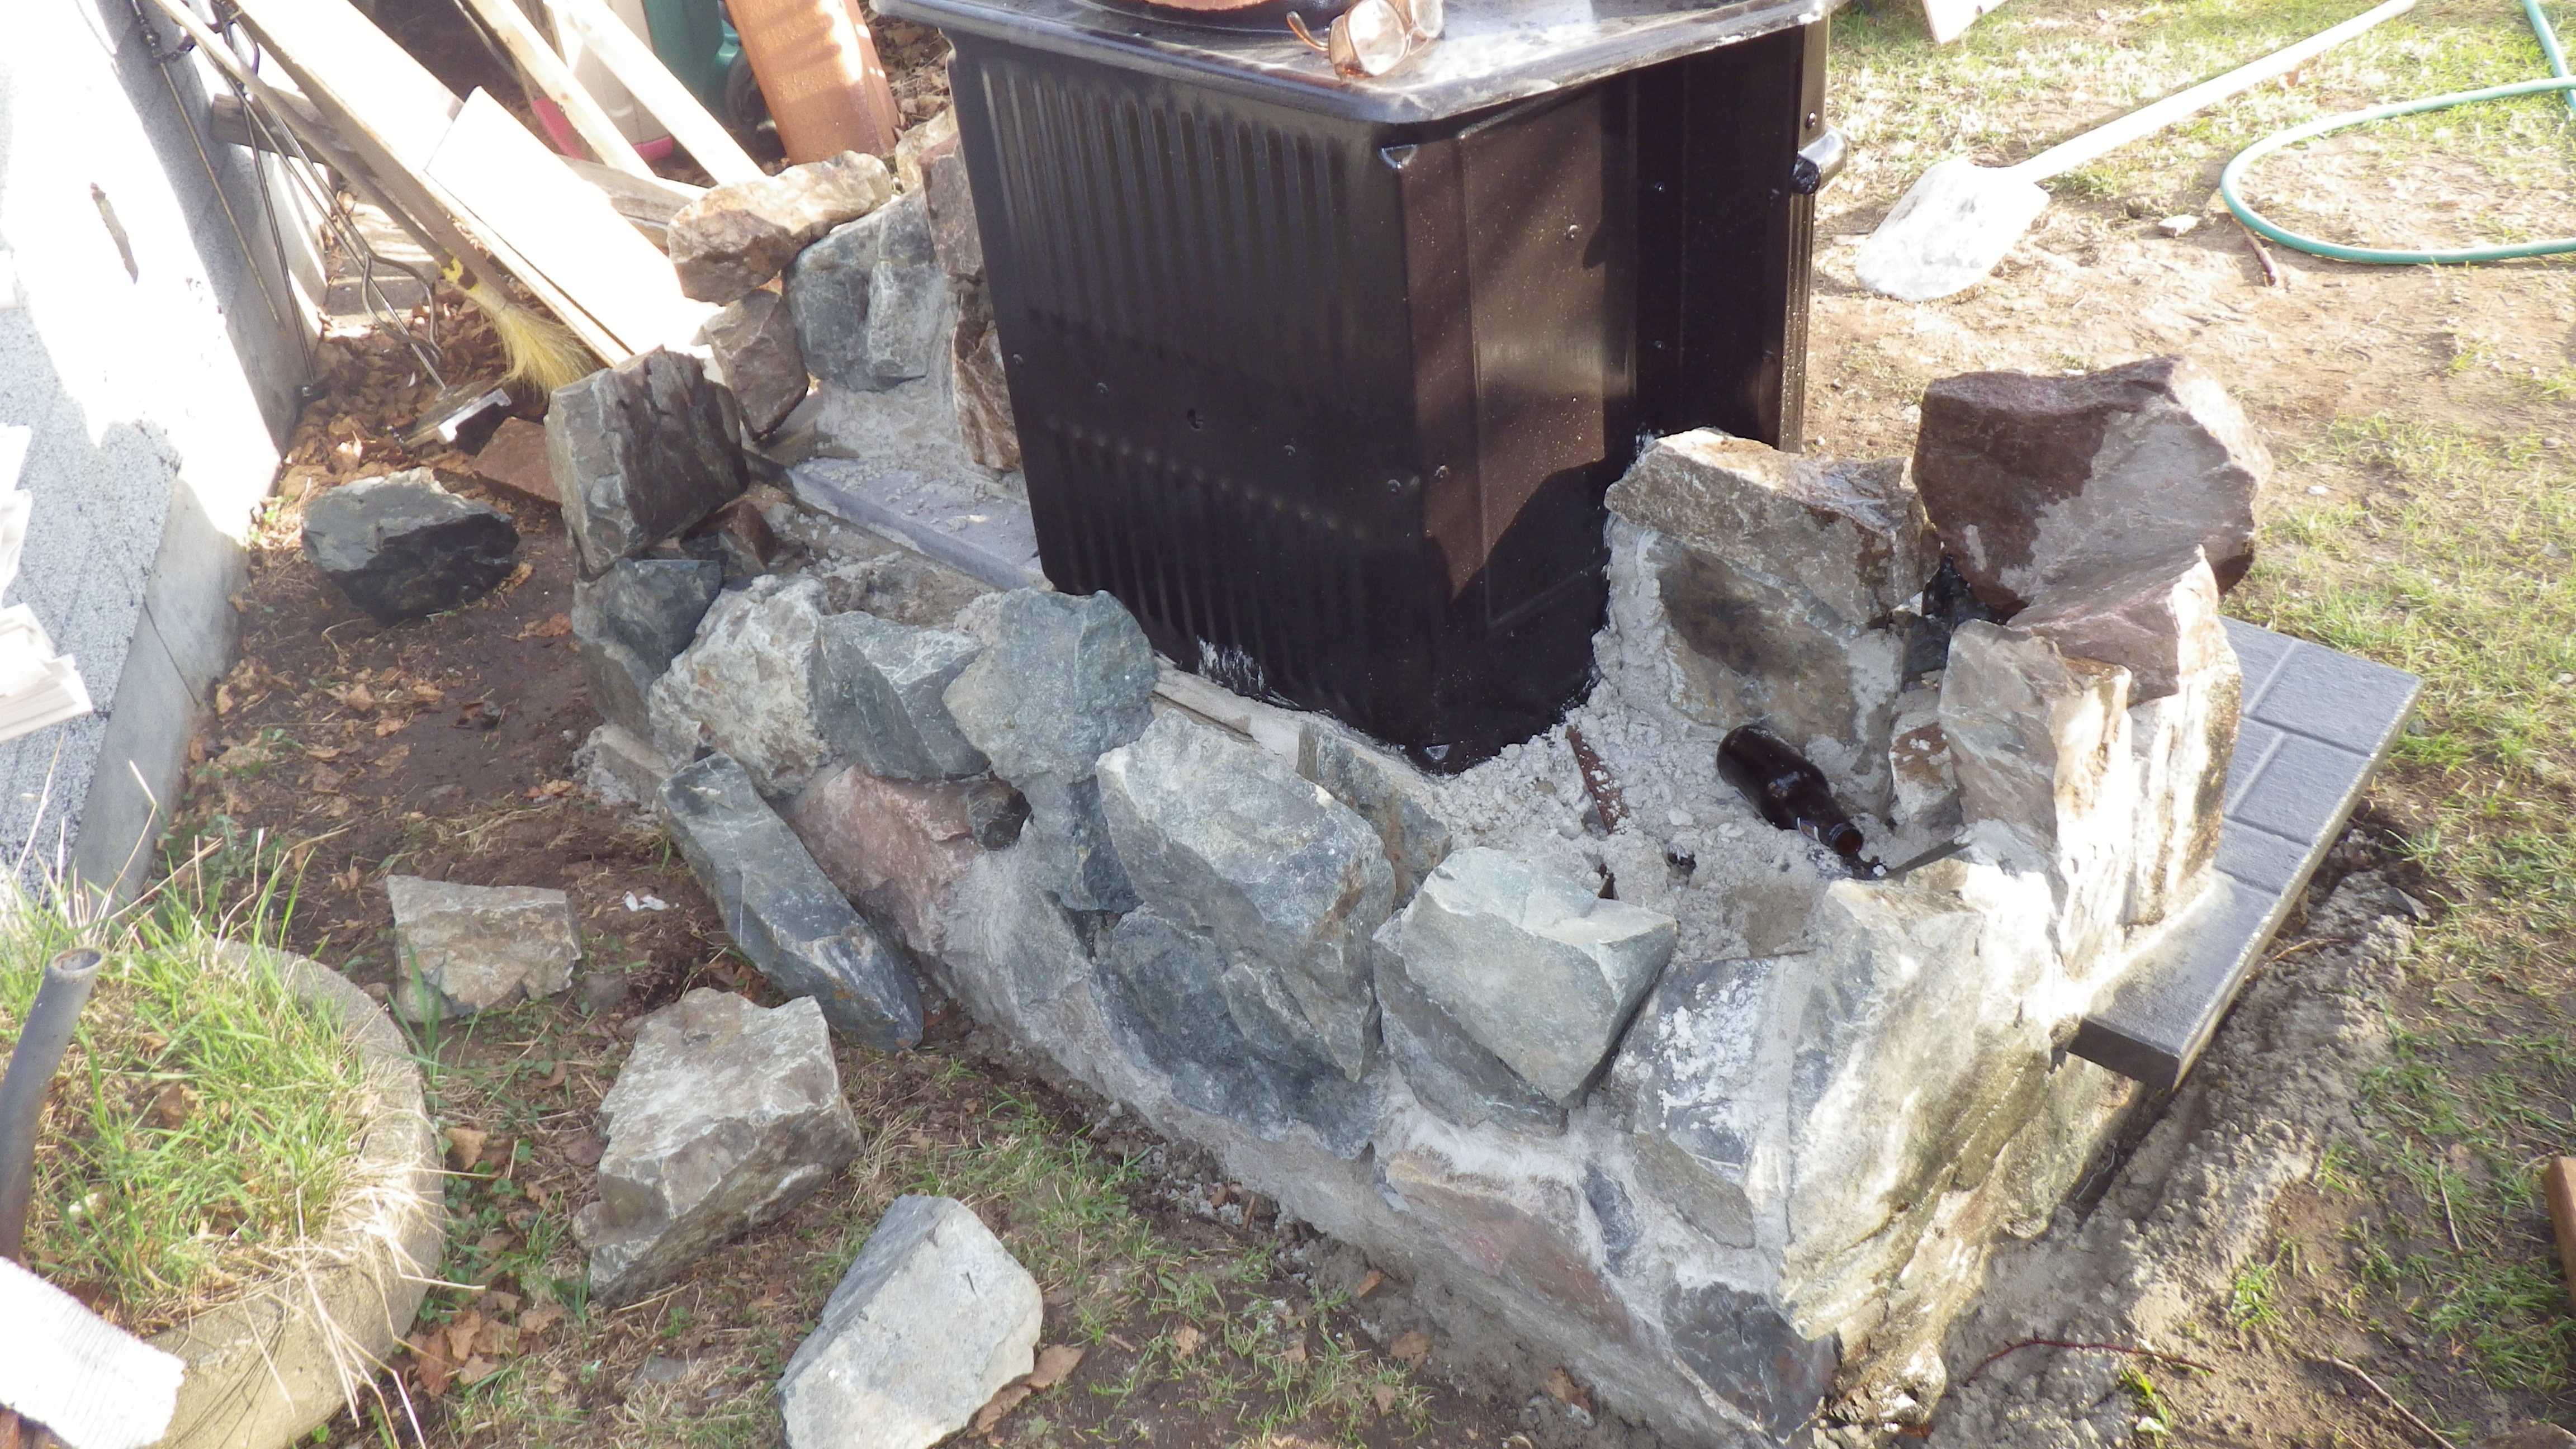
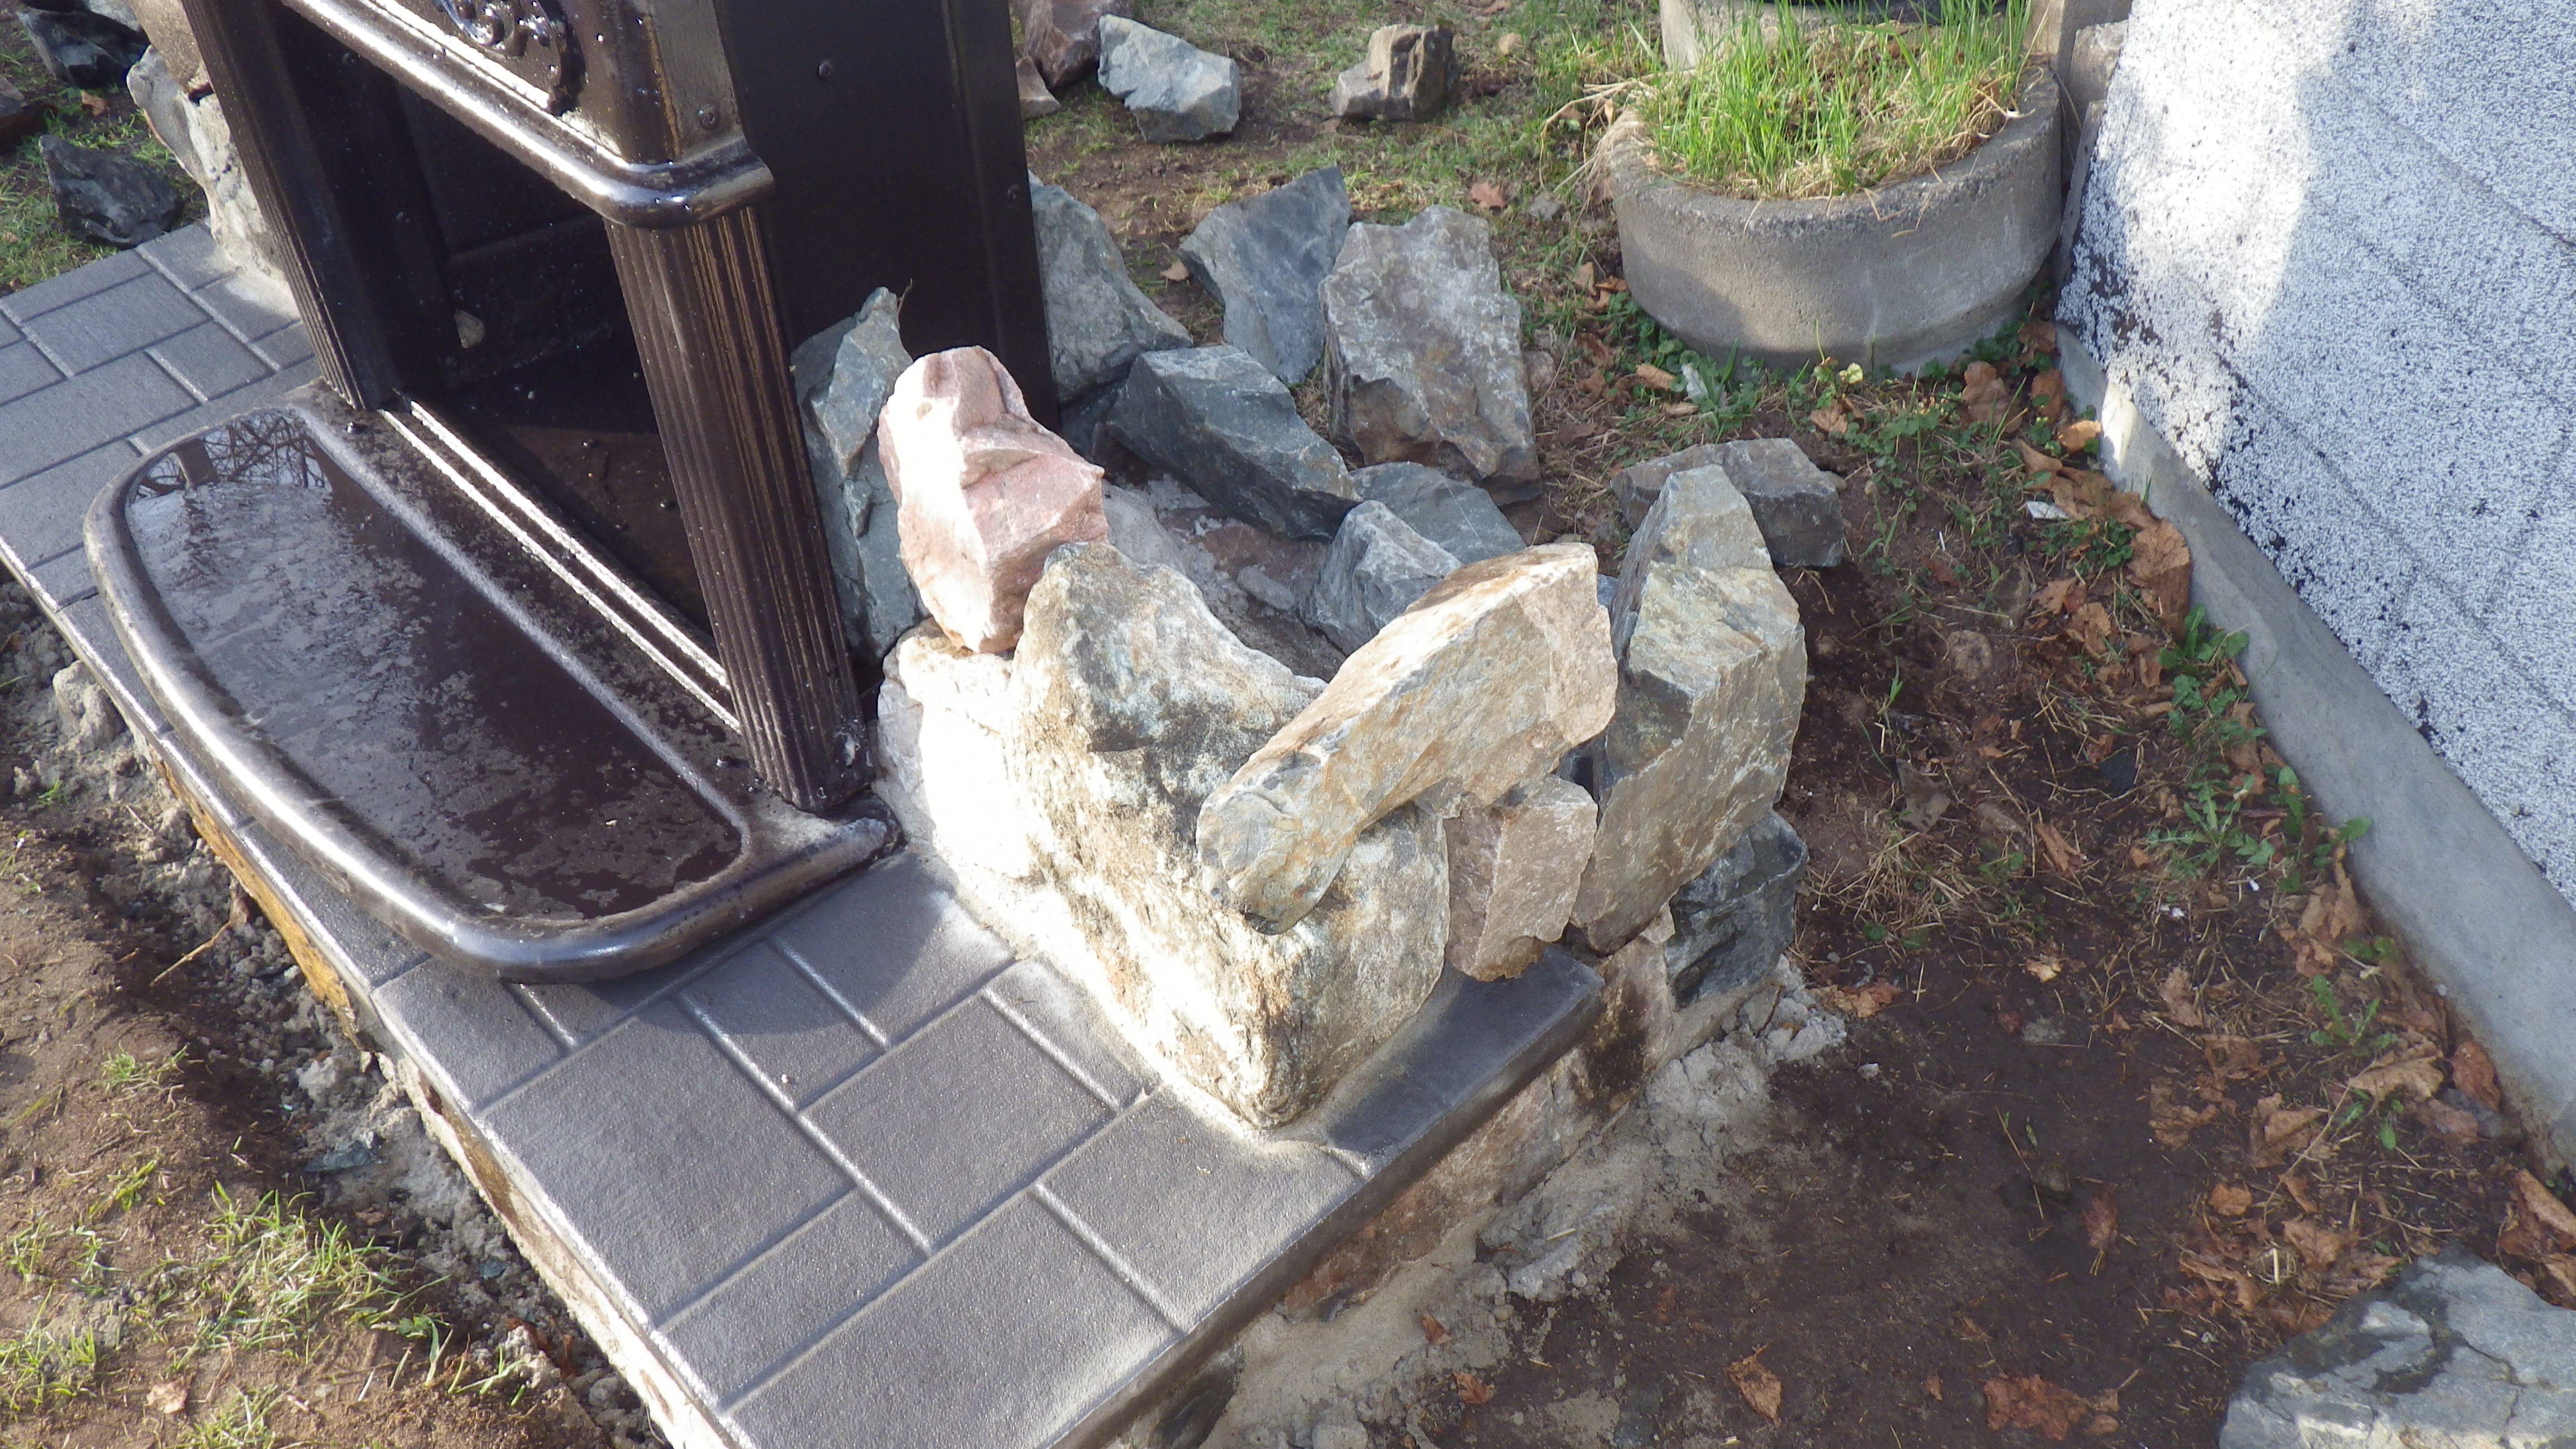
Stones are then laid on the outer perimeter of the fireplace. The mortar is thick between the stones as they are heavy and irregular in size. These are much more time consuming to lay as each stone is unique and is not square. the stones are so heavy that I am only able to do one or two layers at a time. The filler is cement and stones that are not as attractive or interesting or don’t fit on the outside where they will be seen.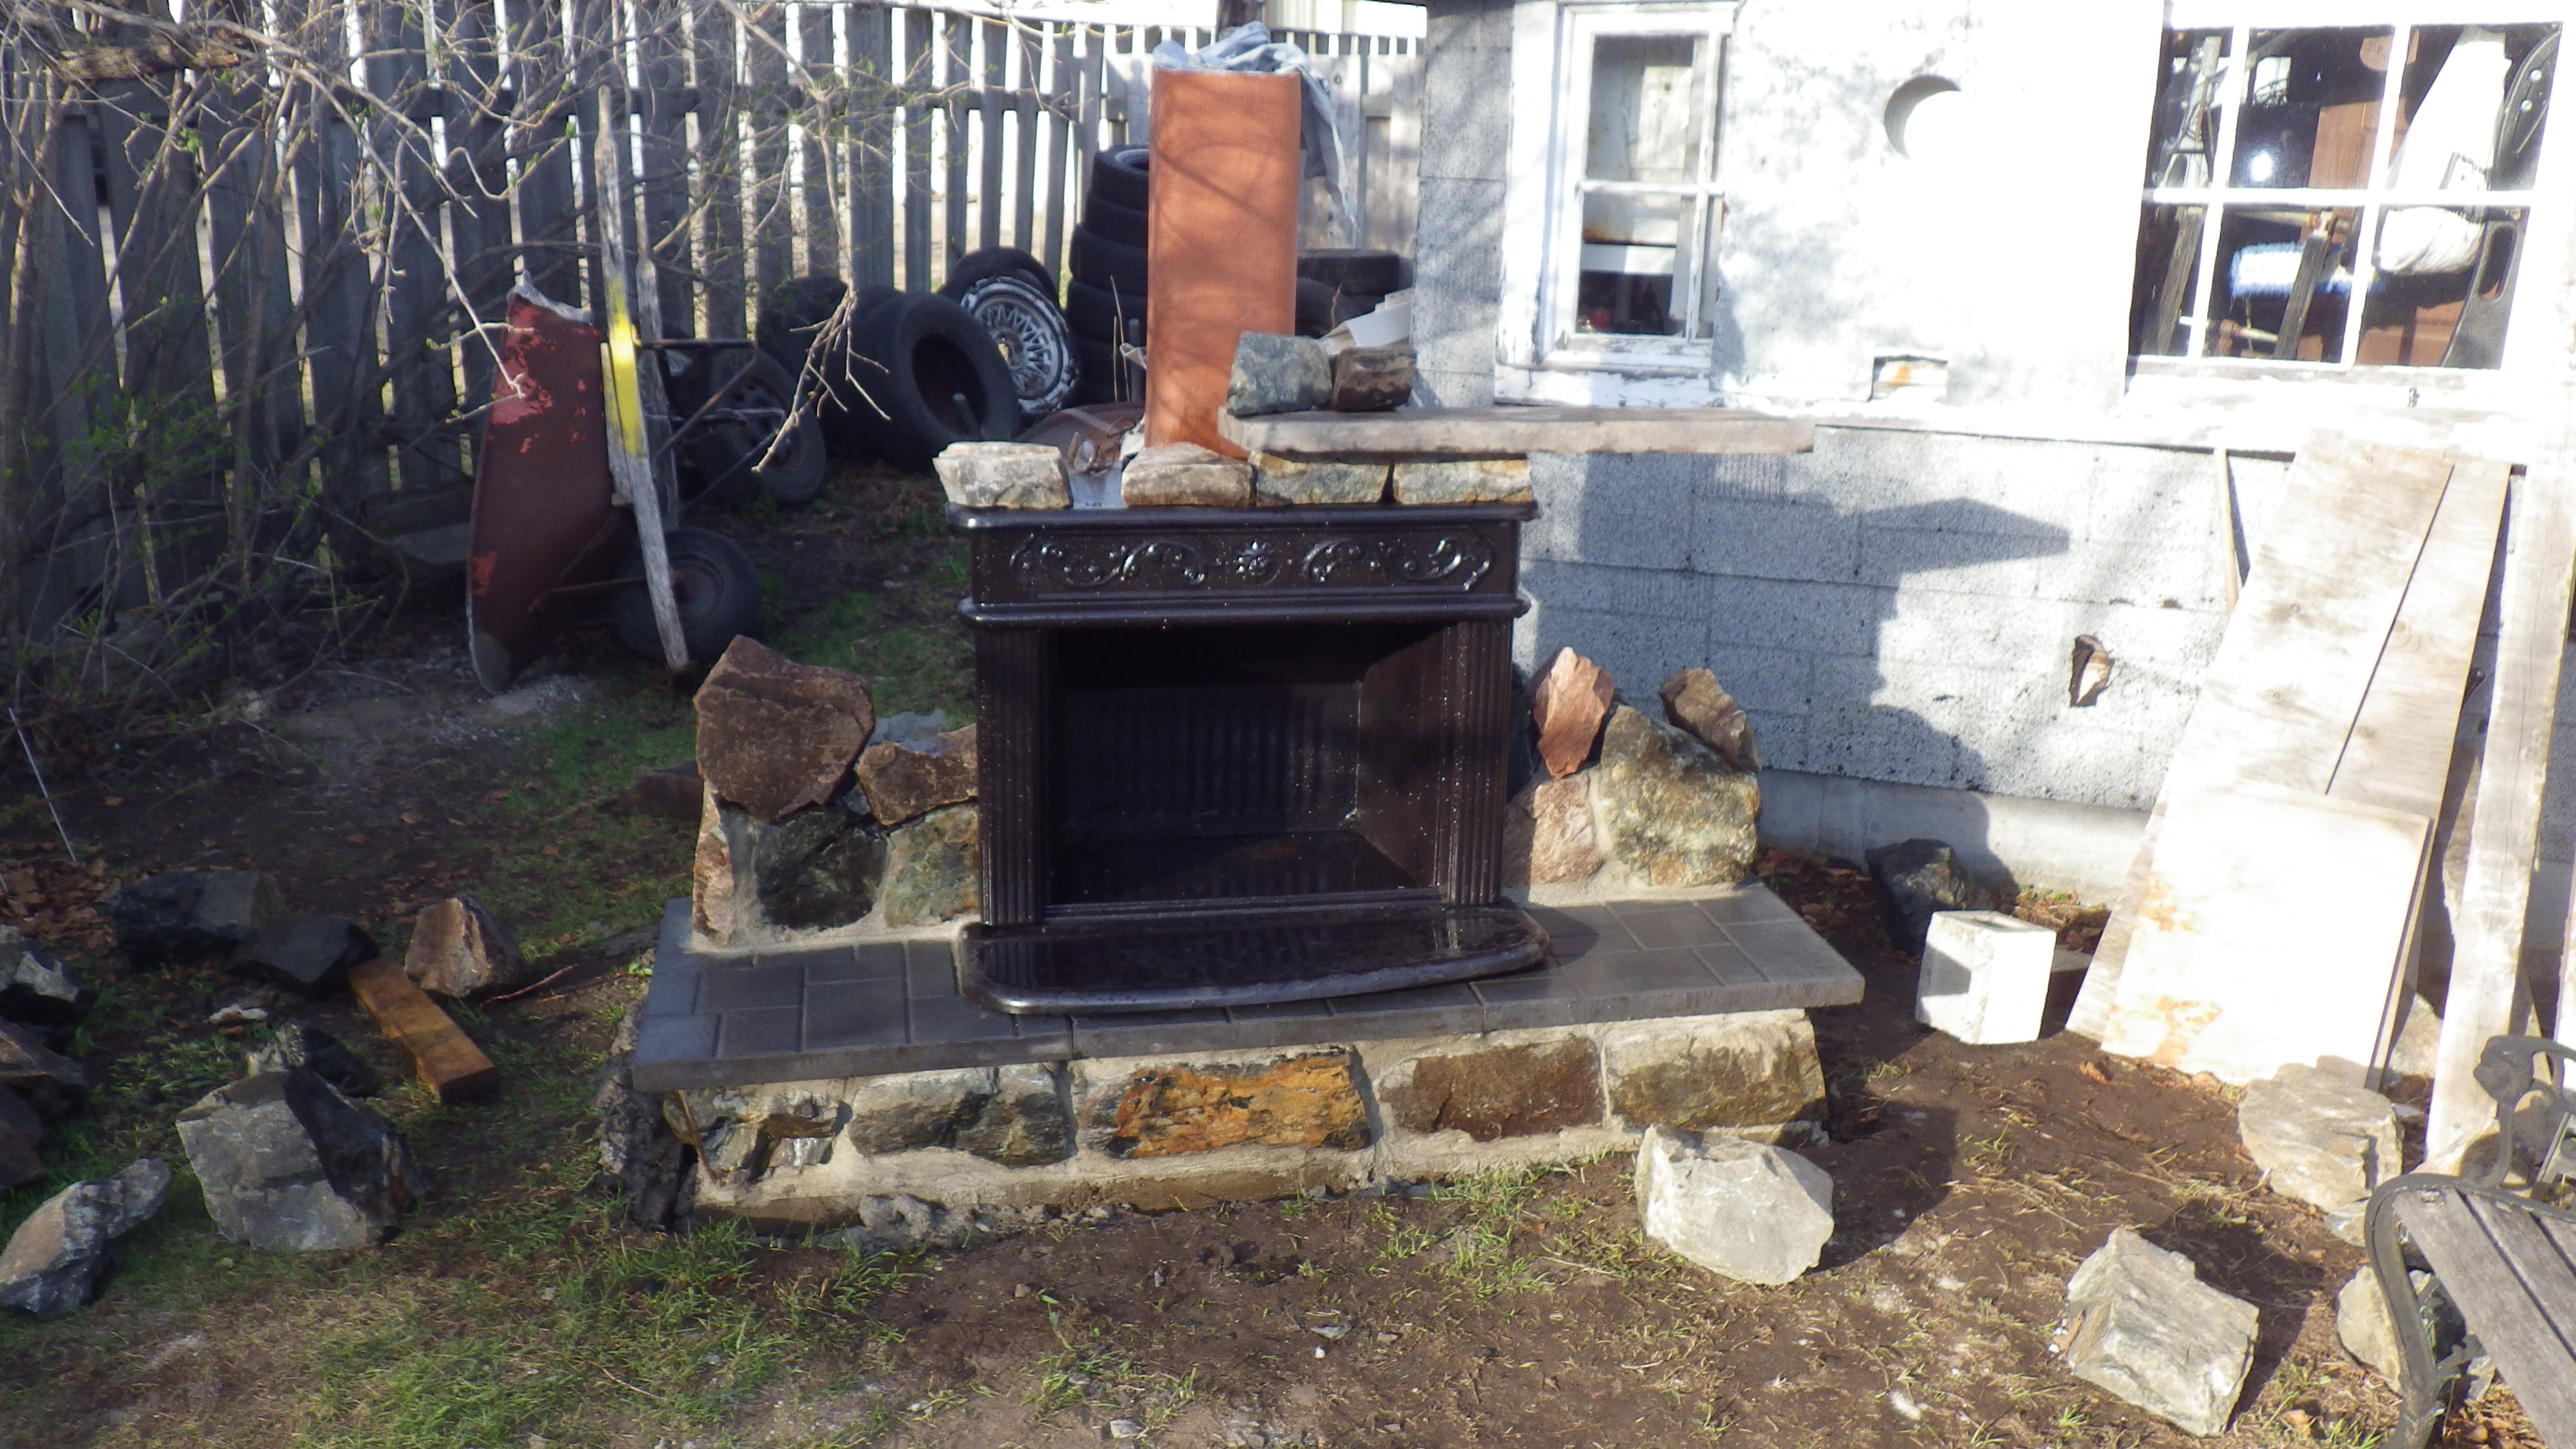

This is a work in progress . I will post more pictures as the project moves along.